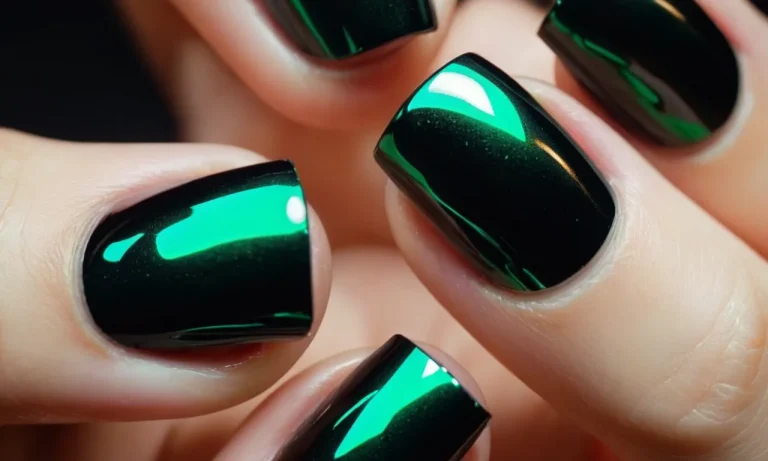
How Many Coats Of Opi Nail Polish Should You Apply?
If you love wearing nail polish but are unsure about the optimal number of coats to apply for the perfect manicure, you’ve come to the right place. With some simple tips and tricks, you can easily determine how many layers of your favorite OPI lacquer you need for stunning nails.
If you’re short on time, here’s the quick answer: For most OPI nail polishes, 2-3 thin coats are recommended for full, even coverage and maximum wear.
In this comprehensive guide, we will cover everything you need to know about correctly applying OPI nail polish, including key factors like formula opacity, desired finish, top coat use, and more. You’ll also learn some simple techniques for neatly painting on polish while avoiding messy overlaps.
With the right approach, you can show off a flawless, professional-quality manicure lasting over a week without chips or smudges.
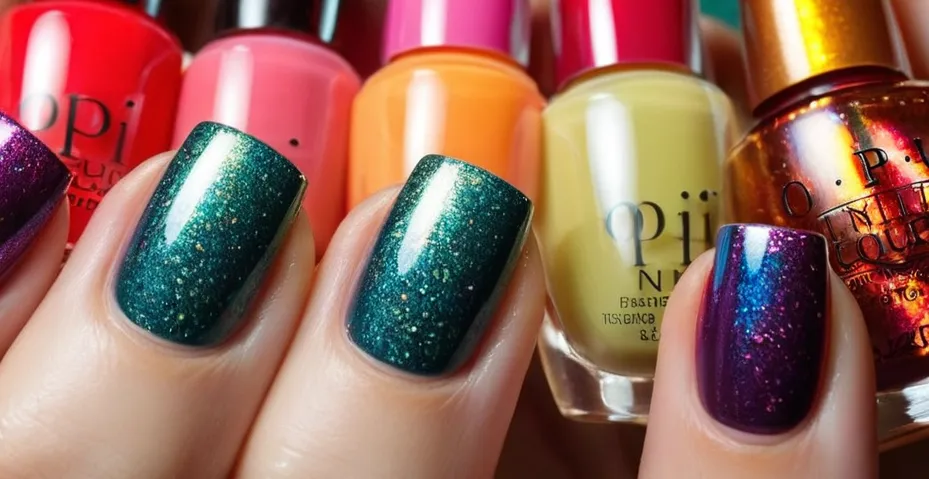
Understanding OPI Nail Polish Formulas
Sheer vs. Opaque Formulas
When shopping for an OPI nail polish, one of the first things to consider is whether you want a sheer or opaque formula. Sheer polishes allow more of your natural nail to show through, while opaque polishes provide full coverage in just one or two coats.
OPI is well-known for their vast collection of fun, opaque polishes. But they also offer a nice selection of sheer tinted polishes and tinted top coats that allow you to experiment with hints of color while still letting your natural nail shine through.
Cream, Creme, and Pearl Finishes
Confusingly, OPI uses the terms “cream” and “creme” interchangeably to describe their polished with a smooth, even consistency and glossy finish. These classic cream polishes make up the majority of OPI’s nail lacquer collection.
OPI also offers a selection of polishes with a “pearl” finish. These polishes contain ultra-fine mica particles that catch and reflect light, providing a luminous, iridescent effect on the nails.
Glitters, Metallics, and Top Coats
No nail polish brand does shimmer quite like OPI! Their glitters and metallics take nail art to the next level. From edgy black and silver shades to warm golds and coppers to fun multicolor glitters, OPI has a dazzling topper polish to match any mood or outfit.
And don’t forget about top coats! Using a quality top coat like OPI Top Coat helps seal in nail polish color and make it last. Top coats with glossy, plumping, or quick-dry formulas allow you to achieve a perfect polished nail look.
Choosing the Right Brush for Smooth Application
Brush Shapes and Sizes
When applying OPI nail polish, using the right brush is crucial for getting an even, smooth finish. The brush shape and size dramatically impacts how the polish glides onto the nail. Here’s an overview of the most common brush types:
- Flat brushes: These have a wide, flat shape that distributes polish smoothly and evenly across the entire nail in fewer strokes. Flat brushes are great for beginners.
- Pointed round brushes: A rounded tip allows for precise polish application around the cuticles and sidewalls. The pointed shape also enables detail work.
- Fan brushes: Fanned bristles help coat the whole nail in one quick swipe. The splayed shape is useful for speedy application.
In addition to the shape, brush size matters too. Larger brushes cover more surface area faster. But smaller brushes give you greater control for tricky spots like cuticles. For OPI colors, most brushes are a versatile medium size to allow detail work and quick application.
Proper Brush Technique
While the brush itself makes a difference, nail polish application also depends on your technique. No matter what brush you use, follow these best practices:
- Don’t overload the brush with too much polish. This can create bubbles and streaks.
- Wipe off excess polish on the bottle rim before applying.
- Glide the brush straight down the nail in one smooth stroke. Don’t wiggle it back and forth.
- Apply polish in 3 quick, thin coats for full coverage and shine.
- Let each coat dry 2-3 minutes before adding the next.
- Seal in your manicure with a protective top coat.
Using the right brush techniques prevents polish from streaking, clumping, or flooding the cuticles. When applying OPI colors, let the specially designed brush do most of the work. With a quality brush and good technique, you’ll get stunning, salon-perfect nails at home.
Applying Multiple Coats for Best Results
When it comes to getting that perfect, long-lasting manicure, applying multiple thin coats of nail polish and allowing adequate drying time between coats is key. Here are some tips for using multiple coats of OPI nail polish to get salon-quality results at home.
Paint Thin Layers and Allow Drying Time
The number one rule is to apply thin coats and give them time to dry in between. Thick coats won’t cure properly and can end up gummy. For the first coat, do a thin “base” layer focused mainly on covering the entire nail. Let it dry completely before adding the next coat, usually 2-3 minutes.
The second coat should also be thin and even. At this point, assess if the color looks opaque or if you want to build it up more. Wait another 2-3 minutes before deciding on a third layer.
Tips to Prevent Bubbles and Streaks
To prevent bubbles, avoid shaking the OPI polish bottle. Instead, roll it between your hands to mix up the pigment. When painting, use long and light brush strokes from the base to the tip of the nail. Don’t overload the brush with too much polish.
If streaks happen, wait until the coat dries completely before gently going over it again.
When to Stop Adding More Polish
For most OPI colors, 2-3 coats is plenty. Going overboard with too many layers can make the polish thick and gummy. It can also lead to peeling and chipping down the road. A good rule of thumb is to stop after the color looks smooth and opaque on all nails. Resist the urge for just one more coat.
If coverage still seems spotty after 3 coats, try a different application technique or nail polish brand next time.
With some smart strategies like painting thin, allowing drying time, and not over-coating, you can achieve stunning nails with OPI polish right at home. A little patience goes a long way when applying multiple layers. Take your time and let each coat dry properly before moving onto the next.
With a steady hand and these tips, you’ll have flawless, professional-looking nails that will last.
Caring for Your Manicure
Nail Prep for Longer Wear
Proper nail prep is key for getting the most wear out of your OPI nail polish. Start by trimming and shaping your nails, then buff the surface gently with a nail file to remove shine and smooth any ridges. Push back and trim cuticles as needed with cuticle remover and a cuticle pusher.
Clean nails with isopropyl alcohol to remove any oil or residue. Then apply a thin layer of OPI Natural Nail Base Coat to prime and protect nails.
Using Base and Top Coats
Base and top coats play a huge role in nail polish wear and shine. Always use OPI Natural Nail Base Coat before polish application to fill ridges, prevent staining, and extend wear. Apply 1-2 thin coats of OPI Nail Lacquer for full, even color.
Then finish with 1-2 coats of OPI Top Coat for a glossy shine that prevents chips and dullness. Reapply top coat every 2-3 days to refresh shine and smudge resistance.
Removing OPI Nail Polish
When it’s time for a new look, remove OPI nail polish gently to avoid damage. Start by buffing the surface lightly with a nail file. Apply a small amount of pure acetone-based nail polish remover to a cotton pad and hold it against each nail for 10-15 seconds before swiping away color.
Repeat until all traces are gone. Follow with cuticle oil or cream to condition nails.
With the right prep, application, and removal methods, your OPI manicure can look freshly-painted for 7 days or more. Invest in a good base coat, use thin layers of lacquer, and top off with a shine-extending top coat to get the most mileage from your manicure.
Troubleshooting Common Nail Polish Issues
Causes of Chipping and Peeling
Chipping and peeling are two of the most frustrating nail polish problems. After spending time carefully applying a fresh coat of color, it’s disheartening when your manicure starts to chip and peel after just a day or two.
While it may seem inevitable, there are actually several reasons why your nail polish may not be adhering properly.
One of the most common causes of chipping and peeling is applying polish to oily nails. Nail polish adheres best to clean, dry nails. If there is oil, lotion or moisturizer on your nails when you apply polish, it can prevent proper adhesion and lead to chips and peels.
Always wash hands with soap and water and use nail polish remover or alcohol to remove any traces of oil before polishing.
Insufficient nail prep can also lead to polish troubles. Failing to use a base coat means polish is adhering directly to the natural nail, which can allow chips and peels to form more easily. A good ridge-filling base coat provides an even surface for polish to bond to.
Using a base coat is essential for a long-lasting manicure.
Thin coats of polish are another common culprit behind chipping and peeling. Trying to get away with just one coat rarely provides enough color saturation and thickness for long wear. Two to three thin, even coats allow for proper color coverage and a durable finish.
Rushing through application and brushing on polish too thickly or unevenly can also negatively impact wear.
Certain polishes are also more prone to chipping based on their formulation. Sheer and shimmery polishes tend to wear away more quickly than cremes. Consider opting for a creme polish or using a top coat over sheer polishes to help extend wear.
How to Fix Brush Strokes
Visible brush strokes in a nail polish application can make your manicure look messy and rushed. While careful application technique is key for avoiding brush strokes, they do sometimes occur. Luckily, brush strokes can often be remedied with a simple fix.
One of the easiest ways to fix brush strokes is by gently running over them with a makeup sponge. Use a makeup sponge to softly blur and blend the polish over any streaks. The sponge helps smooth and even out the polish for a flawless finish.
Applying a quick second coat of polish can also help mask brush strokes. Let the initial polish coat dry first, then sweep on another thin, even layer to cover any imperfections. The second coat provides a clean slate for your manicure.
Using nail polish thinner is another trick for fixing brush marks. By thinning out thick swaths of polish, thinner allows brush strokes to self-level and smooth out. Just add a couple drops of thinner to the polish bottle, roll to mix, and apply a coat to problem areas.
If all else fails, try starting over with a fresh coat of color. Remove the polish, prep nails again, and reapply using careful, even strokes of the brush. Slowing down application and using good technique can help achieve a flawless, brush stroke-free manicure.
Conclusion
By understanding the different OPI formulas and techniques for smooth, even application, you can achieve a flawless manicure that lasts over a week without needing touch-ups. Allowing adequate dry time between multiple thin coats is key for avoiding bubbles, streaks, and premature chipping.
With a combination of skill, patience, and the right polishes and tools, you can perfect an at-home manicure with two to three coats of OPI nail lacquer. Your nails will look freshly polished straight from the salon with vivid, chip-resistant color.
Just be sure to prep nails properly and finish off with a protective topcoat for maximum wear.