How Long Does It Take For Nail Polish To Dry?
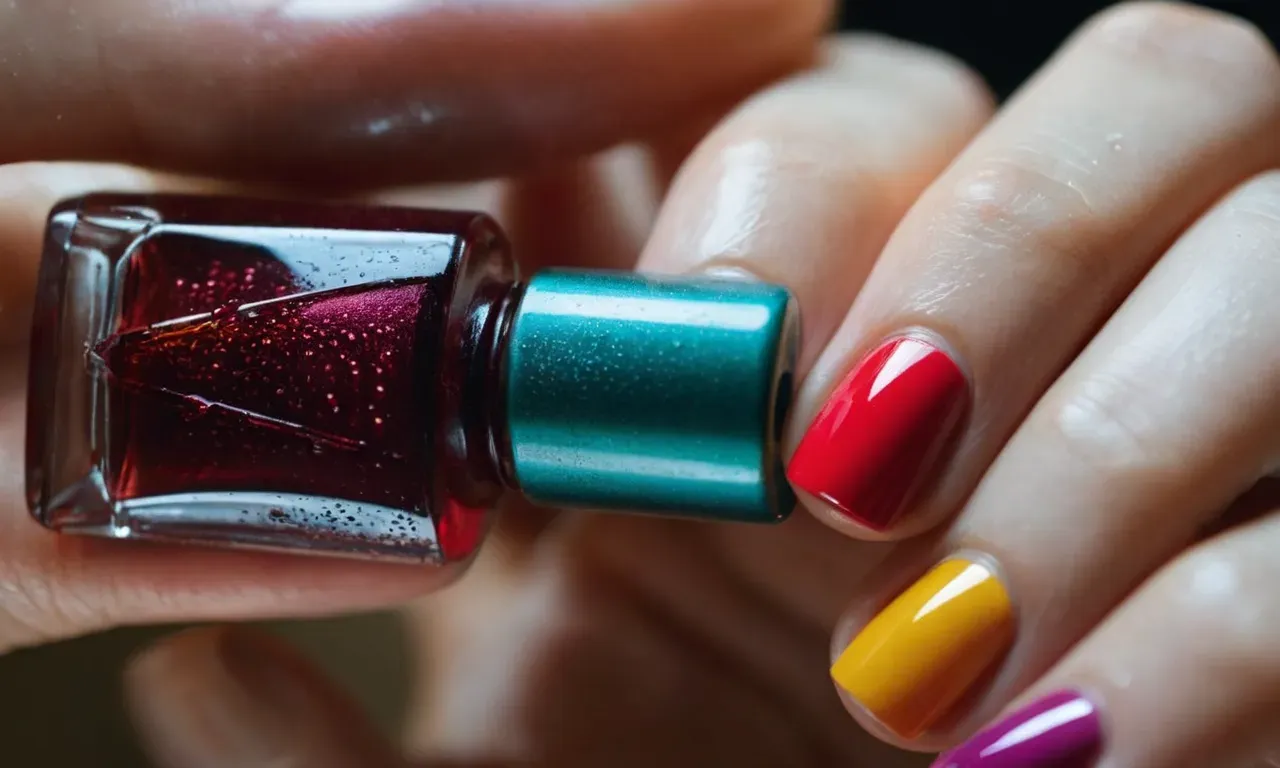
If you just painted your nails and are wondering how long you’ll have to sit still before the nail polish dries, you’re not alone. Many nail polish users want to know the answer to this common question.
If you’re short on time, here’s a quick answer to your question: It usually takes nail polish 10-15 minutes to dry to the touch, and 1-2 hours to fully cure and harden.
In this comprehensive article, we will look at all the factors that affect nail polish drying time including the type of polish, number of coats, top coat use, nail polish thinner use, temperature and humidity, nail prep, and more. We’ll also provide tips to help nail polish dry faster.
Factors That Affect How Quickly Nail Polish Dries
Type of Nail Polish
The ingredients that go into nail polish can greatly impact dry times. Traditional nail polishes are made from nitrocellulose, which allows for quick drying. Gel polishes contain more resin and plasticizers, making them take longer to fully cure. Here are some examples of typical dry times:
- Regular nail polish: 5-15 minutes
- Quick dry nail polish: 1-5 minutes
- Gel nail polish: 30-60 seconds initially, then 10+ minutes to fully cure under LED lamp
Number of Coats
Using multiple thin coats of nail polish extends the manicure process. Each layer needs to dry before applying the next one. Two or three coats are typical for an opaque, long-lasting manicure. Allow 5-10 minutes between coats for best results.
Using a Top Coat
A quality top coat not only helps nail polish last longer, but it can speed up drying time. Top coats form a protective barrier over nail polish and dry quickly by design. Make sure to wait until the color coats are somewhat dried first. The top coat helps seal them in place.
Using Nail Polish Thinner
When nail polish starts to get thick and goopy from evaporation, it definitely takes longer to dry. Adding a few drops of nail polish thinner revives the polish and helps it apply smoothly and dry faster. Only use nail polish specific thinners, not other chemicals like acetone.
Thinner should only be added if the polish is noticeably thick and gummy.
Temperature and Humidity
Environmental conditions play a huge role! Nail polish dries quickest in warmer, drier conditions. The solvents evaporate faster when the temperature is higher. Cold, damp weather can double dry times. Turn up the heat or use a portable nail lamp for quicker drying if needed.
Nail Preparation
Starting with clean, dry nails helps nail polish adhere better and dry quicker. Make sure to wash hands thoroughly and wipe nails with acetone or alcohol. Trim and file nails into the desired shape before polishing. Avoid lotions or oils on hands prior to polishing, as those can interfere with drying.
How to Dry Nail Polish Faster
Use Quick-Dry/Fast-Drying Polishes
One of the easiest ways to cut down on nail polish drying time is to use formulas specifically designed to dry quickly. Look for polishes labeled as “quick-dry” or “fast drying” on the bottle. These contain ingredients that evaporate faster than regular polishes, forming a hard film on your nails in a fraction of the time.
With these types of nail polish, you can expect your manicure to be touch-dry within about 5-10 minutes.
Apply Thin Coats
Another trick is to apply thinner coats of nail polish. Thick, gloopy layers take much longer to dry completely. For faster drying, use less polish with each brush stroke and build up to the desired opacity and color depth gradually. Allow the first slim layer to dry before adding another.
Your manicure will set in no time!
Use a Fast-Drying Top Coat
A good quick-drying top coat is a must for speeding up drying time. The ingredients in these protective top coats allow the layers beneath to cure rapidly. They create a smooth, hard shield over your polish in as little as 60 seconds.
Apply your color, then seal it with a fast-drying top coat like Seche Vite or Essie Speed Setter.
Try Drying Drops or Sprays
You can find specialty nail polish drying products, like drops or sprays, that work wonders for reducing drying time. These are made with alcohol and other fast evaporating solvents. Simply apply a few drops or quick spritzes over your wet nail polish.
The solution causes the polish to harden within about 30-60 seconds. Some popular options are Sally Hansen Insta-Dri and OPI Rapidry Spray.
Use a Nail Polish Dryer
Handheld UV and LED nail polish dryers are very effective at cutting down drying time. After painting your nails, simply insert your fingers into the device and turn it on. The UV/LED light cures each coat in as little as 30 seconds.
This makes the polish “gel-like” without the hassle or damage of a full gel manicure. It’s a great way to get a chip-free manicure that dries super fast.
Let Your Nails Air Dry
Though it requires some patience, letting your nails air dry is one of the best ways to allow polish to cure properly. Avoid wiping or touching the nails, and keep your hands still. The natural evaporating action of the air will take care of the rest!
For most regular polishes, you can expect your mani to be dry within 10-15 minutes using this method.
Stay in a Warm, Dry Room
Warm, dry conditions help speed up the nail polish drying process, while cold and humidity cause it to take longer. Try turning up the heat a bit and avoiding drafty areas after painting your nails. The warmer, drier air will accelerate evaporation so your color dries faster.
Conversely, if you go out in the cold right after your manicure, it may stay tacky for quite a while.
Prep Your Nails Properly
Prepping your nails correctly lays the foundation for faster drying polish. Start with clean, dry nails free of oil and moisture. Use a dehydrator like acetone or alcohol to remove any lingering traces before base coat. Apply thin layers of base coat and color.
Proper nail prep removes excess oils and closes up pores in the nails so the polish adheres better and dries more quickly.
Tips for Preventing Sheet Marks and Smudges
Avoid Touching or Bumping Your Nails
One of the best ways to prevent smudges and sheet marks when your nail polish is drying is to avoid touching or bumping your nails against anything. Even the slightest contact can leave a mark or dent in your manicure. Try to keep your hands flat and still until the polish is completely dry.
Don’t use your nails to grab or scratch things, which could dent the surface. And be extra careful to avoid bumping your nails on hard surfaces like tables, countertops or door frames, which can easily make imprints in the polish.
Keep Your Hands Still While Drying
Another tip is to keep your hands as motionless as possible while your nail polish dries. Limit any hand gestures or movements. Waving your hands around can disrupt the even settling of the polish. Try resting your hands palm-down on a flat surface. You can even slip them under your legs while seated.
Keeping your hands still prevents smudging or sheeting from nail edges brushing together.
Be Careful with Damp Tasks
When your nail polish is still drying, be very careful with any damp tasks involving water or liquids. Even a little moisture can imprint into the manicure surface. Avoid doing dishes by hand, which exposes nails to hot water and soap that can mess up polish.
When washing hands, try just using one hand gently under the water. Drying skin or nails thoroughly after washing helps prevent marks. Wait until polish is fully hardened before tackling wet, messy jobs.
Wear Gloves for Wet Work
If you must handle wet tasks before your manicure has set, wear waterproof gloves to protect nails. Latex or rubber gloves form a barrier so water and moisture don’t directly contact the polish surface. This prevents smearing, rippling or sheet marks from developing.
Wear gloves when washing dishes, cleaning with products or dealing with spills. But remove gloves gently to avoid bumping nails. Only wear gloves once polish has hardened to some degree so latex doesn’t pull it up.
Use Qtips for Smudges
If you do end up with minor smudges, sheet marks or dents while your nail polish is still soft, there are ways to fix them. Gently rub the imperfection using a clean qtip saturated in nail polish remover. This can smooth out dents or lift up marks without messing up the overall manicure.
Work carefully to just target the flawed spot. Use a pointed cotton swab for precision. Then reapply a thin coat of polish over the area and let it dry again.
How to Tell if Your Nail Polish is Fully Dry
Touch Test
The most common way to check if your nail polish is dry is to gently touch the surface with your finger. Use a light touch and do not press down. If the polish feels smooth and firm without any dragging or imprint, it is likely dry. However, this test can be subjective.
Nails that feel dry to one person may still feel tacky to someone else. It takes practice to get the right touch.
As a general guideline, quick-dry nail polishes should feel dry to the touch within 5-10 minutes. Traditional polishes can take 20 minutes or longer. If there is any doubt, it is best to wait a bit longer before doing the touch test. Rushing this step may cause fingerprints in the polish.
Press Test
Another way to test dryness is to gently press down on the nail polish with a finger. Apply light pressure and lift back up. Fully cured polish will feel smooth and hardened. If the polish indents or sticks when pressed, it still needs more drying time.
This is a more accurate test than the touch method.
However, take care not to press too firmly during this test. Excess pressure can leave a permanent mark or dent on soft polish. Start with very light pressure and gradually increase as needed. It is better to err on the side of caution.
Water Test
The water test can definitively tell you if nail polish is dry. After the polish feels dry to the touch, lightly wet one nail under water. Fully cured polish will withstand a quick water exposure without running or smearing. If the polish is still tacky or gummy, water will affect the surface.
This test sometimes causes confusion. Many people think nail polish needs to be waterproof before it is considered dry. That is not the case. Rather, a dry polish simply needs to hold up to quick water contact without distortions. It does not need to be impervious or chip-proof.
The water test is useful because it removes the guesswork. Polish condition is clearly exposed under water. A quick dip of 1-2 seconds will show if polish is ready for the next step, or needs more time. Compared to touch and press tests, the water test is the most foolproof way to assess dryness.
When to Reapply Nail Polish
Chipping
Nail polish starts to chip when the top layer of color loses adhesion with the layer underneath. This causes small fragments of polish to break off, leaving rough edges and exposing natural nail underneath. There are a few main causes of nail polish chipping:
- Using too many layers of polish – More than 3 coats can cause brittleness and cracking.
- Not allowing each layer to dry thoroughly before adding the next – Patience is key!
- Exposure to chemicals – household cleaners, acetone remover, etc. can break down layers.
- Physical trauma to the nails – impacts or snags lift up layers.
As soon as polish begins chipping, it’s best to remove and reapply for an evenly coated manicure. Depending on your nail chemistry and lifestyle, this may mean reapplying every 2-5 days. Using a base coat under polish can help extend wear by smoothing the nail and improving adhesion.
Cracking
Cracking happens when nail polish forms a fracture all the way through one or more layers. Often cracking initiates from the free edge or tip of the nail and propagates inward. Common causes include:
- Brittle, dry nails that don’t flex well
- Thick layers of polish that become rigid and inflexible
- Exposure to very cold temperatures that causes contraction
- Minor trauma that stresses the polish layers
Cracking compromises the protective barriers provided by nail polish. It’s best to remove and reapply polish at the first signs of cracking to prevent damage to the natural nail underneath. Consider moisturizing nails and cuticles before polish application.
Peeling
Peeling happens when a whole layer of nail polish detaches from the layer below, often starting at the tip of the nail and working inward. Polish will peel when:
- The layers of polish don’t bond together well
- Oil on the nail bed prevents proper curing and hardening
- Old, thick layers build up and lose cohesion
To prevent peeling, it’s important to remove all old polish and oils from nails before applying fresh coats. Peeling can lead to lots of missing patches, so it’s best to take off peeling polish right away and start over. Using thinner layers can help polish self-level and bond together too.
Fading
Unlike chipping or peeling, faded nail polish remains fully intact but loses intensity of color over time. There are a few reasons why polish fades:
- Exposure to UV light – sunlight and sources like tanning beds
- Contact with household chemicals that bleach color
- Thin layers that don’t have as much pigment
To prevent fading, apply an opaque base coat first and use 2-3 coats of polish for good color payoff. Additionally, top coats with UV absorbers can filter out some color-damaging rays. In general, darker colors hold up better against fading than pastels or neon shades.
At the first signs of dullness or wash-out tones, go ahead and treat yourself to a fresh manicure!
Conclusion
Knowing approximately how long nail polish takes to dry can help you plan your manicure timing. While most polishes will be dry to the touch within 15 minutes, allowing a full 1-2 hours of drying time will help ensure your manicure lasts.
Using quick-dry polishes and top coats, maintaining optimal temperature and humidity, prepping nails properly, and avoiding bumps or water exposure after painting nails will all contribute to faster drying polish.
With the right products and techniques, you can have beautiful, lasting nail color in no time. Happy polishing!


