How Long Does Sharpie Last On Nails?
If you love doing creative nail art designs but don’t want to deal with the hassle and expense of gel manicures or acrylics, using Sharpies to decorate your nails is an easy DIY option. But a common question is, just how long does that Sharpie nail art last before it starts wearing off or fading?
If you’re short on time, here’s a quick answer to your question: Sharpie nail art can last 1-2 weeks on natural nails before fading, and up to 4-6 weeks on gel polish or acrylic nails if properly sealed with a protective top coat.
In this comprehensive guide, we’ll cover everything you need to know about how to make Sharpie nail art designs last as long as possible. We’ll talk about tips for proper Sharpie nail art application and sealing, how long it lasts on natural vs. artificial nails, factors that affect longevity, how to touch up chipped Sharpie polish, Sharpie nail art removal, plus Sharpie nail art ideas and inspiration.
Proper Sharpie Nail Art Application
Prep Your Nails
Preparing your nails is a crucial first step for any Sharpie nail art design. Here are some tips for getting your nails ready:
- Start with clean, dry nails. Remove any existing nail polish and use a nail polish remover to get rid of any oils or residue.
- Shape and file your nails into your desired shape. Having even, smooth edges will help the Sharpie glide on easily.
- Use a nail dehydrator like alcohol or acetone to remove any moisture and oils from the nail surface. This helps the Sharpie ink adhere better.
- Buff the surface of your nails lightly to create a rough texture. This creates microscopic grooves for the Sharpie ink to settle into.
- Apply a base coat to further prep the nail. Let it dry thoroughly before Sharpie application.
Let Each Coat Dry
With Sharpie nail art designs, patience is key. You’ll need to allow proper drying time between Sharpie coats to achieve an opaque, vivid look.
- Allow 1-2 minutes of drying time between each coat of Sharpie ink. Rushing this step causes streaking.
- Apply Sharpie coats as thin layers, 2-3 coats is ideal for full coverage. Thick coats that pool can take much longer to dry.
- Shake the Sharpie pen occasionally to prevent ink pooling at the tip. This helps maintain smooth ink flow.
- Be sure to cap the Sharpie each time you set it down. This prevents the tip from drying out between coats.
- Wave hands to encourage airflow and speed up drying time. You can also use a hairdryer on a cool setting.
Apply Protective Top Coat
Adding a top coat is the final step for securing your Sharpie design. This seals and protects the artwork while adding a shiny finish.
- Use a fast-drying top coat formulated for nail art. Make sure Sharpie ink is totally dry first.
- Apply top coat carefully around edges to prevent smearing. Let it wrap over tips to seal completely.
- Two thin layers of top coat are better than one thick gloppy layer. Allow drying between coats.
- Reapply fresh top coat every 2-3 days. This maintains protection against chipping and fading.
- Consider using a water-resistant top coat for extra protection when washing hands frequently.
With the right prep and techniques, Sharpie nail art can last up to 1-2 weeks on natural nails and 2-4 weeks on gel manicures. Taking good care of your manicure helps extend that lifespan even further. So go forth and get creative with your own unique Sharpie nail art!
How Long Sharpie Lasts on Natural vs. Artificial Nails
On Natural Nails
Sharpies tend to last around 1-2 weeks on natural nails before beginning to chip and fade. Here are some factors that affect longevity:
- Nail prep – Properly cleaning and buffing the nails first allows the Sharpie ink to adhere better and last longer.
- Top coat – Applying a clear top coat over the Sharpie design seals it in and prevents early chipping or smearing.
- Nail oil – Excessive nail oil can break down the ink, so limit use of cuticle oils while rocking Sharpie nails.
- Hand washing – Frequent washing, especially with harsh soaps, can cause the ink to fade faster.
- Nail growth – As your nails grow out, the inked tips will gradually grow away.
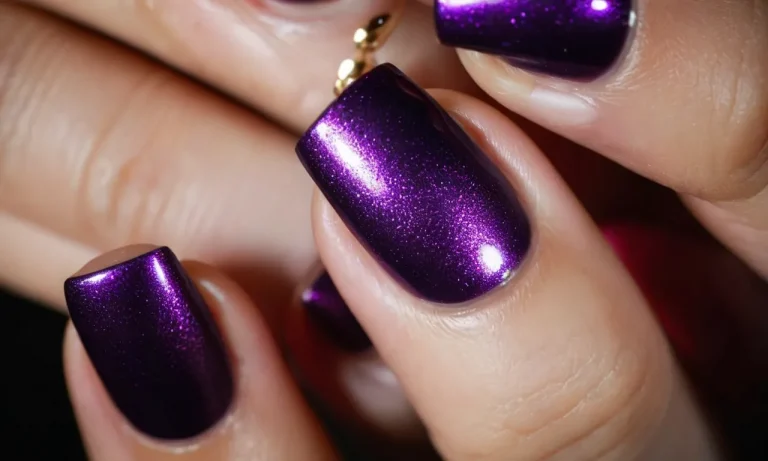
With careful prep and protection, Sharpie designs can last up to 2 weeks on natural nails. Bold, dark colors like black tend to have the best staying power.
On Gel/Acrylic Nails
The longevity of Sharpie nail art on gel or acrylic manicures is unparalleled. It can last 4-6 weeks or until the enhancement grows out.
There are a couple reasons gel/acrylics allow Sharpie designs to endure:
- The artificial enhancements create a smooth, non-porous surface for the ink to grip to.
- Gel and acrylic are more resistant to chipping and wear than natural nails.
- The cured gel or acrylic layer protects the Sharpie ink underneath.
Even on enhancements, proper nail prep and top coat will maximize wear time. Bold Sharpie colors stand out best against neutral gels or acrylics.
Factors Affecting Sharpie Nail Art Longevity
Nail Condition and Oiliness
The oiliness and overall condition of your nails significantly impacts how long Sharpie nail art will last. Sharpies adhere much better to properly prepped nails that are free of moisture, dirt, oil, and cuticle overgrowth. Wiping nails with isopropyl alcohol prior to applying Sharpie ink removes excess moisture and oil, allowing for better ink transfer.
Keeping cuticles trimmed and pushed back also helps the Sharpie ink grab onto the nail plate surface better. Overly oily nail beds tend to lead to faster fading and chipping of Sharpie designs.
Activities and Nail Stress
The types of activities you do while wearing Sharpie nail art affects longevity. Exposure to water is the biggest concern, as it can cause immediate smearing and fading of uncured Sharpie ink. Activities like household cleaning, bathing, swimming, etc. shorten the life of Sharpie designs.
Physical impacts like typing, grabbing items, scraping nails against surfaces also lead to chipping. Try to avoid nail stress as much as possible the first 24 hours after applying Sharpie art for maximum longevity.
UV Exposure
In general, excessive sun exposure fades Sharpie ink faster due to the UV radiation. However, some limited UV exposure can actually help set and cure the Sharpie on nails.
Wearing nail art UV gel top coat helps block UV rays from degrading the Sharpie pigments underneath, making designs last longer.
Number of Coats
Applying multiple coats of Sharpie ink helps it adhere better and last longer on nails. With only a single swipe of color, the ink bonds weakly to the nail surface. However, layering 2-4 thin coats enables more pigment transfer and stronger nail adhesion.
The caveat is that multiple coats increase dry time. Make sure to allow each coat to dry before adding the next. Check out this comparison:
| Number of Coats | Longevity | Dry Time |
|---|---|---|
| 1 coat | 1-4 days | Fast |
| 2-3 coats | 5-14 days | Moderate |
| 4+ coats | 15-28 days | Slow |
As you can see, the tradeoff for longer-lasting Sharpie nail art is increased dry time between coats. Plan accordingly based on your schedule and patience!
Touching Up Chipped Sharpie Polish
We’ve all been there – you’ve just finished painting your nails with a gorgeous Sharpie design, only to have it start chipping within a day or two. It’s frustrating when your nail art doesn’t have the staying power you were hoping for.
But don’t worry, with a few simple tips you can easily touch up chipped Sharpie polish and keep your manicure looking fab for longer.
Use a Top Coat
One of the best ways to prevent Sharpie polish from chipping is to apply a regular clear top coat over your design. The top coat creates a protective barrier over the Sharpie ink, helping to seal it in place.
When you first notice some chips starting, simply clean up the nail, reapply a fresh top coat to the area, and smooth it out – good as new! Using a fast-drying top coat works best. Reapply every 2-3 days to maintain protection.
Have Sharpie Pens on Hand
When you inevitably get some chips, it’s handy to have the same Sharpie pens you used for your original design within reach for quick touch-ups. That way you can precisely fill in any missing spots and make it look like nothing happened. Using the matching colors helps the touch-up blend right in.
Store your Sharpie nail art pens together in a cute cup or pouch so they’re ready when you need them.
Use Nail Polish if the Chipping is Extensive
If large portions of your Sharpie design have chipped off, you may want to use regular nail polish for the touch-up instead of a Sharpie. This helps build up coverage and adherence. Simply repaint the chipped sections just like you would with normal polish.
If the surrounding Sharpie ink gets a little blended over too, that’s okay. Focus on recreating the overall design. The colors won’t match exactly, but it will look presentable until you have time to redo the full manicure.
Consider Longer Lasting Top Coats
If you find your Sharpie manicures are chronically quick to chip, try switching to a more heavy-duty top coat formulated to deliver additional durability. Top coats like Seche Vite, Essie Gel Setter, and OPI Super Stay are known for major staying power.
The added flexibility can help Sharpie ink adhere better as nails bend. Experiment to find your perfect chip-free top coat match.
Use an Adhesive Base Coat
For even more insurance against chips and smudges, apply an adhesive base coat before painting on your Sharpie polish. The grippy base coat keeps the Sharpie firmly in place on your nail. Orly Bonder and CND Stickey are popular sticky base options.
Just be sure to let it get nice and tacky before starting your Sharpie manicure for optimal hold.
Avoid Excess Water
Since Sharpie is not actually an nail polish formula, it can be more prone to running when wet. Try to minimize direct water exposure when you have Sharpie nails to keep the ink looking sharp for longer. Wear gloves for dishes and housecleaning.
And give polish time to fully harden before showering or swimming. A little caution goes a long way.
Reapply Between Manicures
To maximize your Sharpie manicure’s lifespan, don’t wait until it’s a cracked mess before doing touch-ups. Check for fading or minor chips a few days after painting and proactively fix them. A few quick extra layers over trouble spots whenever you notice them keeps your nails looking great until you’re ready for a whole new design.
Staying on top of touch-ups is key.
With the right tips and tricks, you can keep your beautiful Sharpie nail art looking fab for 7-10 days or more before needing a redo. Invest in a good top coat, keep your Sharpie pens at the ready, and touch up chips as soon as they appear.
With a bit of TLC, your chic Sharpie manicure can go the distance.
Removing Sharpie Nail Art
With Nail Polish Remover
Using nail polish remover is one of the most effective ways to remove Sharpie nail art. Here are the steps to remove Sharpie from nails using nail polish remover:
- Apply a generous amount of pure acetone-based nail polish remover directly onto the Sharpie nail art. Make sure to soak the nails completely.
- Let the nail polish remover sit on the nails for 2-3 minutes. This allows time for the acetone to break down the inks in the Sharpie marker.
- Gently rub the nail polish remover into the Sharpie stain using a cotton ball or pad. The ink should start lifting off the nail.
- For stubborn stains, you may need to gently scrape the nail surface with an orangewood stick or edge of a credit card.
- Once the ink is removed, rinse your nails with water and apply nail oil or cuticle cream. This helps rehydrate the nails after exposure to harsh acetone.
The key is using 100% pure acetone remover. Acetone-free nail polish removers lack the strong solvents needed to break down Sharpie ink. You may need to repeat the process 2-3 times for dark or metallic Sharpie nail art.
With Time and Re-growth
Another simple option is to just let the Sharpie nail art fade away naturally over time. As your nails grow out, the Sharpie ink will grow out with it. Here’s what to expect:
- On natural nails, it takes 4-6 weeks for nails to completely regrow from the cuticle to the free edge. So Sharpie stain may last up to a month before growing out.
- Artificial gel or acrylic nails take 2-3 weeks to grow out completely. So Sharpie stain won’t last as long.
- You can trim your nail tips often to make the stained parts shorter.
- Use nail files and buffers to thin out the stained layers as the nails grow.
- Avoid using dark polishes or overlays on the nails, as it makes the Sharpie less visible.
Letting Sharpie fade away on its own takes more time but avoids the drying effects of nail polish remover. It’s the safer option for those with weak or damaged nails. You can also try creative nail art to mask the stained nails as they grow out!
Sharpie Nail Art Inspiration and Ideas
Colorful Abstract Designs
Sharpie markers are perfect for creating colorful abstract nail art. You can make cool geometric shapes, waves, zigzags, stripes and other funky patterns. The best part is that the vibrant Sharpie ink really pops against the nail and lasts a long time without chipping.
Get creative with different color combinations like neon rainbows or deep jewel tones. Sharpie nail art is a fun way to accessorize your nails for a music festival, night out or any time you want to add an extra pop of color!
Geometric Patterns
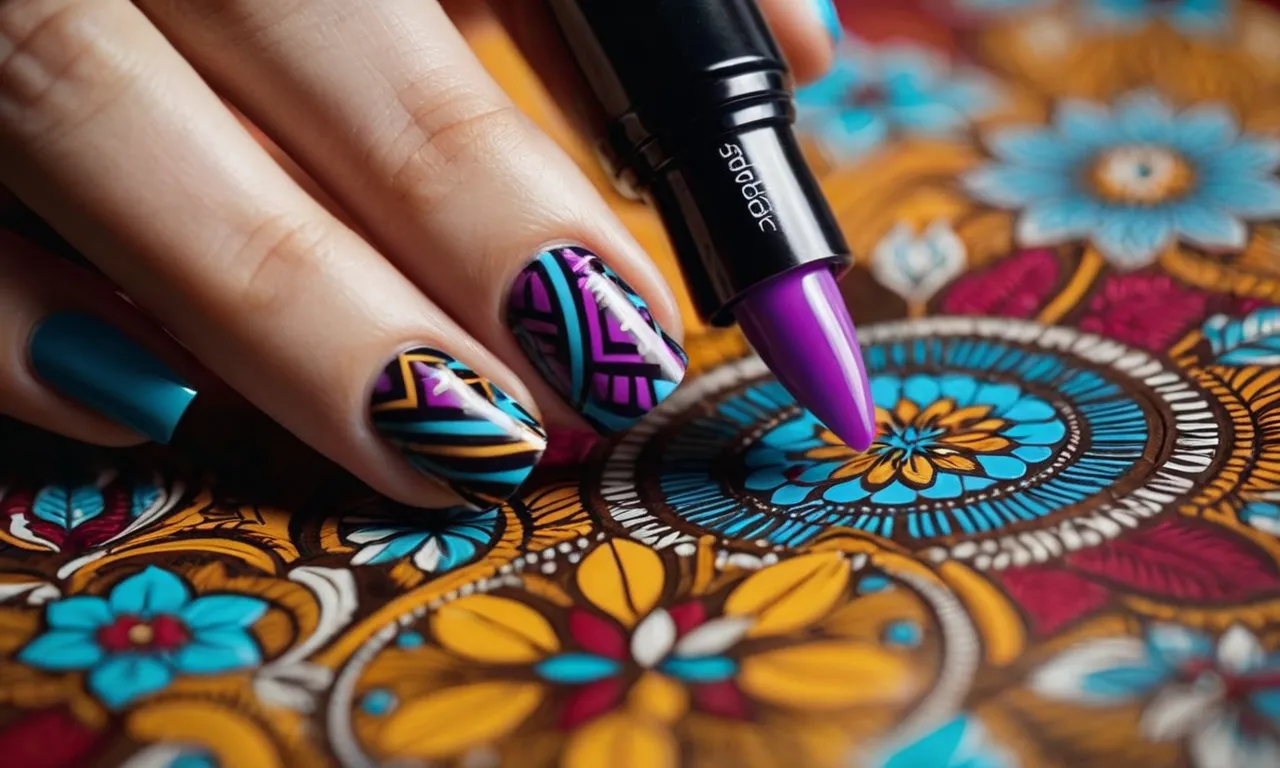
From chevrons to aztec prints, geometric nail art never goes out of style. Sharpie markers make it easy to draw clean lines and shapes for mesmerizing manicures. Some cool geometric ideas include triangle patterns, parallel lines, polka dots and abstract shapes.
You can keep it minimalist with just black ink or opt for a more colorful look with multiple Sharpie hues like red, blue, green and purple. Upgrade your basic french manicure by drawing on geometric tips.
The possibilities are endless for creating trendy nail designs with these bold permanent markers!
Florals
Pretty floral nail art is always in bloom! Sharpie markers allow you to hand draw flower designs for a fresh and feminine manicure. Sketch cute daisies, roses, tulips, leaves and vines for spring vibes all year round. Florals look great on one accent nail or as a full set design.
You can keep it simple with just black ink or go for a more vibrant look with pops of color. Draw delicate florals with thin brush pens or make big, bold blooms with wider Sharpie markers. No special skills required! Let your inner artist flourish with flower power nail art.
Holiday Art
Show your holiday spirit on your nails with festive Sharpie designs! Get creative with drawing Christmas trees, snowflakes, Santa hats and reindeer for December. Hearts and cupids are perfect for February Valentine’s Day nails.
Pumpkins, bats and ghosts are an easy way to get your nails in the Halloween spirit. You can also draw fun patriotic designs with red, white and blue for July 4th. Or go green for St.Patrick’s Day in March! Sharpie markers make it so easy to create cute holiday nail art.
Not only is it budget-friendly, but the vibrant Sharpie ink lasts much longer than polish without chipping or fading.
Conclusion
While Sharpie nail art doesn’t last nearly as long as a gel manicure or professional nail art, it’s a fun way to quickly change up your nail look without much commitment. Follow the tips in this guide for maximizing longevity of your Sharpie designs.
And don’t be afraid to get creative and express your personal style with easy Sharpie nail art!