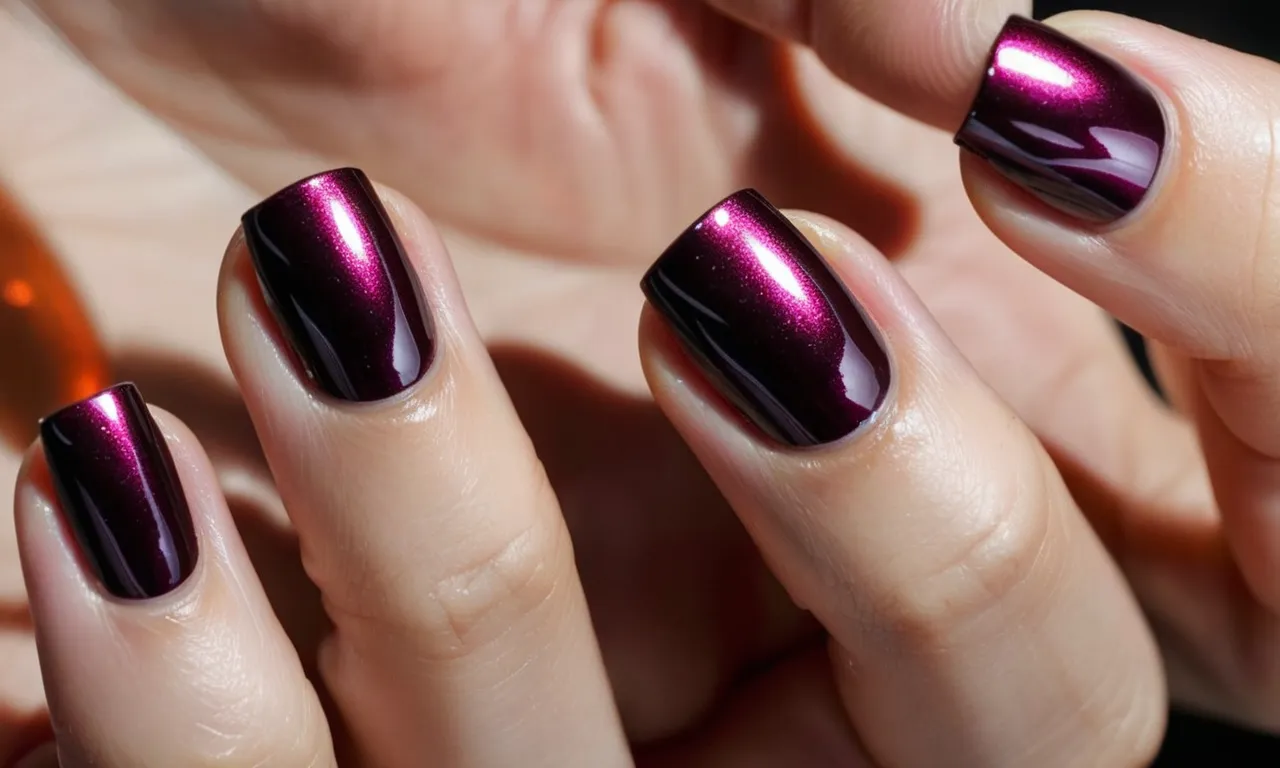
How Long Does Opi Nail Polish Last?
If you love using OPI nail polish for its vast color selections and quality formula, you may be wondering – how long does it actually last on nails before starting to chip and fade? With the right prep and top coat, an OPI manicure can stay chip-free for up to 7-10 days.
If you’re short on time, here’s a quick answer: With proper nail prep and using a base coat and top coat, an OPI nail polish manicure can last around 7-10 days before needing a touch up or full removal and replacement.
In this comprehensive guide, we will cover everything you need to know about making OPI nail polish last as long as possible, from proper nail prep, base coats and top coats, dry time, removal, and more. Read on for tips from manicurists for maximizing the life of an OPI manicure!
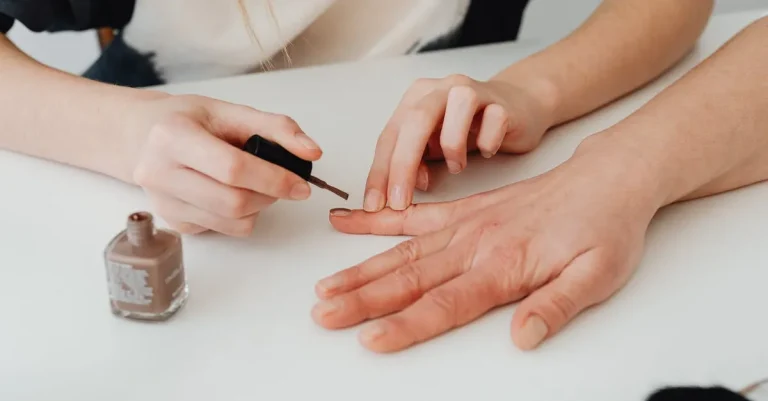
Proper Nail Prep
Cuticles & Shaping
Properly shaping and caring for your cuticles is a critical first step when doing your nails. Here are some tips for prepping your cuticles before polish:
- Soak your nails in warm water mixed with a cuticle softener for 5-10 minutes. This will soften and loosen the cuticles.
- Use a cuticle pusher/stick to gently push back your cuticles, which exposes more of the nail surface for polish application.
- Never cut your cuticles! Just push them back gently.
- Use cuticle nippers/scissors to lightly trim off any excess or loose pieces of cuticle. Be very careful not to trim any live tissue.
- Use a nail file to shape your nails. File in one direction starting from the outside corners to the center. Don’t saw back and forth.
- Finish by rubbing cuticle oil into the nails and cuticles to hydrate and nourish.
Buffing the Nail
Buffing your nails prior to polish application can help the manicure last longer. Here’s how:
- Use a coarser nail file to lightly buff the surface of each nail. This removes any shine and creates microscopic ridges for the polish to adhere to.
- Be sure to buff in one direction across the nail to avoid weakening it. Buff side-to-side rather than back and forth.
- Avoid over-buffing as this can thin the nails. Just a few light strokes per nail is enough.
- Wipe nails with a lint-free wipe or cotton pad and acetone/alcohol to remove any nail dust after buffing.
- The nail surface should look matte or frosted once buffed. This is ideal for polish application.
Dehydrator & Primer
Using a dehydrator and primer can dramatically improve manicure wear. Here’s how they work:
- A dehydrator liquid applied before base coat removes oils and moisture from the nail surface for better polish adhesion.
- Popular brands like CND Super Shiney and Seche Clear work well. Let the dehydrator liquid dry 1 minute before moving on.
- A nail primer adds a tacky layer that helps bond base coat and polish to the nail. It fills in microscopic ridges for a smoother finish.
- Apply a thin layer of primer like OPI Natural Nail Base Coat or Essie First Base. Let dry before applying color.
- Using both a dehydrator and primer ensures a long-lasting, chip-resistant manicure!
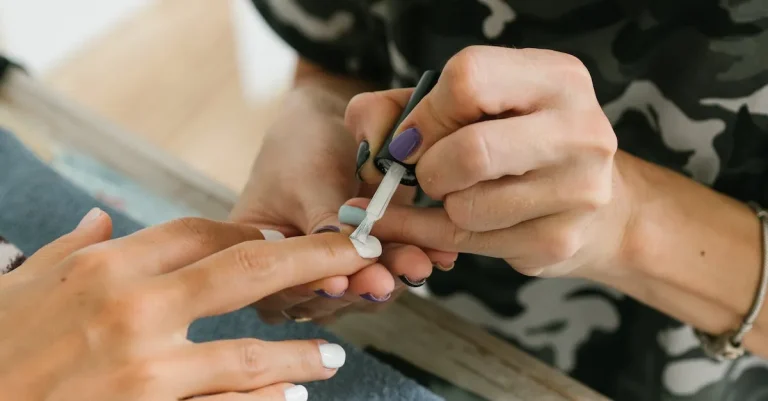
Base & Top Coats Are Key
Choose The Right Base Coat
A quality base coat is crucial for protecting natural nails and allowing nail polish to adhere properly and last longer. According to nail care experts, choosing a base coat formulated for your specific nail needs is key.
For example, those with weak or brittle nails should use a strengthening base coat infused with nutrients like vitamins, green tea extract, or calcium. Using a nail hardener base coat can improve nail health over time.
If you get gel manicures, be sure to choose a base coat specially made for use with gel polishes. Using a regular base coat under gel polish can lead to chipping and peeling.
It’s also important to apply base coat evenly over the entire nail and let it dry thoroughly before painting color. Rushing this step can undermine longevity!
Don’t Forget The Top Coat
Applying a quality top coat is equally important for extending the wear of your manicure. Top coats help prevent chipping by adding a protective barrier over nail polish color.
Standard top coats provide solid protection, while quick-dry varieties (like OPI’s Quick Dry) set polish faster. There are even top coats infused with strengthening formulas to condition nails over time.
Using a top coat could double or triple the wear of your manicure! For the longest-lasting results, reapply top coat every second day.
So don’t let your beautiful nails go to waste. Pair your nail color with the right base and top coats for a noticeably extended manicure.
Let Each Layer Dry Fully
When applying OPI nail polish, it is crucial to let each layer dry completely before adding another coat. This prevents bubbling, smudging, and other application issues that can ruin your manicure. Here are some tips for letting your OPI polish dry properly:
- Wait 2-3 minutes between coats for regular nail lacquer. OPI’s classic lacquers need a couple minutes to set before applying another layer.
- Allow 5-10 minutes for gel polish. OPI GelColor and Infinite Shine lines require more drying time between layers since they cure under LED light.
- Check if the layer feels smooth and not tacky before adding the next coat. Running your finger across the polish should feel smooth with no imprint.
- Wave your hands to encourage drying. Gently waving your hands back and forth can help speed up drying time.
- Keep your hands flat and still once polish is applied. Resting them flat on a table prevents smudging while the lacquer sets.
- Don’t touch the wet polish! Early contact can cause major fingerprint imprints or drag marks.
- Use a quick dry spray if in a rush. Applying a nail polish dry spray after each layer can cut down drying time.
Following these tips religiously is key for long-lasting manicures with a smooth, professional finish. Having patience goes a long way since rushing the process can ruin the polish. An extra minute or two of drying time allows OPI lacquers to cure properly so they last over a week without chips or scratches.
Remember – good things come to those who wait!
Removal & Reapplication
How to Remove OPI Nail Polish
Removing OPI nail polish can be quite easy if you use the right products. Here are some tips for getting it off efficiently:
- Use pure acetone – This strong nail polish remover works better than ones with added moisturizers or vitamins which can leave residue.
- Soak cotton balls and hold on nails for 10-15 seconds – The acetone will break down the polish and make it easier to wipe off. Don’t rub too roughly.
- Use foil wraps – For a convenient at-home method, wrap nails with acetone-soaked cotton and aluminum foil. Leave on for 5-10 minutes before unwrapping.
- Try an acetone soak – Submerge just the nails in a small bowl of pure acetone for 5-10 minutes for removal.
- Use a nail polish remover pot – These handy tools make acetone soaks easy and mess-free.
- Don’t pick or peel – This can damage the nail bed. Let the acetone do the work.
- Moisturize after – Replace oils stripped by acetone with cuticle oil or nourishing hand cream.
With the right acetone remover and technique, OPI polish can lift off cleanly in minutes without drying out the nails and cuticles.
How Often to Reapply
When it comes to reapplying your OPI nail lacquer, it really depends on factors like the condition of your nails, your lifestyle and preferences:
- Every 3-5 days – For most people, OPI polish lasts around a week before starting to chip and fade.
- When chips appear – Don’t wait for full chips. Touch up when you notice polish wearing down at the tips or edges.
- After hand washing – Frequent washing can cause OPI color to fade faster. Reapply a thin coat after to revive shine.
- If you work with your hands – Exposure to cleaning chemicals, soil, etc. can break down lacquer quicker.
- When growth is visible – As your natural nails grow out, polish can start to separate. Reapply to camouflage.
- Before special events – Freshen up your OPI manicure before dates, parties, photoshoots and more.
OPI polish can last surprisingly long without touch-ups thanks to its durable lacquer. But don’t be afraid to reapply as needed to keep nails looking fab.
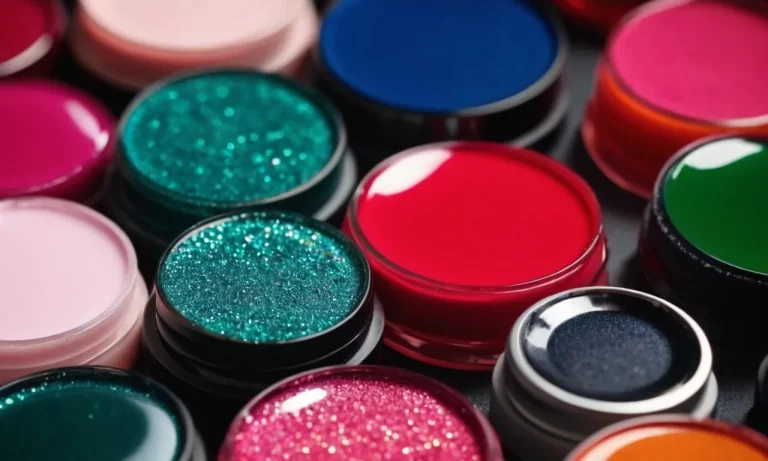
OPI Nail Polish Ingredients & Formulas
Key Ingredients
OPI nail polishes contain several key ingredients that give them their durability, color, and glossy finish. Some of the main ingredients include:
- Nitrocellulose – The primary film-forming agent that gives nail polish its glossy finish and helps it adhere to the nail.
- Adipic Acid/Neopentyl Glycol/Trimellitic Anhydride Copolymer – A binding polymer that improves the flexibility and durability of the polish.
- Acetyl Tributyl Citrate – A plasticizer that makes the polish more flexible and less prone to chipping or cracking.
- Isopropyl Alcohol – Quickly evaporates from the polish to help it dry fast once applied to the nails.
- Acrylates Copolymer – Adds shine and enhances the flow of the polish.
- Benzophenone-1 – An ultraviolet light absorber that protects the color pigments from fading.
- Red 7 Lake (CI 15850) – A typical red pigment used in red shades of OPI polish.
- Titanium Dioxide (CI 77891) – A white pigment used to create lighter colors and add opacity.
These ingredients allow OPI polishes to go on smoothly, offer rich and vibrant color, and create a durable manicure that resists chipping, scratching, and fading. They’ve helped make OPI a leader in quality professional nail lacquers.
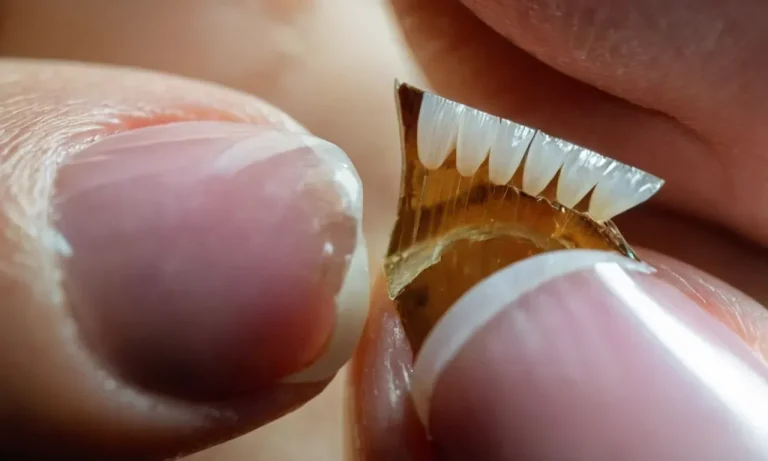
Different Formulas Explained
In addition to its classic nail lacquer collection, OPI offers several specialty formulas designed for different purposes:
- OPI Infinite Shine – Contains a higher concentration of binding polymers for extra durability and a glossy finish that lasts up to 11 days without chipping or peeling.
- OPI GelColor – Soak-off gel polish that cures under an LED or UV lamp to form a flexible, high-shine finish that lasts 2-3 weeks on nails.
- Nature Strong – Nail lacquers made with 85-100% naturally derived ingredients like bamboo extract and corn starch.
- DripDry Lacquers – Fast-drying polishes that set in just one minute without requiring heat from a lamp.
- Powder Perfection – Hybrid polish with acrylic powder for strong, resilient nails that can last over 2 weeks without chipping.
While formulations vary, all OPI polishes uphold the brand’s standards for premium quality and are designed to be long-wearing. With proper prep and care, most OPI colors can deliver up to 7 days of chip-free wear on natural nails.
Conclusion
With some diligent prep work, patience during the manicure process, and properly sealing in your color with base and top coats, you can expect an OPI nail polish manicure to last around 7-10 chip-free days on most nail types.
Using cuticle oil daily and avoiding excessive water exposure will also help prolong the life of your lacquered tips!
We covered all the key techniques for making OPI nail polish stand the test of time, from proper nail shaping and buffing, to top coats that protect color and prevent early chipping and wear. With this handy guide under your belt, you can rock a flawless OPI mani for over a week!