How Do Polygel Nails Work? A Detailed Guide
If you’ve scrolled past stylish nails on Instagram or seen them at your local nail salon, you may have wondered, how do polygel nails work? This polymer-based gel is a hot trend in nail extensions that promises a lighter, more natural look and feel than acrylics or hard gels.
In short, polygel is applied on top of your natural nail and cured under UV or LED light to give you a durable nail overlay that can last 2-3 weeks. But there’s more to polygel than what meets the eye.
Read on as we dive deeper into understanding the technology, application process, and upkeep for beautiful polygel nails.
What Is Polygel?
Polygel Definition and Ingredients
Polygel is a durable and flexible nail enhancement product used to sculpt, extend, and strengthen natural nails. It contains a unique polymer powder that gives it a thick, clay-like texture perfect for building strong nail extensions.
The main ingredients in polygel are:
- Methacrylate polymers – provide strength and flexibility
- Ethylene glycol dimethacrylate – helps sculpture and shape the product
- Hydroxymethyl methacrylate – creates strong adhesion to the natural nail
- Benzoyl peroxide – initiates the hardening process
- Pigments and glitter – add color and effects
Unlike acrylics, polygel does not require mixing with a liquid monomer. The polymers are pre-activated, so the product hardens under UV or LED light. This makes application easier and reduces exposure to harsh chemicals.
How Polygel Differs from Other Nail Enhancements
Polygel has some major differences from other sculpting products like acrylic and hard gel:
- Thicker consistency – can be molded and shaped like putty
- Pre-mixed formula – no mixing required
- Soak-off removal – does not need heavy filing/drilling
- Flexible finish – less likely to crack or break
- Light curing – initiates hardening with UV/LED light
In comparison, acrylic powder has a runny liquid consistency before hardening. It requires precise mixing with a liquid monomer. Hard gel is thin and spreads like polish. It cures naturally in air without light activation.
The putty-like texture of polygel makes it very easy to apply. It can be molded into any shape with professional sculpting tools. And the flexibility means enhanced nails can bend and move with the natural nail, resisting cracks and chips.
This durability means polygel manicures can last up to 3 weeks with proper application and care!
The Polygel Nail Process Step-By-Step
Prep – Clean and Shape the Nails
The first step when doing a polygel manicure is to properly prep and clean the natural nails. Start by trimming and filing each nail into the desired shape. Use a nail file to gently buff away any shine from the natural nail plate. This helps the polygel adhere better.
Next, use nail prep solution or 99% isopropyl alcohol to thoroughly cleanse each nailbed. This removes any oils and debris so the polygel application will last. Having properly prepped nails is the key first step for long-lasting polygel nails.
Apply Nail Tips or Forms
After prepping, the next step is to apply either nail tips or forms to help sculpt and extend the nail shape. Nail tips are great for adding length instantly. Lightly buff the inside of the tips then glue them on using nail adhesive. Make sure the tips line up with the natural nail edge.
If not using tips, apply nail forms instead. Fit these underneath the free edge to add extension. Many technicians prefer forms as they allow complete control over the final nail shape.
Brush On Polygel and Shape
Now the fun part – applying the polygel! Squeeze a small bead of polygel onto the nail form or tip. Use the brush to pat and press it into place, covering the entire nail. Polygel has a clay-like texture making it easy to sculpt seamlessly.
Shape the polygel into the desired style – square, oval, coffin etc. The thickness should be 2-3mm for strength and structure. Take care applying around the cuticles for a clean finish. Work on one nail at a time until all 10 are coated in polygel.
Cure Under LED/UV Light
Once applied, each nail must be cured under either an LED or UV nail lamp. This hardens and sets the polygel. Cure time is usually 30 seconds under LED or 2 minutes under UV. Be sure to properly cure the top, bottom and sides of each nail to prevent lifting or cracking.
Proper curing is essential for getting the most durability from polygel nails. After curing all 10 nails, wipe away the tacky inhibition layer with prep solution.
File and Shape for Final Touches
The last step is filing and shaping for a flawless finish. Use a coarse nail file to shape the extended tip and smooth the surface. File at the sides to create a symmetrical shape. Switch to a fine grit file and buff the nails to remove any ridges or lumps, creating a glossy shine.
The polygel should now have a natural flush with the cuticle and sides. Finish with a nourishing cuticle oil to hydrate the surrounding skin. And that’s it – beautiful sculpted nails using polygel!
Caring for and Maintaining Polygel Nails
Regular Filing and Shaping
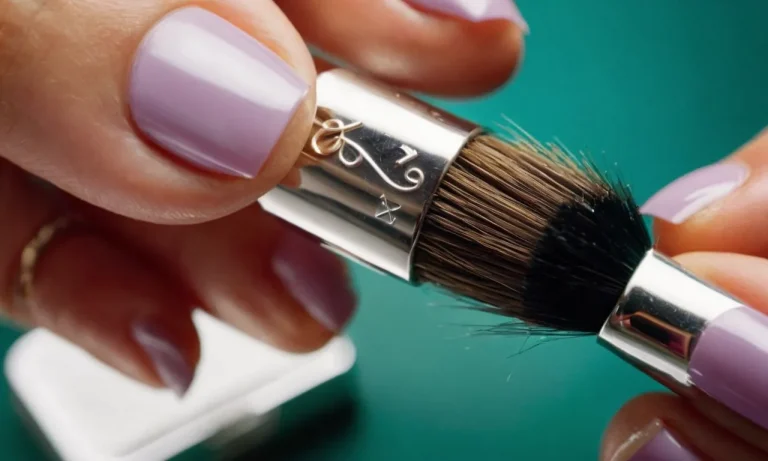
One of the most important parts of caring for polygel nails is regular filing and shaping. Polygel nails can be prone to lifting and cracking at the edges if not filed properly, so it’s important to file them every 2-3 days.
Use a 100/180 grit file to lightly shape the nails and smooth any bumps or ridges. Be very gentle during filing – polygel is flexible, but filing too aggressively can cause breaks. After filing, buff the nails with a soft nail buffing block to create an even, smooth surface.
Shorter nail lengths are ideal for polygel – keep them filed to a manageable length to avoid excessive stress on the extensions that could lead to cracks or breaks. Proper shaping and filing helps polygel nails last longer!
Cuticle Care
Caring for the cuticles is crucial for healthy, long-lasting polygel nails. The cuticles act as a seal to prevent bacteria and moisture from entering and compromising the nail extension. Use a cuticle remover gel to gently push back and remove any excess or overgrown cuticle from the nail plate.
Avoid cutting or tearing the cuticles, as this can lead to inflammation or openings for infection. After removing excess cuticle, apply cuticle oil around the nail and gently massage it in using circular motions. This hydrates the cuticles and nails to keep them flexible.
Repeat the cuticle care routine at least twice a week to keep the nail extensions looking their best. Proper cuticle care promotes polygel nail longevity and prevents lifting or damage.
Using Cuticle Oil and Hand Cream
Incorporating cuticle oil and hand cream into your regular nail care regimen is highly recommended to maintain strong, healthy polygel nails. The acrylic and gel used to apply polygel extensions can dry out the nails and make them brittle over time.
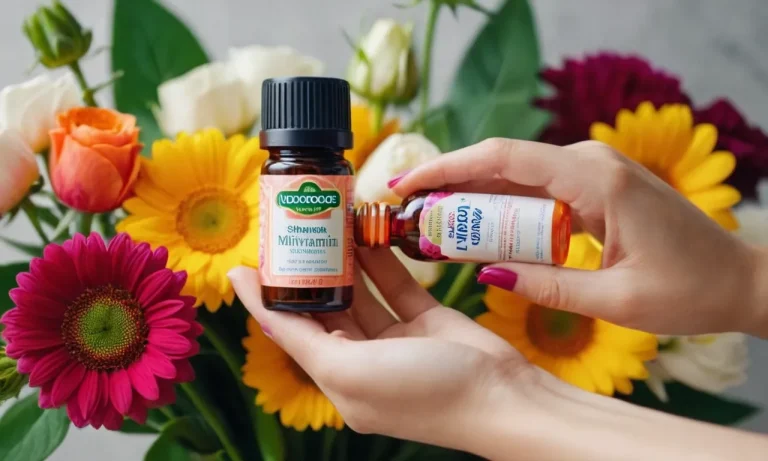
Applying cuticle oil 1-2 times per day keeps nails and cuticles hydrated. Look for cuticle oils containing moisturizing ingredients like vitamin E, coconut oil, and jojoba oil. Massage a few drops into the cuticles and nails each time.
Hand cream works wonders too – look for a rich formula containing shea butter, vitamin E, or cocoa butter and apply it all over the hands and fingers several times a day. Keeping the nails and skin well-conditioned prevents lifting, cracking, and other damage.
Consistent use of cuticle oil and hand cream keeps polygel nails looking their flawless best!
Polygel Nails Removal and Reapplication
Soak Off Gel Polish
Removing polygel nails starts with soaking off the gel polish on top to reach the polygel underneath. Use pure acetone and aluminum foil to thoroughly dissolve the polish. Soak for 15-20 minutes until the shine is gone. Then, gently scrape away the softened gel with a cuticle pusher.
Don’t pull or peel, as this can damage the natural nail. Take your time and be patient during removal to avoid breaks or tears.
File Away Polygel
Now comes removing the polygel itself. Use a coarse nail file in a back and forth motion to abrade away the polygel’s top layer. Apply firm yet gentle pressure, filing from cuticle to free edge. Stop filing if you feel any discomfort. Once you expose the natural nail, switch to a finer grit file.
Buff the nail’s surface in one direction to smooth everything out. Fully removing polygel requires elbow grease, but avoid overfiling or you may weaken the nails.
Let Nails Breathe Before Reapplication
Give your natural nails a break before another polygel application. Let them breathe for at least a few days to recover moisture and nutrients. Use a deeply conditioning oil like jojoba or vitamin E and massage into the nails and cuticles. You can apply a hydrating lotion several times a day too.
If nails feel strong and healthy, with no lingering roughness or sensitivity, you can proceed with reapplication. Build up thin layers of new polygel and finish by sealing with gel polish. Going slow protects nails and allows them to last longer between removals.
Are Polygel Nails Safe? Potential Risks
Allergies and Sensitivities
Polygel nails are generally considered safe, but some risks do exist. The main concern is allergic reactions or sensitivities to the chemicals in the polygel formula. The methacrylate compounds can cause redness, itching, swelling, or peeling around the nail bed in those with allergies.
Do a 48-hour patch test on the arm before using any new polygel brand to check for reactions. Avoid brands with ingredients like HEMA, MMA, and ethyl methacrylate if sensitivities occur.
Overexposure to UV Light
Polygel nails require curing under UV or LED light. While modern curing lamps use less harmful wavelengths, overexposure can still cause burns, blistering, or pigmentation issues on the hands and fingers.
Be sure to apply sunscreen, sit at the recommended distance from the lamp, and avoid excessive curing times. The ideal curing procedure is 30 seconds under LED light for each layer.
Overfiling Natural Nails
To prepare the nails for polygel application, the natural nails are filed down to remove shine and enhance adhesion. However, overfiling can damage and thin out the natural nails, causing peeling, cracking, or breakage.
Nails should be filed gently with a 240/280-grit file, only until dull or matte in appearance. The natural nail plate should not be filed to the point of discomfort. Allow nails to rest and recover between polygel sets.
Conclusion
With a gorgeous, lightweight finish that can last weeks without chipping or cracking, it’s no wonder polygel nails have taken off. While polygel application takes skill and isn’t risk-free, understanding how it works helps you make an informed decision.
Now that you know the key steps of how polygel nails are done and how to care for them, you can discuss options with your manicurist if you choose to try this stylish nail extension. With proper application and removal, polygel nails can safely extend your natural length and upgrade your look!