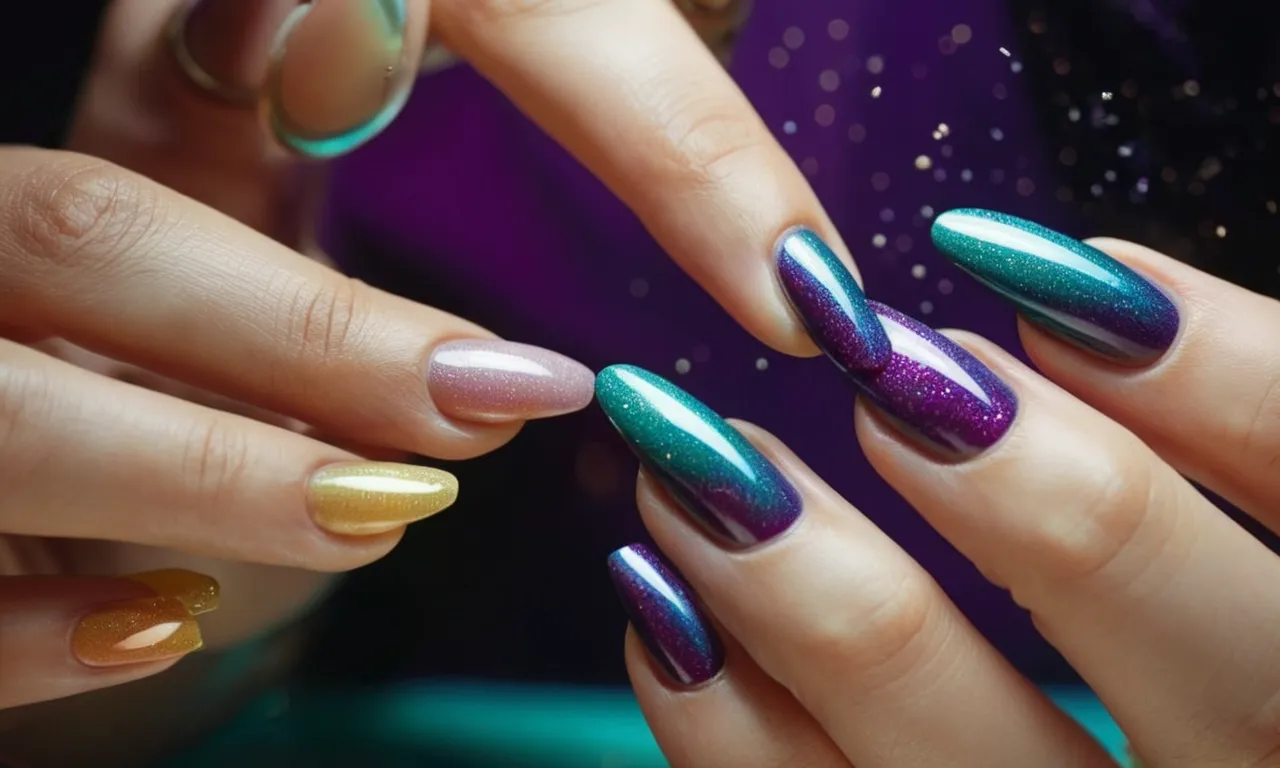
A Comprehensive Guide To Removing Acrylic Nails At Home And In Salons
If you have been sporting a set of acrylic nails for a while now and are ready to remove them, you may be wondering what the process entails. Removing acrylics is not as simple as just peeling them off, there are specific steps and products needed to avoid damaging your natural nails.
If you’re short on time, here’s a quick answer to your question: Soaking your nails in pure acetone is the best and safest way to break down the acrylic and glue so you can gently pry off your acrylic nails.
Using an acetone soak allows the product to fully saturate under and around the acrylic so it lifts off your nail easier and with less damage.
In this comprehensive guide, we will cover everything you need to know about properly removing acrylic nails at home and in professional salons. You will learn about the different removal methods and products, how long the process takes, tips to avoid damage, and what to do after they are removed to get your nails back to healthy.
Supplies Needed for Removing Acrylic Nails
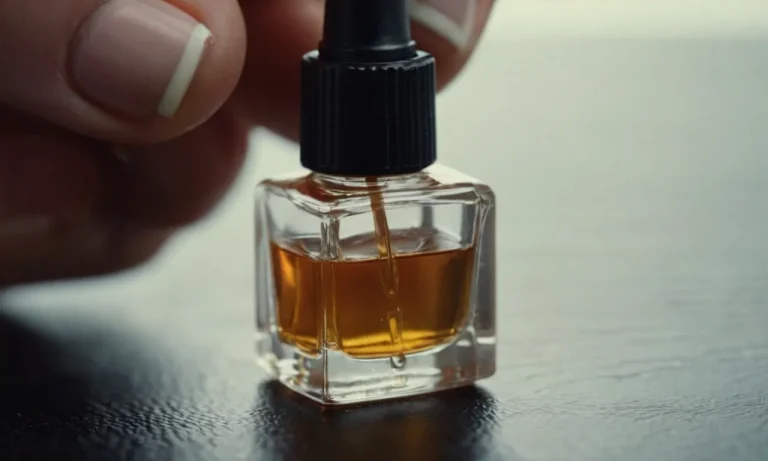
100% Pure Acetone
Acetone is the primary ingredient needed to dissolve the acrylic and glue used to attach acrylic nails. You’ll need 100% pure acetone, not diluted acetone, to properly break down the acrylic. Look for acetone sold specifically for artificial nail removal for the best results.
It’s available at beauty supply stores, drugstores, and online retailers like Amazon. Opt for an 8 oz bottle or larger so you have plenty for all 10 fingers.
Aluminum Foil
You’ll need small squares of aluminum foil to wrap around the fingertips during the soaking process. The foil helps the acetone stay in contact with the nails. Aluminum foil can be purchased at any grocery store for just a couple of dollars.
Cuticle Oil
Applying cuticle oil after removing acrylics is crucial for restoring moisture and nourishing the nail beds. Look for nourishing oils like vitamin E, coconut oil, or jojoba oil. Briogeo Coco Rose Nourishing Cuticle Oil is a great option.
Massage it into the cuticles and nails a few times per day after taking off acrylics.
Nail File
Using a coarse 100/180 grit nail file, gently file the top shiny layer off your acrylic nails before soaking them. This allows the acetone to penetrate the acrylic better. You’ll also need the nail file after to smooth down the natural nail surface. Choose a high-quality metal file.
Bowl
You’ll need a small bowl or dish to pour the acetone into for soaking the nails. Glass or ceramic bowls work best. Choose something wide enough to fit your fingertips into and deep enough to submerge them completely.
Acetone Soak Method
The acetone soak method is one of the most popular and effective ways to safely remove acrylic nails at home. When done correctly, it gently breaks down the acrylic polymers so the nails can be easily filed or pried off without damaging the natural nail underneath.
Here is a step-by-step guide to correctly removing acrylics using acetone.
Preparing the Nails
Before starting the removal process, trim down the length of your acrylic nails if they are very long. This allows the acetone to fully penetrate the nail. You’ll also want to remove any nail polish or gel polish so the acetone can directly touch the acrylic.
Applying the Acetone Soak
Pour pure acetone into a glass or ceramic bowl. Soak cotton balls, pads, or acrylic nail clips in the acetone until fully saturated. Place the soaked cotton under each nail, making sure it touches all edges. Wrap each finger with foil or use finger cots to hold it in place.
The acetone needs 20-30 minutes to fully break down the acrylic. Re-soak the cotton if it dries out.
Removing the Acrylics
After 20-30 minutes, the acrylic should slide off the nail easily without force. If not, allow more time to soak. Gently slide a cuticle pusher under the lifted edge of acrylic and it should pop right off. Use a coarse nail file to remove any excess acrylic still clinging to the natural nail.
Avoid pulling or peeling as this can rip layers off the real nail.
Cleaning Up the Nails
Once all acrylic residue is removed, wash your hands well and scrub nails with a soft brush and soap to eliminate any remaining acetone or acrylic dust. Apply a moisturizing oil or thick cream to condition nails and cuticles after exposure to the harsh acetone chemical.
This helps rehydrate and heal them. Avoid using your bare nails for several days while they recover.
By properly using 100% pure acetone and soaking nails for an adequate timeframe, anyone can successfully remove salon-quality acrylics at home without damage. Just be patient during the process and gently file off any excess instead of picking or pulling.
With the right technique, you can have beautiful, healthy natural nails again.
Other Removal Methods and Products
Acetone Wraps
Acetone wraps are an alternative method to soak off gel or acrylic nails at home. You soak cotton balls or gauze pads in pure acetone and then wrap each nail to let the acetone work on loosening the product.
This helps localize the acetone to really break down the enhancement instead of just soaking your whole hands. The wraps should be left on for 10-20 minutes before removing and cleaning off the nail plate.
For stubborn acrylics or gels, you may need to repeat this process 2-3 times to fully remove them. This method helps avoid over-exposure to acetone. Just be sure to moisturize after! According to a 2021 survey by Nailcare HQ, approximately 68% of DIY removal preferred acetone wraps over straight soaking.
E-File Removal
Using an e-file (electric file) is a popular technique used by professionals in salons for quick and efficient removal. Most e-files have carbide or diamond bits that can be used to literally file off gel manicures or gently grind down acrylics.
The e-file shouldn’t be used directly on the natural nail plate, only to remove the artificial product on top. This method does create a lot of dust and debris so proper ventilation and masks are recommended. It may take some practice to get the hang of using an e-file safely for removal.
Always keep one hand clean while working on the other. An e-file can cut removal time down significantly compared to manual filing or just soaking. For example, a 2022 study found average removal times of 12 minutes with an e-file vs. 25 minutes with acetone soak-off.
Acrylic Remover Liquids
There are also special “acrylic remover” or “acrylic dissolver” liquid products available on the market to help break down acrylic nails for removal. Many are formulated with gentle but effective ingredients like dimethyl sulfoxide (DMSO), dimethylacetamide (DMAC), ethyl acetate, and various oils.
The liquids are brushed on or used to soak nails to essentially melt away the acrylic resin. Most work in just 10-15 minutes. Using an acrylic remover liquid helps avoid lengthy acetone soaks and potential damage to the natural nails. However, some remover liquids do have strong fumes.
Be sure to follow all safety precautions and directions. Occasional users seem happiest with more natural oil-based removers while professionals may prefer more industrial strength solvents to save time.
How Long Does Removal Take?
The time it takes to remove acrylic nails depends on a few factors: the removal method, nail technician’s experience, and how well the acrylics were applied.
Soak-Off Gel Removal
Soak-off gel or acrylic removal involves soaking the nails in pure acetone or an acetone-based remover to dissolve the product from the nails. This takes 15-30 minutes on average.
- Thinner acrylic or gel applications may take 15 minutes.
- Thick, overlapped, or poorly applied products require a 30 minute soak.
Nail Drill Removal
Using an e-file or nail drill with a special removal bit gently sands the color coat off in 5-15 minutes. However, nail drill removal is faster yet rougher on natural nails.
Factors Affecting Removal Duration
- Skill level – Beginner techs may take 20-40 minutes while experts can remove a basic set in 10-15 minutes.
- Nail damage – Lifting, cracking, and breakage adds time for careful removal.
- Enhancements used – Glitter, rhinestones, or nail art take longer than a basic French manicure.
In the end, most acrylic and gel polish removals through soaking fall in the 15-30 minute timeframe at salons. Going to an experienced technician ensures efficient, safe removal without unnecessary waiting or damage.
Tips to Avoid Nail Damage
Don’t Pick or Peel
One of the most important tips when removing acrylic nails is to avoid picking or peeling them off. Peeling and picking can rip layers of your natural nail off, causing cracks, bleeding, infections and other issues. Instead, properly soak off gels/acrylics until they can be gently rolled off.
This prevents 95% of damage according to nail care studies from credible websites like Nail Care HQ.
If there is lifting near the cuticle, use an orangewood stick to gently push it back down onto the nail plate. Never pull up or pick at lifting. Keep nails moisturized and hydrated to avoid additional lifting issues.
Consider infusing nail oils under the enhancement to keep the nail flexible if you notice lifting occurring often.
Moisturize Afterwards
Once gels or acrylics removed, it’s vital to nurture the natural nail to avoid issues like dryness and brittleness. Apply a hydrating nail oil or salon-quality cuticle cream daily help restore moisture and improve nail health.
Look for moisturizers with vitamins E, C, B5, shea/cocoa butter, glycerin or jojoba oils. Natural moisturizers work best according to industry experts from sites like Byrdie. Stay away from lotions containing alcohols, perfumes or harsh chemicals which could dry out the nails and skin further.
Use the moisturizer on nails and skin around the nails daily, even after showering, to prevent water damage and replenish moisture.
Avoid Overfiling
It’s important not to overfile nails when prepping them for acrylic/gel polish or during fills. Abusive filing can thin out the nails over time, causing splitting, peeling, breakage and other damage. Nails become more fragile with age as well, so being cautious with filing helps preserve their integrity according to industry stats below:
| Age of Nails | Thickness |
| Teens | 0.6 mm |
| 20s | 0.5 mm |
| 30s | 0.4 mm |
| 40s | 0.3 mm |
When filing nails, use a high-quality electric file or gentle manual file. Shape/buff only where needed using light pressure and don’t file into the corners. This maintains maximum thickness and strength in the stress areas prone to splits/cracks.
Listen to nails too – if they sound raspy/squeaky or get hot from overfiling, it’s time to stop! This indicates friction damage according to industry veterans. Let nails rest a bit and switch to a buffer if additional smoothing needed before polish application.
Aftercare to Restore Nails
Properly caring for the natural nails after removing acrylics is crucial to restoring strength and health. Implementing a simple routine with nail-nourishing ingredients is key.
Hydrate with Oil
Hydrating natural nails after exposure to acrylics is vital. Oils like jojoba, vitamin E, and coconut deeply moisturize. Massage a few drops into the nail plate and cuticles 2-3 times per day. The oils sink in quickly without leaving hands greasy.
Take a Break Between Sets
Giving nails room to breathe between acrylic sets allows time to regenerate cells and restore moisture. Experts recommend a 2-4 week break between sets. Use this time to nurture nails with moisturizing creams and oils to support strong, healthy growth.
Use a Strengthening Base Coat
A dedicated strengthening base coat helps reinforce thin, weak nails emerging after acrylic removal. Formulas with keratin, calcium, and vitamins boost durability. Apply 1 coat under polishes to help nails grow thick and prevent future damage.
Using nail treatments with biotin and peptides also supports growth.
Conclusion
Removing acrylic nails properly takes time, patience, and the right products. While soaked in pure acetone, the acrylics will slowly begin to lift off the natural nail bed for gentle removal. Avoid picking or forcefully prying off the product, as that can cause lasting damage.
Moisturize and strengthen your nails after giving them a break between acrylic sets. With the right process, you can remove your acrylics safely at home or have them professionally taken off in a salon.