Everything You Need To Know About Glue On Press On Nails
False nails have become an extremely popular nail enhancement option for people looking to achieve picture-perfect nails without spending hours at the salon. Press on nails, in particular, provide a quick and easy way to get a flawless manicure in minutes. But what about glue on press on nails?
Are they better than traditional press ons?
If you’re short on time, here’s a quick answer to your question: Glue on press on nails provide a more secure and long-lasting alternative to regular press ons. The glue helps the false nails adhere more strongly to your natural nails.
This prevents lifting, popping off, and other issues associated with press on nails.
In this comprehensive guide, we will cover everything you need to know about glue on press on nails. You’ll learn about the different types of press on nails, the benefits of using nail glue, application tips, removal process, and much more.
We’ll also provide press on nail recommendations based on nail shape, style, and unique use cases so you can find your perfect fit.
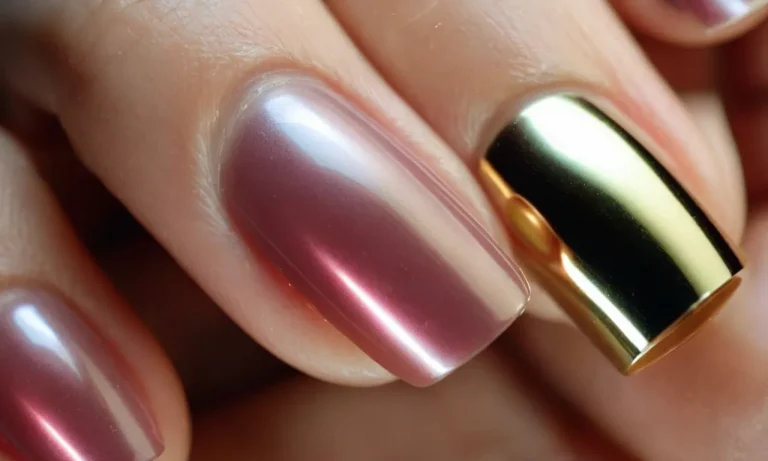
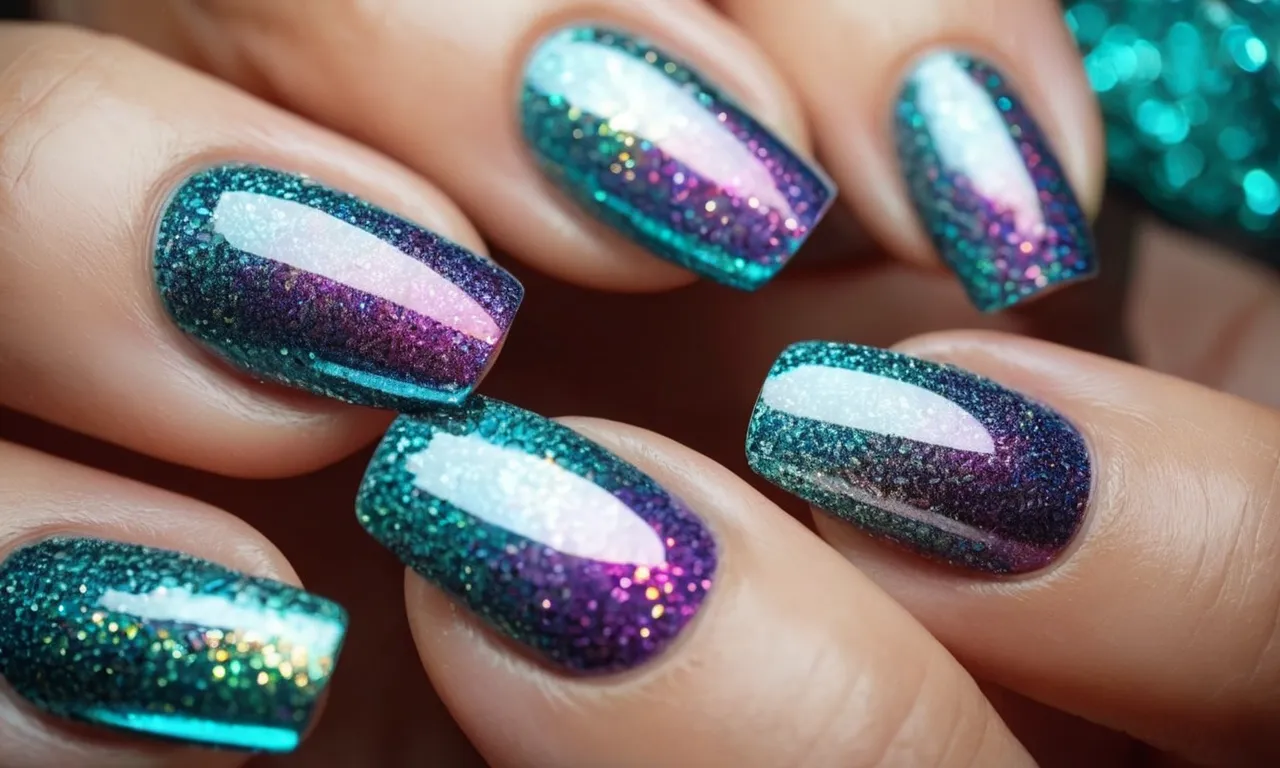
Types of Press on Nails
Regular Press Ons
Regular press on nails, also known as sticker nails, are the most basic type of false nails. They come pre-glued with a light adhesive that allows them to bond directly to your natural nail. To apply them, you simply peel off the plastic film covering the glue, press them onto your nails, and hold for 30 seconds as the adhesive sets.
Regular press ons are available in various shapes, sizes, and designs to suit different nail lengths and styles. Their ease of application makes them a quick and convenient option when you want false nails. However, the light glue may not hold them in place as securely as heavy-duty nail glue.
Expect regular press ons to last 3-5 days with careful use before popping off.
Glue on Press Ons
Glue on press on nails differ by having no pre-applied adhesive. Instead, you must use nail glue purchased separately to bond them to your natural nails. Using industrial-grade nail glue provides a much stronger hold than regular press ons, allowing glue ons to last 1-2 weeks with proper application and care.
Applying glue on press on begins by using nail glue instead of peel-off sticker adhesive. Apply a layer of glue to the underside of the false nail and your natural nail tip. Let the glue become sticky, then firmly press both parts together for 30-60 seconds to bond tightly.
Avoid getting glue on your skin or cuticles.
The stronger glue provides greater durability than regular sticker nails. However, removing glue ons takes more time and care to avoid damaging your real nails. Use nail glue solvents and file gently underneath lifts rather than tearing them off.
Sticker Press Ons
Sticker press on nails use wearable nail art decals and designs without requiring glue. These press on stickers come on plastic sheets with several sizes and shapes to choose from. Look for options suited to your nail shape and length.
To apply sticker press ons, trim and file the stickers to fit your nails if needed. Then peel the decal off the sheet and place it on your nail, pressing down firmly for about 10 seconds to adhere it. The nail stickers use static electricity to cling to your nails, no glue necessary.
Sticker press ons allow you to instantly accent your nails or create intricate designs without gluing anything on. However, their hold relies on static power rather than industrial adhesive. Be gentle with sticker nails, as too much moisture or impact can make them lift or fall off faster than glued-on nails.
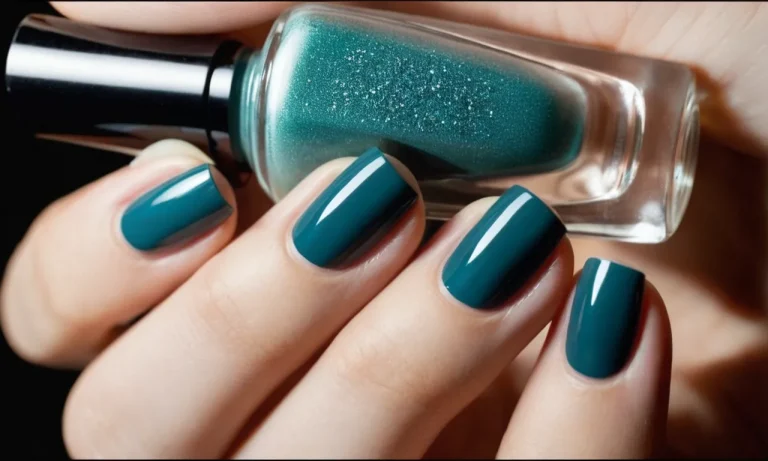
Benefits of Using Nail Glue
Stronger Grip and Adhesion
Using high-quality nail glue provides a much stronger bond between your natural nail and press on nails compared to just using adhesive tabs (1). The strong glue creates a powerful grip that helps keep your press ons secured in place for the duration you desire to wear them.
This prevents the frustrating issue of having your fake nails pop off randomly after just a few hours or days.
Longer Wear Time
With the extra strong hold from nail glue, your press on nails can last over 1-2 weeks without problems like lifting, popping off, or edges cracking. This is a big upgrade over press ons applied with just tabs which may only adhere for 3-7 days.
You’ll get more wear for your money’s worth when investing in a quality glue.
Prevent Lifting and Popping Off
Since glue forms a tighter seal, it helps prevent the press on edges from lifting or nails releasing completely while you go about your daily activities. This means you won’t have to deal with reapplying nails multiple times a week or losing nails randomly.
The improved adhesion keeps every nail firmly secured.
Allow Filing and Shaping
Unlike tabs, using liquid glue enables you to gently file or shape your press on nails after application without worrying about them falling off. You can customize the shape and length to your liking for a flawless fit.
Can Reuse Sets Multiple Times
If you purchase high quality press ons made of sturdy materials, you can reuse each set 2-3 times with proper glue application in between wears. This allows you to get more use out of your investment. Simply apply a fresh layer of glue each time for maximum adhesion.
Tabs become less sticky over time so gluing is best for reusing press on sets.
How to Apply Glue on Press Ons
Preparing Your Nails
Before applying glue and press on nails, it’s important to start with a clean nail bed. Trim and file your natural nails into the desired shape. Use a nail file to gently buff off any shine from the nail plate. This helps the glue adhere better.
Apply nail dehydrator and cleanse nails with alcohol to remove any oil and dirt. Your nails should be completely clean and dry.
Applying the Glue
Choose a nail glue formulated specifically for press on nails. Avoid using regular nail polishes or craft glues which can damage nails. Apply a thin layer of glue directly onto the underside of the artificial nail. Spread the glue evenly across the entire surface.
Be careful not to apply too much glue as this can seep out when pressing on the nail. Let the glue become tacky, usually about 10-30 seconds before applying onto nails.
Pressing on the Nails
Once glue becomes sticky to the touch, position the artificial nail on your natural nail bed. Press the press on firmly starting from the cuticle area and working outward towards the free edge. Hold for 30-60 seconds applying pressure. This ensures maximum adhesion.
Repeat glue application and pressing steps for each nail until a full set is achieved. Be patient during this process for best application.
Cleaning Up Glue
There may be a bit of glue that seeps out from the sides when pressing on artificial nails. Use a small brush dipped in nail polish remover to gently clean this up. Q-tips can also help remove any excess glue on skin or cuticles.
Be very careful not to get remover on the polished underside of nails as this can break down the glue bond.
Filing and Shaping Tips
Once press ons are securely adhered, file and shape free edges to your liking. Use a nail file to smooth down any ridges on the artificial nail surface. Gently buff shine if needed. Apply cuticle oil around nail edges to hydrate. Your press on nails are now ready to show off!
Properly applied press ons can last over a week with proper nail glue. Be gentle with your new nails and re-apply glue if any lifting occurs to maximize wear.
Removing and Reusing Press Ons
Using Remover Solution
One of the easiest ways to safely remove press on nails is by using a remover solution specifically designed for press ons. These solutions are acetone-free and help weaken the adhesive bond between the false nail and your natural nail.
Simply apply the solution generously around the edges of each nail, let it sit for about 30 seconds, and then gently slide off the press on. The solution dissolves the glue without drying out your nails.
Most remover solutions retail between $6-$12 and can be purchased at drugstores, beauty supply stores, or online.
Soaking in Acetone
For a cheaper alternative, you can remove press on nails by soaking them in pure acetone. Make sure to buy 100% acetone without additives. Then, fill a small bowl with enough acetone to submerge your nails.
Soak for 10-15 minutes until the adhesive dissolves – don’t soak too long or the acetone may dry out your nails. Gently wiggle and slide off each press on, then wash your hands to remove any excess acetone. This works great, but beware that acetone is very drying on natural nails.
Be sure to apply cuticle oil after to rehydrate them.
Filing Off Gel Residue
If you used UV or LED gel press on nails, you’ll need to file off any sticky gel residue left behind after soaking off the nails. Start with a coarse nail file and gently buff away the tacky film. Avoid filing too hard or you could damage your natural nails.
Once the residue is gone, follow up with a finer grit file to smooth everything out. Make sure to wash and moisturize your hands after this process. The filing removes the top layer of your nail plate, so cuticle oil is key for nourishment.
Safely Reusing Nail Sets
The great thing about press on nails is that most sets are reusable! Once removed, simply wash with soap and water to clean off any remaining adhesive or oils. Make sure they are completely dry, then store in the original packaging or a ziplock bag.
Press ons can typically be reused 5-10 times before they may start to lose their stickiness or shape. When reapplying, use fresh nail glue for the best hold. Always check for cracks or damage before reusing.
With proper removal and storage methods, you can get multiple wears out of one quality set of press on nails!
Best Press On Nails for Different Nail Shapes
Almond Nails
For the elegant almond nail shape, a press on nail with a softly pointed tip is ideal. Go for a narrower nail bed with a gentle slope narrowing to the tip. Stiletto press ons can work well too due to the pointed shape. Light pinks, nudes, and whites help accentuate the feminine almond look.
Glittery ombre press ons also pair nicely. The key is choosing press ons with a tapered narrow tip to complement the almond nails’ silhouette.
Coffin Nails
Since coffin nails are bolder and more dramatic, you want press on nails that are elongated and square-shaped. Bold solid colors like dark blues, blacks, and reds make a statement. You can also opt for press on nails with graphic art or embellishments like rhinestones towards the cuticle area to play up the coffin shape.
The Nail Hub recommends coffin-shaped press on nails as the perfect match (https://thenailhub.com).
Round Nails
For round nail beds, choose press on nails that have a curved base with rounded edges. Softer shades like pinks, nudes, pearls, and blush colors will bring out the feminine charm. You can also try an ombre color effect fading from dark to light.
The KISS Gel Fantasy line has many round-edged press on options perfect for short round nails. Their oval and squoval shapes work well too.
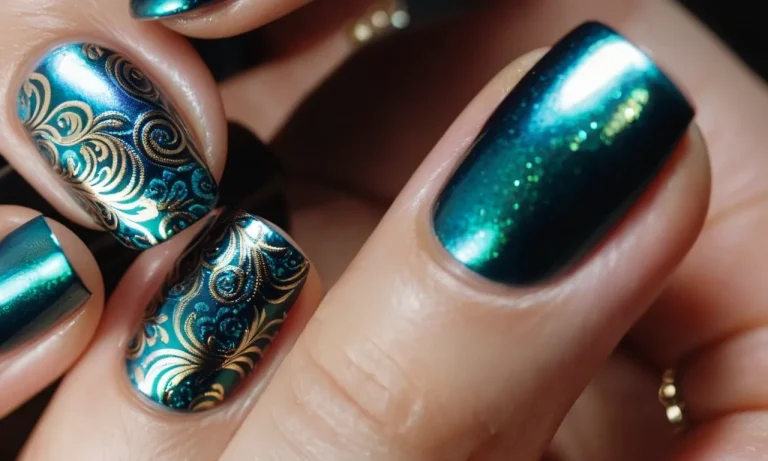
Square Nails
With square nails, you want press ons with straight edges and right angles to align with the nail edges. Bold colors and patterns like animal prints and checkerboard prints graphically enhance the square shape. Chrome and holographic press ons also make the geometric look stand out.
Dashing Diva’s Magic Press line has over 24 square nail options for square nails (https://www.dashingdiva.com).
Stiletto Nails
For the fierce stiletto look, you need super pointy press on nails. Extra long press ons with a steep slope and skinny pointed tip are a must. Black is classic, but white, reds, neon colors, and metallics also pop.
You can get creative with leopard prints, flames, lightning bolts or striped embellishments on the tip too. The pointed claw-like nails from brands like Impress and Kiss match best for the dramatic stiletto style.
Press On Nails for Special Occasions
Weddings
A bride wants to look her absolute best on her big day. Press on nails allow her to have beautiful, professional looking nails without the time and expense of going to a salon. She can choose a classic French manicure or go with a trendier rose gold or nude color.
Press on nails come in various lengths and shapes to complement her wedding dress. They stay on through the ceremony, photos, and reception so her hands will be picture perfect in the wedding album for years to come.
Prom and Homecoming
Teenage girls want to rock a fun look for prom and homecoming. Glittery press on nails in bright colors like blue, purple, and pink allow them to make a bold fashion statement. Press on nails are easy for a teen girl to apply herself. She can switch up the length and shape for each dance or event.
Press on nails are affordable so she can get multiple sets to coordinate with different dresses without breaking the bank. They photograph nicely for all those Instagram pics with friends.
Holiday Parties
During the holiday season, press on nails are the perfect way to add some seasonal flair. For Christmas, go with a classic red or festive green nails accented with snowflakes. Hanukkah nails may feature blue and silver colors with Star of David shapes.
Press on nails for New Year’s Eve can have glitter and sequins to ring in the new year with sparkle. Their temporary nature means you can easily change your look as you go from one holiday gathering to the next.
Girls’ Night Out
A fun girls’ night deserves some fun nails to match! Press on nails allow you to get a salon-worthy manicure without spending hours at the salon. Go bold with black nails and gold tip accents for a night out in the city.
Try period-appropriate 1920s style nails with geometric shapes and art deco patterns if you’re doing a Great Gatsby themed party. The convenience of press on nails means you can focus your time on getting ready with your besties.
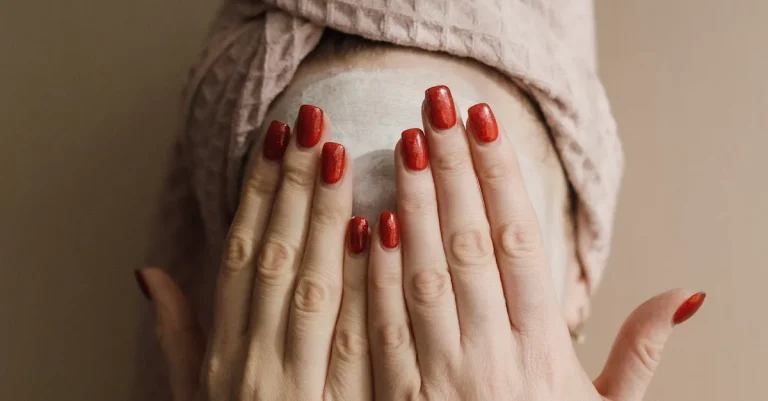
Everyday Wear
Press on nails are also great for everyday wear. Their temporary nature makes them ideal for someone who types a lot at work and can’t have long natural nails. Press on nails come in natural pink and nude tones that look polished but understated for the office.
You can find press on nails with fun patterns and shapes for casual everyday wear. Press on nails offer an easy way to maintain neat looking nails without the hassle of frequent salon appointments.
Conclusion
Glue on press on nails offer a semi-permanent nail enhancement option that combines the ease of press ons with the longevity of glue. The adhesive helps the false nails stay on securely for over a week or two.
With proper application and removal, you can reuse press on sets multiple times while enjoying flawless looking nails.
While regular press ons work well for temporary wear, gluing them on is ideal for longer wear and active lifestyles. The wide variety of shapes and designs make it easy to find glue on press ons tailored for your nail beds and any occasion.
Follow the application tips outlined to get the most wear time out of your press ons.