Everything You Need To Know About Gel Nails On Real Nails
Have you ever wanted to get those glossy, long-lasting gel manicures, but worried about damage to your natural nails? Getting gel nails applied directly on your real nails is possible, with the right technique and care.
In this comprehensive guide, we’ll give you a quick rundown on gel manicures first:
If you’re short on time, here’s the key takeaway about gel nails on natural nails: With proper application and removal by a skilled technician, along with at-home care and occasional breaks from gels, you can safely wear gel polish on your actual nails without major damage over time.
We’ll go over the basics of how gel manicures work, the pros and cons of gel nails on natural nails, application and removal best practices, at-home care tips, how long gels last on natural nails, when to take a break from gels, and tackle common FAQs about gel manicures on your own nails.
Let’s get into all the details you need to make an informed decision about gel polish!
What Are Gel Nails?
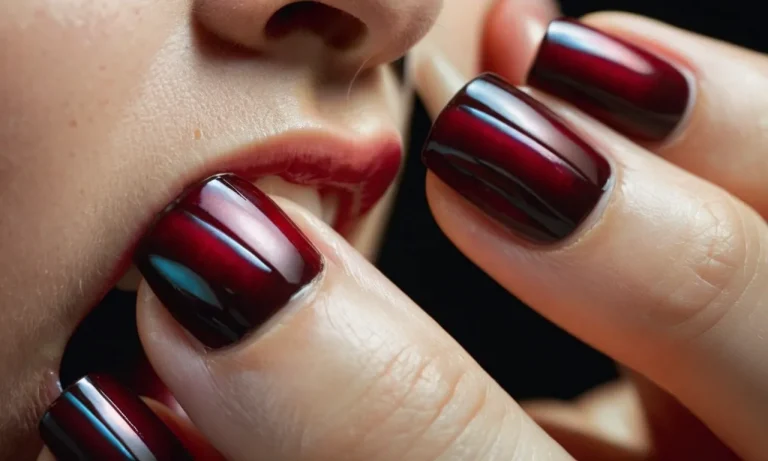
Gel nails are a type of manicure that uses a gel-based polish and a special light to cure and harden the manicure on the natural nail. Gel manicures are known for their durability, high-shine finish, and long-lasting color.
Composition of Gel Nail Polish
Gel nail polish contains similar ingredients to regular nail polish, but also has a few additional chemicals. The main ingredients in gel polish are:
- Acrylic polymers – Provides the hard, glossy finish
- Photoinitiators – Allows the polish to cure under UV or LED light
- Thickening agents – Gives the polish a thicker, easy-to-apply consistency
- Pigments – Provides the color
Some key differences from regular polish are that gel polish does not dry on its own – it requires curing under a special lamp. It also has a thicker formula that provides an ultra-shiny look.
How Gel Manicures Are Applied and Cured
Here is the basic process for a gel manicure:
- The nails are prepared by pushing back cuticles, shaping the nails, and removing any old polish or oils.
- A gel primer or bond is applied to help the gel adhere to the nail.
- Gel polish is painted onto the nails in thin coats and each layer is cured under an LED or UV lamp for 30-60 seconds.
- Two or more coats are applied to create an opaque, glossy manicure.
- A final glossy top coat is applied and cured to seal in the manicure.
The special lamps used contain LED or UV bulbs that emit light at a wavelength that causes photoinitiators in the gel polish to harden. This is what sets gel manicures and allows for extended wear.
How Gel Manicures Are Removed
Because gel polish is hardened on the nail, it cannot be removed like regular polish with acetone or non-acetone removers. There are a few options for removing gel manicures:
- Soaking in pure acetone – This breaks down the polymers in the gel and allows removal after 10-20 minutes.
- Filing off – A nail file can be used to gently thin out and scratch off layers of gel color.
- Soaking cotton in acetone – Acetone-soaked cotton wrapped around the nails helps soften the gel.
Gel should always be thoroughly removed instead of growing out to avoid damage to the natural nail. Removing gel is best done by a professional manicurist.
How Gel Differs from Regular or Shellac Nail Polish
| Gel Manicure | Regular Nail Polish | Shellac Nail Polish | |
|---|---|---|---|
| Active ingredient | Acrylic polymers | Nitrocellulose | Acrylic polymers + nitrocellulose |
| Curing process | UV/LED lamp | Air dry | UV lamp |
| Wear time | 2-3 weeks | 2-5 days | Up to 2 weeks |
| Removal process | Soak off with acetone | Nail polish remover | Soak off with acetone |
| Shine factor | Ultra glossy | Medium to high shine | High shine |
Pros and Cons of Gel Nails on Natural Nails
Benefits of Gel Nails on Real Nails
Gel nails have become an increasingly popular enhancement for natural nails. Here are some of the main benefits gel nails provide when applied directly on your real nails:
- More durable and long-lasting than regular nail polish – Gel polish can last up to 3 weeks without chipping or peeling
- Quick drying time – LED lamps cure the gel polish in 30-60 seconds so you can get your nails done faster
- Less chance of breaks or cracks – The gel coats real nails to add strength and prevent splits
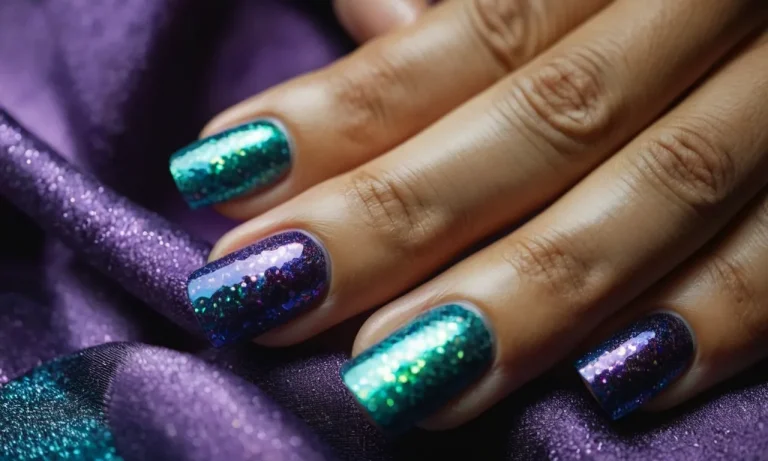
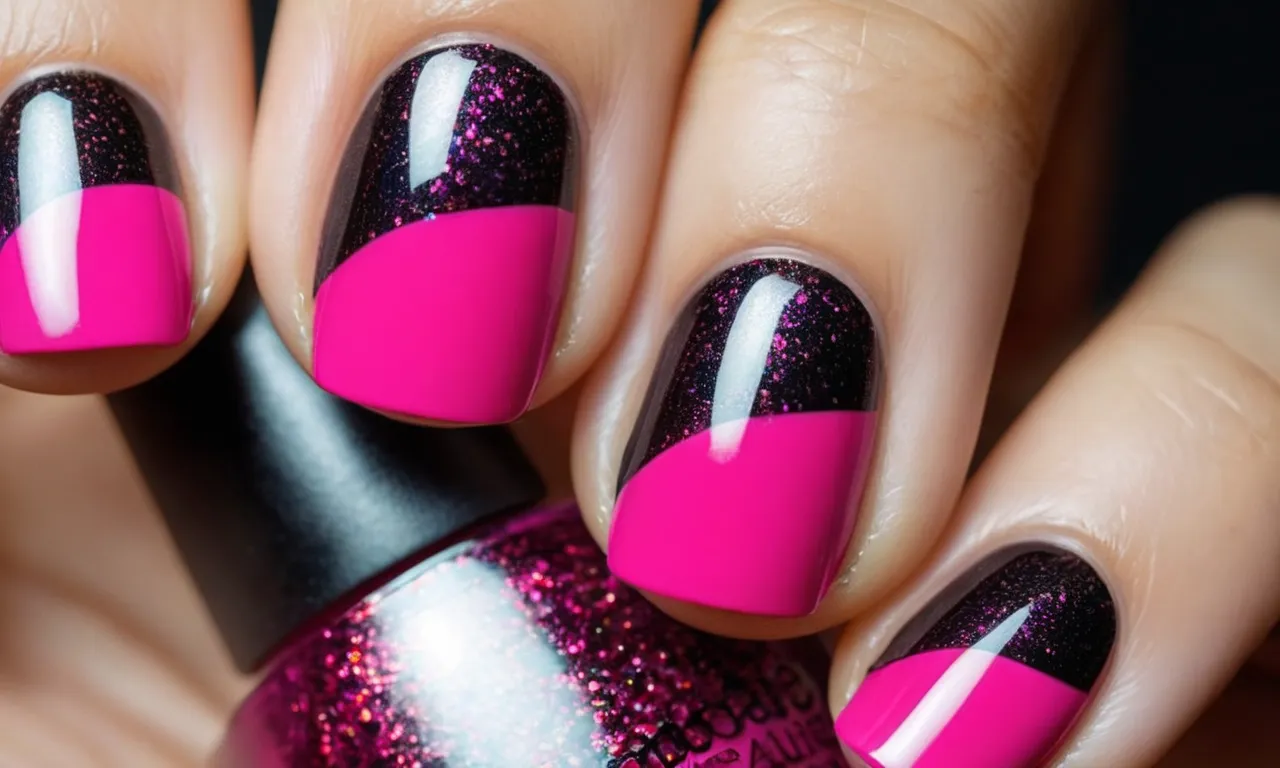
- Wide variety of colors and effects – From glitters to solids, gels offer tons of options to match any style
- Less maintenance than acrylics – No need for infills since the polish grows out with natural nails
Potential Risks and Downsides
While gels offer versatility for nail looks, there are some key drawbacks to consider if you plan to use gel polish directly on bare natural nails:
- Can weaken nails over time – Frequent removal and reapplication can cause nail thinning and brittleness
- Removal process is damaging – Soaking gels off requires scraping nails and can lead to peeling and splits
- UV light exposure – Some worry that repeated use of LED lamps could pose cancer risk
- Higher cost than regular polish – Gel manicures are pricier due to salon application and removal
- Regrowth issues – As nails grow out, the emerging nail line is more prone to breaking
Experts recommend giving nails an occasional break from gels by using strengthening treatments in between manicures. Applying gels sparingly near the cuticles and removing them properly can also help minimize the risks.
| Pros | Cons |
|---|---|
|
|
Best Practices for Applying Gel Polish
Nail Prep
Properly preparing the nails is crucial for achieving a long-lasting gel manicure. Here are some tips for prepping nails before applying gel polish:
- Start by filing and shaping the nails into your desired length and shape. Use a 100/180 grit file to lightly buff away shine from the natural nail.
- Use a nail dehydrator to remove oils from the nail plate and help the gel adhere properly. Wipe nails with an alcohol pad afterwards.
- Gently push back and trim cuticles if needed with a cuticle pusher and nipper. Don’t cut live skin.
- Use a pH-balanced nail cleanser to further remove debris and prep nails.
- Finish with a base coat specifically formulated for gel polish. This will help bonding and prevent staining of the natural nail.
Applying Gel Polish
When working with gel polish, it’s important to apply thin, even coats while avoiding contact with surrounding skin:
- Apply a thin first coat to all nails, one at a time to prevent premature curing.
- Cure the nails under an LED or UV lamp per the gel polish instructions, usually 30-60 seconds.
- Apply a second thin coat, again working one nail at a time, and cure again under the lamp.
- A third coat may be applied for a super glossy finish. Remember that thinner coats cure better than thick globs.
- Carefully cap the free edges with each coat to seal in color and prevent chipping.
- Avoid flooding cuticles and skin with gel polish as this can cause lifting and damage.
Curing Gel Polish
Proper curing is essential for getting a durable, long-lasting gel manicure. Here’s how to cure gel polish:
- Cure each coat under an LED or UV nail lamp for the full amount of time recommended by the brand, usually 30-60 seconds per coat.
- Make sure bulbs in LED/UV lamps have been changed every 2,000 hours for strongest output.
- Check for full curing by touching the surface after removal from the lamp. It should not be sticky or imprinted if fully set.
- Do not wipe nails with alcohol after curing as this can break down layers of gel polish and cause lifting or peeling.
Shaping and Finishing
The final step is perfecting the shape of the nails and adding a protective top coat:
- Shape and refine the nails as desired with a fine grit file or buffer.
- Avoid over-filing too close to the skin or cuticles as this can cause lifting.
- Use a gel polish top coat for incredible shine and chip resistance.
- Apply top coat thinly and cure one final time under the LED/UV lamp.
- Finish by massaging cuticle oil into the nail and skin.
Proper Gel Removal
Soaking Off Gel Polish
Soaking gel nails in acetone is the most effective method for removing gel polish. Start by filing the top layer of the gel polish to allow the acetone to penetrate the layers underneath. Then, saturate a cotton ball with pure acetone and place it on top of each nail.
Wrap each finger with foil to lock in moisture and leave on for 10-15 minutes. The acetone will dissolve the bonds in the gel polish and allow you to easily wipe it away with a paper towel. Be patient during this process and do not try to peel or scrape off the gel prematurely as this can damage the natural nail underneath.
Filing Off Excess Polish
Once the gel polish has soaked off, there may be a small layer of pigment remaining or uneven texture on the natural nail surface. Gently file off this residue using a 100/180 grit file, being careful not to over-file.
Hold the file flat against the nail and use light, smooth strokes in one direction until the nail feels smooth. Do not saw back and forth as this can cause nail plate damage. Filing removes the last traces of gel polish and prepares the nail for the aftercare regimen.
Aftercare
Caring for nails after gel removal is essential to strengthen them and prevent breakage. Start by massaging nail oil like Vitamin E or jojoba into the nails and cuticles to rehydrate them after exposure to acetone.
Then apply a hydrating nail creme that contains key ingredients like shea butter, glycerin, and essential oils to moisturize the nails for 24-48 hours. Consider taking a break from gel manicures and using nail hardener treatments that contain methacrylate polymers and calcium to mend weak or cracked nails.
Top it off by maintaining nails with biotin supplements and keeping nails short until fully recovered.
At-Home Care Tips for Gel Manicures
Moisturize and Massage Nails and Cuticles
Keeping your natural nails and cuticles hydrated is key for maintaining strong, healthy nails that can support gel polish (Byrdie). Massage a nourishing cuticle oil or moisturizing hand cream into nails and cuticles at least twice a day. Gently push back cuticles after softening them in warm water.
This stimulates circulation and keeps nails flexible.
Use Cuticle Oil
Cuticle oil seals in moisture and prevents hangnails that can peel and chip gel polish. Look for formulas containing jojoba, vitamin E, and essential oils like lavender. Apply oil around the nail edges and gently massage in. Do this several times per day.
Having well-hydrated nails and cuticles allows gels to adhere properly.
Avoid Picking at Your Nails
It’s tempting to peel and pick at gel polish, especially when it begins lifting or cracking. But this can cause significant damage to the natural nail underneath. Use an orangewood stick to gently push back cuticles and remove any loose bits instead of picking.
Never rip off gel polish as it can take layers of nail with it.
Wear Gloves for Wet Work
Protect those glossy nails by slipping on rubber gloves when washing dishes, cleaning, or using harsh chemicals. Exposure to water can cause gels to lift and peel, while chemicals and detergents weaken the integrity of the manicure.
Take gloves with you when getting a manicure so you can wear them home to avoid smudging.
Take Breaks from Gel Manicures
While gels are less damaging than acrylics, constantly having polish adhered to nails can still weaken them over time. Give nails an occasional break by going bare for a few weeks or switching to regular polish. This allows nails to breathe and recover their natural moisture balance (Allure).
Use a strengthening treatment in between gels.
How Long Do Gel Manicures Last on Natural Nails?
Gel manicures have become incredibly popular in recent years due to their long-lasting finish and chip-resistant wear. But how long can you really expect a gel manicure to last on natural nails? Here’s what you need to know.
Gel Manicures Can Last 2-3 Weeks on Natural Nails
The major benefit of gel manicures is that they can last 2-3 weeks on natural nails before needing to be filled or removed. This is significantly longer than regular nail polish, which may only last 4-7 days before chipping.
The durability of gel polish is thanks to the UV or LED light used to cure and harden the gel.
However, the exact duration will vary depending on factors like your nail growth rate, type of gel used, and lifestyle habits. Frequent hand washing or physical activities may cause the gel to wear faster.
But with proper care, most people can get a solid 2-3 weeks of perfect nails before needing a fill or new set.
Maintenance is Key for Maximizing Longevity
To get the most wear time out of gel manicures, it’s important to properly maintain them between salon visits. Here are some tips:
- Use cuticle oil daily to hydrate the nails and skin.
- Avoid picking at the gel polish.
- Wear gloves for household chores involving chemicals or water.
- Use a gel top coat regularly to seal in moisture and prevent lifting.
- Avoid excessive filing or buffing, which thins the nails.
With consistent at-home care, you can maximize the longevity of gel polish and go longer between fills. Proper application and curing of the gel at the salon is also key for long-wear.
Soak-Off Removal Every 2-3 Months is Ideal
While gel manicures may last 2-3 weeks on their own, experts actually recommend having them fully removed and starting fresh every 2-3 months. This allows the natural nails to fully breathe and resets their health.
The reason is that gel polish is difficult to fully remove from the nail plate. Traces of product can remain behind and accumulate over time, leading to thinning, brittleness, and increased infections. That’s why occasional soak-off removal is recommended.
Getting a gel manicure every 2-3 weeks but soaking them off entirely every 2-3 months represents the ideal balance for maximizing wear while maintaining nail health.
When to Give Your Nails a Break from Gels
Getting gel manicures can be super fun and make your nails look great, but it’s important to give your natural nails a break every now and then. Here’s what you need to know about taking a break from gel polish:
Every 2-3 Months
Most nail experts recommend giving your natural nails a breather from gel polish every 2-3 months. The strong UV lamps used to cure gel manicures can weaken your nails over time. Taking regular breaks prevents excessive damage and allows your nails to recover their strength.
When Your Nails Feel Weak or Damaged
If you start noticing peeling, cracking, or increased breakage, it’s definitely time to take off the gel. These are signs that your nails need a break. Bare nails allow moisture and nutrients to better penetrate the nail plate. A few weeks off can work wonders.
Before Major Life Events
It’s smart to give your natural nails some TLC before big events like weddings, photo shoots, vacations, etc. That way your nails will be strong and healthy looking in all those pictures and memories. Schedule a break 4-6 weeks prior if you can.
When You Want Your Nails to Grow
Gel polish adheres to the nail plate, which can discourage growth. If you’re trying to grow your nails longer, taking a break from gels allows proper nail growth. Give them at least 6 weeks gel-free to see accelerated growth.
After Acrylic or Hard Gel Removal
Removing overlays like acrylics and hard gels can be very harsh on natural nails. It’s important to give them a chance to recover before applying UV/LED gels. Otherwise you risk increased damage. Take a 2 week break minimum.
Giving your nails an occasional gel break is crucial for maintaining strength and health. Just be sure to keep them polished with a nourishing base coat in the meantime! Your tech will let you know when it’s time, but don’t hesitate to take initiative and request a break when you feel you need one.
FAQs
Are gel nails bad for your actual nails?
Gel nails can be damaging to your natural nails if not properly applied and removed. The intense UV light used to cure gel polish can weaken nails over time. Picking or peeling off gel polish instead of having it properly soaked off can also tear layers off the nail plate.
However, with proper application and removal, caring for your natural nails in between services, and taking breaks from enhancements, gel manicures can be safe for most people.
Can I just peel off my gel polish instead of having it properly removed?
It’s highly advised not to peel or pick off gel polish at home. Trying to remove gel polish without properly soaking and dissolving the layers first often pulls off layers of the natural nail as well. This can significantly thin and weaken nails over time.
For safe removal, visit a salon and have the gel polish properly soaked off with acetone. At-home gel removal kits are also available if you cannot make it to a salon.
Will gel polish make my nails fall off?
When properly applied and removed, gel polish will not make your natural nails fall off on its own. However, picking or peeling off gel can take layers of the natural nail with it, significantly weakening nail structure.
Over time with repeated trauma, this can increase the chances of nails splitting, chipping, or falling off. Again, always have gel manicures safely soaked off instead of pulling them off manually.
How can I repair my nails after removing gel polish?
If your nails feel thin or damaged after removing gel polish, there are a few things you can do to strengthen them again:
- Avoid gels and take a break with regular nail polish instead
- Use a strengthening base coat underneath nail polish
- Apply nail oil 1-2 times per day
- Consider nail treatments or vitamins with keratin, biotin, and vitamins C and E
- File nails to a uniform length and shape to prevent breaks
- Avoid excessive water exposure and use gloves for cleaning
With consistent TLC, most nails can fully recover from gel damage within a few months. Seek medical care if nails become severely damaged or infected.
Conclusion
While gel manicures make for durable, long-lasting nail looks, getting them applied and removed improperly can lead to real damage on your actual nails over time. However, you can safely wear stylish gel polish directly on your natural nails by following best practices and caring for your nails properly at home.
With a great nail tech, good at-home care, and occasional breaks from gels to give your nails a rest, you can rockDamage hard gel polish on your real nails without major issues. Just be patient during the grow-out phase when you take a break from gels.
Let us know if you have any other questions about wearing gel nail polish on your natural nails!