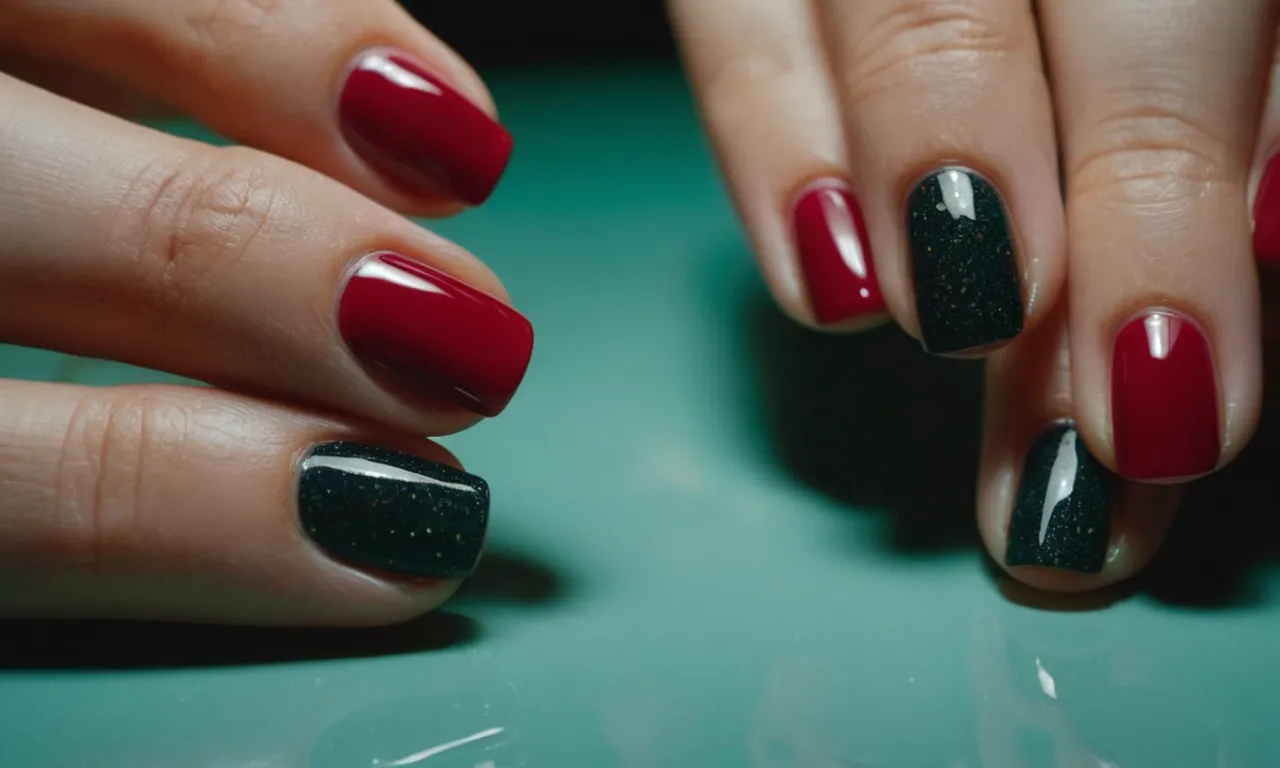
Why Aren’T My Gel Nails Coming Off With Acetone?
If you’ve ever gotten a gel manicure, you know the struggle of trying to remove it at home. No matter how long you soak cotton balls in pure acetone or foil wrap your fingers, those stubborn gel polish layers just won’t budge.
If you’re short on time, here’s a quick answer: Soaking in acetone for 20-30 minutes should remove most gel nail polishes. If they still won’t come off, the layers are too thick, or there’s an issue with the gel formula or nail surface prep.
Read on to learn all the reasons why gel nails won’t come off with acetone and what you can do.
In this comprehensive guide, we’ll walk through all the possible reasons your gel polish just isn’t budging, from mistakes during application and curing to using the wrong acetone remover. You’ll also learn the proper soaking methods, how long removal should take, when to see a professional, and tips for avoiding this pesky predicament in the first place.
Mistakes During Gel Application and Curing
Too Many Layers Applied
Applying too many layers of gel polish can make it extremely difficult to remove. The general rule is to apply 2-3 thin layers at most. Any more than that creates a thick, rigid layer that acetone struggles to penetrate. Patience is key – resist the urge to glob on the gel.
Thin, even layers that are properly cured between applications is the trick.
Improper Curing Times or Methods
The curing process is critical for creating a solid bond between layers of gel polish. When you cure too briefly or skip curing altogether, the layers remain tacky and weakly bonded. This allows them to flex rather than becoming rigid and brittle, which is necessary for easy breakage and removal with acetone.
Be sure to cure each layer for the full time recommended by the brand, using the matching LED or UV lamp.
Failure to Prepare the Nail Surface
Skipping important nail prep steps like filing/buffing and dehydrating can allow layers of gel to adhere poorly. This enables the polish to act more like flexible acrylic than rigid gel. Spend the extra minute or two to prep properly so the gel can bond tightly. Lightly file the shine off natural nails so gel has something to grip.
Then wipe with acetone or alcohol to remove oil and moisture. This helps the first layer penetrate for better hold.
Using the Wrong Gel System Products Together
Gel polish systems are designed so that the base, color, and top coat layers chemically bond during curing. Mixing and matching gels from different brands is not recommended because they may not be compatible for full cross-linking.
For example, a top coat not formulated for the specific base can leave areas tacky and loosely adhered. When removal time comes, these weak points easily allow acetone ingress to break the full gel layer apart quicker. Stick with layers from a single professional system for optimal results.
Ineffective Gel Soak-Off Methods
Not Soaking for Long Enough
One of the most common mistakes when trying to remove gel polish is not allowing enough soak time in acetone. Most people try to remove gels after 10-15 minutes, which is often not long enough, especially for more layers or thicker gels.
Ideally, you want to soak gels in acetone for 15-20 minutes, or even 25-30 minutes for very stubborn gels. The longer you allow the acetone to break down the gel layers, the easier they will come off without taking natural nails with them.
Using Pure Acetone
While 100% acetone is the strongest at removing gel polish, it can also be too harsh for natural nails. Pure acetone can cause dryness, peeling, and other damage over time. Instead, many nail experts recommend using an acetone mixture with additives like aloe vera, vitamin E, or jojoba oil.
This helps prevent excessive drying while still letting the acetone do its job on the gels.
Correct Foil Wrapping Technique
You can enhance acetone’s effectiveness at gel removal by wrapping the nails with foil pieces after soaking them. The foil helps trap acetone against the nails rather than letting it evaporate. However, many people use too small foil pieces or don’t seal the edges properly.
For best results, wrap each finger from base to tip using longer foil strips and fold over the ends snugly to seal acetone in. This forces it into the sidewalls and undersides better than finger bowls alone.
In addition to the above common mistakes, not filing off the shiny gel top layer first can make removal nearly impossible no matter how long you soak. Gentle filing exposes the lower gel layers so acetone can penetrate and break the bonds easier.
Following proper gel soak-off techniques helps avoid problems peeling off polish or damaging natural nails in the process.
When to See a Professional for Gel Removal
Trying to remove gel nail polish at home can be tricky. While using pure acetone and foil wraps may work for some people, others struggle to fully remove gels without damaging the natural nail bed. When home removal efforts fail, it’s best to seek help from a professional nail technician.
Here are some signs it’s time to schedule an appointment at the salon for gel removal:
Acetone Isn’t Working
If you’ve soaked cotton balls in 100% pure acetone, wrapped your nails in foil, and gently scrubbed, but those gels still won’t budge after 20 minutes, it’s time to call in an expert. Continuing to scrape at stubborn gels can thin and weaken natural nails.
Lifting Around the Edges
When you notice your gel polish lifting around the cuticles and side walls, it means it wasn’t properly prepped and secured to the nail plate during application. Once lifting begins, moisture and bacteria can get trapped underneath, increasing the risk of infection.
Have a professional remove any lifting gels ASAP.
Discoloration or Thickening Underneath
Yellowing, white spots, or excessive thickness under the gel layer are also signs of trouble. This can indicate an allergic reaction, fungal infection or bacterial growth. Don’t try to peel or scrape away the gels yourself or it may take layers of natural nail with it.
See a nail tech to safely dissolve the gels and treat any underlying issues.
Cracks, Chips or Breaks
Cracks, chips and breaks in a gel manicure allow openings for bacteria and moisture to sneak underneath. This can lead to infection and potential permanent nail damage if left too long. At the first sign of any cracks or breaks in the gel, book an appointment to have them safely removed and nails repaired.
Nail Pain or Sensitivity
If you notice nail pain, tenderness or sensitivity under your gel manicure, don’t ignore it. This can indicate an allergic reaction or infection brewing under the surface. See a professional right away to avoid long term nail damage.
While gel removal at home can work for some, it’s not worth risking injury and infection. At the first signs of trouble, book an appointment with your nail salon to have gels safely dissolved. Technicians have products and methods that minimize damage to the natural nail.
Getting back to a healthy nail bed should be the top priority.
Tips for Avoiding Issues with Future Gel Manicures
Get Your Nails Done Professionally
Getting your gel manicure done by a professional nail technician is highly recommended to avoid issues when it comes time to remove them. Professionals are trained on the proper application and removal techniques which lead to less damage to the natural nail.
They also use high quality gel polishes and tools which adhere better and allow for easier removal.
Salons that specialize in gel manicures will have the proper ventilation systems in place to minimize exposure to harsh chemicals. Going to a reputable salon also means properly sterilized tools are used for each client, reducing risk of infection.
Ask Questions About Application and Removal
Don’t be afraid to ask your nail tech questions before getting a gel manicure. Inquire about what products they use, how they prep the nails, and their process for removing gels. This allows you to understand what will be done and voice any concerns.
You can also ask how long the gels should last, and what to do if they start lifting or peeling before your next appointment. Clear communication with your nail tech ensures you know what to expect throughout the process.
Care for Nails Properly Between Gels
Caring for your natural nails between gel manicure appointments is crucial for healthy nails that allow gels to adhere and remove properly. Moisturize cuticles daily with oil to prevent lifting and peeling edges.
Protect nails from water exposure when possible by wearing gloves for household chores. Use a nail file to gently smooth any raised edges on gels – avoid picking or peeling lifted areas which can damage the natural nail.
Don’t force gels off yourself if they start lifting or peeling. Schedule a removal and reapplication if needed. Taking good care of your natural nails means less issues when gel removal appointment arrives!
Conclusion
Getting those durable, long-lasting gel manicures can save time and beautify your nails for weeks. But when it’s time for removal, improperly applied gels can be a nightmare. While giving them a good long acetone soak seems simple enough, mistakes during the gel process itself often make taking them off tricky.
With the right information on proper application, curing, soaking methods, and removal tips, you can ensure your next fabulous gel mani comes off with ease. And if all else fails, don’t hesitate to have a professional remove them for you.
Just be sure to care for your natural nails in between polish changes. Happy soaking!


