Dazzling French Manicure Nails With Glitter
French manicure nails are a timeless, elegant look that never seems to go out of style. Adding a touch of glitter takes this classic design to a whole new sparkling level.
If you’re short on time, here’s a quick answer to getting perfect french manicure nails with glitter: Use a sheer pink or nude base color, paint on white freehand french tips, then pat on different sizes of glitter near the tips for lots of glam dazzle.
In this comprehensive guide, we’ll walk through everything you need to know to achieve stunning french manicure nails with glitter accents that shine brighter than the stars.
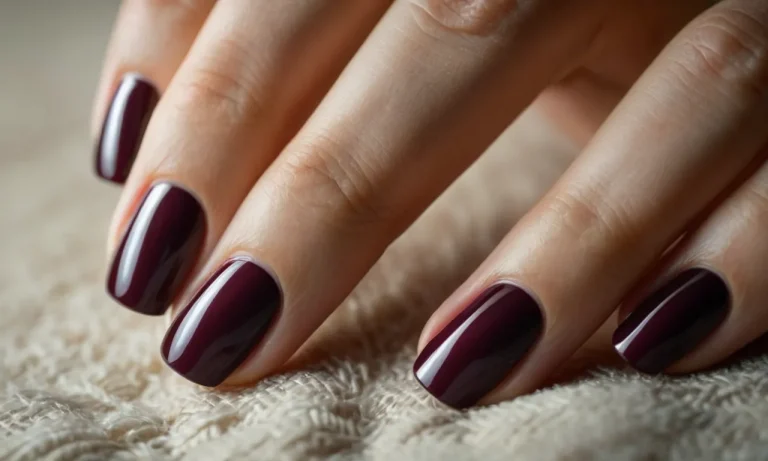
Picking The Right Base Color
Sheer Pink For a Softer Look
A light, sheer pink base is a gorgeous choice for a feminine French manicure with a subtle glitter accent. The pale pink hue creates a soft, delicate look that flatters nearly all skin tones. When topped with a hint of glitter near the tips, this understated pink base allows the glitter to dazzle without being overpowering.
According to industry experts, a sheer pink base is ideal for those seeking a graceful, romantic manicure rather than an ultra-bold style. The pale color serves to elongate the fingers and make hands appear smoother and more youthful.
Sparkling glitter in a matching pale pink or iridescent white on the nail tips provides the perfect amount of shine against the soft pink. This chic color combo suits formal events, office settings, weddings, and everyday wear with ease and elegance.
Nude For Maximum Pop
A nude base color lets glitter take center stage in a French manicure design. With a neutral palette serving as the foundation, glitter polish in any hue – from metallic to multicolored – commands attention on the nail tips.
The high contrast between the nude base and dazzling glitter allows your nail art to truly captivate.
Experts recommend a light to medium nude shade that matches your skin tone as an ideal base color when going for maximum glitter impact. A too-pale nude will look washed out, while an overly dark nude won’t allow the glitter’s vibrant colors to show their full radiance.
Apply two coats of your selected nude polish for even coverage before painting on glitter tips. With this foolproof color combination as your base, you have the freedom to get creative with different glitter shades and designs on each nail.
Every color glitter will pop beautifully against the nude backdrop.
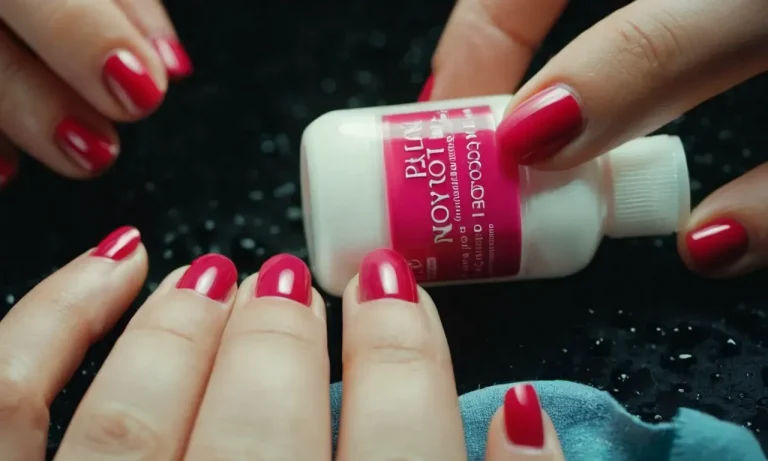
Painting on a Clean French Tip
Use a Straight Edge for Precision
Achieving a perfectly straight French tip line can be tricky when freehanding. Using a straight edge like tape helps create super sharp lines and avoid the dreaded “smiley” tip that curves up at the sides. Simply apply tape near the tip of each nail, leaving just a sliver of bare nail exposed below.
This will act as a guide when painting on the white French tip. Be sure to seal the tape edges with base coat so polish doesn’t seep underneath. With the tape as a guide, neatly paint on the white tip in thin coats and allow to dry fully between coats.
Finish with a fast-drying top coat like Seche Vite to seal and harden the paint. Carefully remove the tape to reveal picture-perfect straight French lines! This precision technique is great for French manicure perfectionists.
Freehanding for Natural Imperfection
While a straight French tip has its merits, there’s also something chic about an imperfect freehanded French line. The uneven wavy edges create a cool handpainted look. To freehand a French, start by prepping nails with base coat as usual.
Apply white polish to the nail tips, starting in the center and stroking outward on each side. The key is using the brush’s tapered edges to create fine lines. Let the first coat dry then apply a second for opacity. Clean up the edges with a small brush dipped in remover if needed.
Finish with top coat and you’ve got stylishly imperfect French tips! Freehanding gives a trendy lived-in look and is great for beginners learning the technique.
Some tips for freehanded French manicures:
- Use a nail art brush for thin lines and maximum control.
- Don’t stress tiny messy edges, it adds to the handmade charm!
- Mattify the base color for a modern twist.
- Add art like dots, stripes or glitter to the French tips.
Whether going for perfect straight lines or an imperfect freehand look, a French manicure instantly classes up any nails. It’s a timeless elegant style that flatters all nail lengths and shapes. So grab the white polish and create dazzling French tips with options for precision or freehand artistry.
Choosing Your Glitters
Fine Glitter For Subtle Sparkle
If you want just a delicate touch of shimmer for your French tips, a fine glitter is the way to go. Fine glitters have tiny particles that subtly catch the light. Popular fine glitter options include:
- Holographic glitter – Provides a rainbow sparkle effect
- Iridescent glitter – Shifts color depending on the lighting and angle
- Matte glitter – Has a more muted effect than shiny glitters
When working with fine glitters, use a detail brush to precisely apply it where you want. Focus on the tips of the nails or just lightly dust a sheer layer over the whole nail. For long lasting wear, always use a top coat to seal in your fine glitter.
Chunky Glitter For High Drama
Feeling bold? Go for a chunky glitter on your French manicure for maximum impact. Chunky glitters have large, multi-faceted particles that reflect light dramatically. Fun chunky glitters to try include:
- Hexagon shapes – Create a honeycomb effect
- Heart shapes – For a romantic look
- Star and moon shapes – Give a celestial vibe
When working with chunky glitters, first paint your base color polish. While the base coat is still wet, use a detail brush to pick up pieces of glitter and press them into the polish. This helps the glitter adhere properly. Finish with a thick top coat to smooth everything out.
Voila – gorgeous, glittery French tips guaranteed to dazzle!
Applying the Glitter Accents
Adding glitter to a French manicure takes this classic, elegant look to dazzling new heights. Whether you want subtle shimmer or bold sparkle, there are a couple techniques for applying glitter properly to ensure it stays put.
Tapping for Controlled Placement
If you want glitter placed only on specific parts of the nail, the tapping technique gives you precision application. After painting your base colors, take a makeup brush, toothpick, or other small tool and dip it in glitter nail polish or loose glitter.
Then, gently tap the glitter directly where you want it. This allows you to create beautiful designs like an ombre glitter fade or glitter tips.
According to nail care experts, tapping glitter into place while the polish is still slightly wet helps it adhere properly (source). Letting it dry first can cause the glitter to lift off when the nail bends. So work deliberately but efficiently for best results.
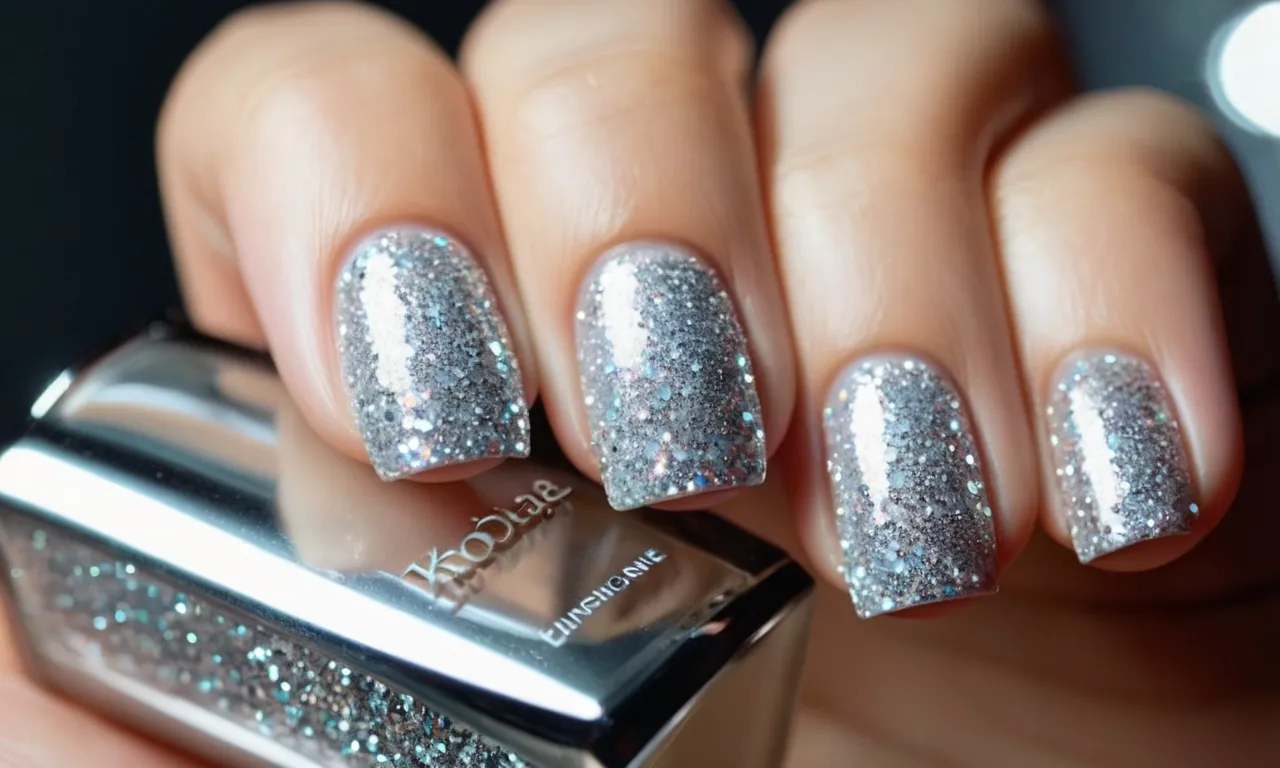
Brushing for All-Over Shimmer
For allover glitter coverage, opt for the brush-on technique. After your base colors are painted, simply sweep a brush loaded with glitter polish over the entire nail. This instantly bathes the whole nail in sparkling glamour. For extra wow-factor, apply two coats of glitter.
An all-over glitter coat adds light-catching dimension to classy French tips or any nail looks. And did you know the glitter effect has gone mainstream? A survey shows nearly 30% of women under age 35 wear glitter nail designs regularly (source).
Brushing on glitter is an effortless way to create this of-the-moment style.
So unleash your inner queen with glitter-adorned nails! Whether you tap or brush it on, glitter makes any mani so much more brilliant and glam 😍👏💅🏻✨. What’s your favorite glitter nail look?
Sealing It In with Top Coat
A good top coat is the final step to achieving a perfect French manicure with glitter. It seals in the design and provides an extra layer of protection to keep your mani looking fab for longer. Choosing the right top coat is crucial for getting that salon-quality finish at home.
Here are some tips for picking the perfect top coat to seal in your French manicure with glitter:
- Look for a quick-drying top coat. Regular top coats can take a while to fully cure, risking smudges on fresh nail art. A quick-dry formula sets fast so you can get on with your day.
- Pick a glossy finish for maximum shine. A high-gloss top coat will make the glitter sparkle even more. Matte or satin finishes tend to dull down sparkly effects.
- Get a thick top coat to smooth over glitter. Thin and runny formulas won’t fully cover chunky glitter particles. Thick top coats help create a perfectly smooth finish.
- Avoid top coats with yellowing formulas. Some top coat chemicals can cause a yellowish tint over time. Look for brands that promise a clear, non-yellowing finish.
Once you’ve found the perfect top coat, apply it generously over each nail, starting with a layer near the cuticles and brushing down over the tip. Let it dry, then repeat for a second layer if needed to completely smooth out the surface.
A good top coat seals in your design for 7-10 days of wear without chips, dents or fading.
Here are some top coats nail experts recommend for flawless glitter French manicures:
- Sally Hansen Insta-Dri Top Coat. This quick-drying top coat dries in just 60 seconds for instant protection against smudges. It leaves a shiny, chip-resistant finish.
- Essie Gel Couture Top Coat. With its thick, glossy formula, this top coat provides salon-quality shine and lasting wear for up to 14 days.
- Seche Vite Dry Fast Top Coat. A cult favorite top coat, Seche Vite dries hard in minutes for long-lasting, chip-free wear.
- INM Out The Door Top Coat. This top coat is praised by nail artists for its shine, quick-drying time and smudge-free application over glitter polishes.
Take the time to seal in your glittery French tips with a proper top coat and your manicure will stay chip-free and dazzling for days. It’s a worthwhile final step to protect your hard work and nails.
Conclusion
With some practice, you’ll be able to create show-stopping french manicure nails with dazzling glitter accents in no time. Have fun playing with different base colors, french tip shapes, glitter sizes and application techniques to find your perfect glitzy frenchie style.
Your sparkling nails are guaranteed to light up any room you walk into. So grab your polish and glitter and let your creativity shine!