Everything You Need To Know About Fake Nails With Uv Light
Fake nails have become an increasingly popular way to have beautiful, long-lasting manicures without spending a lot at the salon. If you’re interested in trying out press-on nails or nail extensions but don’t know where to start, using fake nails with UV gel or UV powder is a great option.
If you’re short on time, here’s the quick answer: Fake nails cured under UV light, whether gel, acrylic, or dip powder, create a durable, lightweight, and natural-looking manicure that can last 2-3 weeks with proper application and care.
In this comprehensive guide, we’ll cover everything related to achieving a flawless faux manicure with UV lighting. You’ll learn about the different types of fake nails suitable for curing under UV lamps, the necessary tools and supplies, step-by-step application instructions, proper curing techniques, removal methods, upkeep, and troubleshooting tips.
Types of Artificial Nails Compatible with UV Light
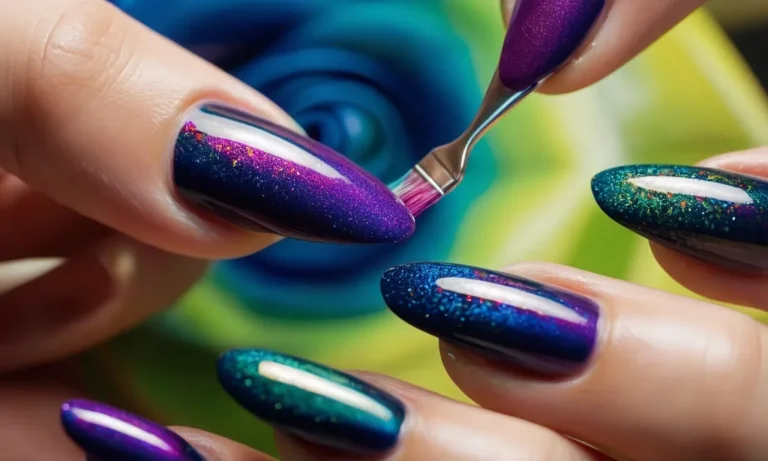
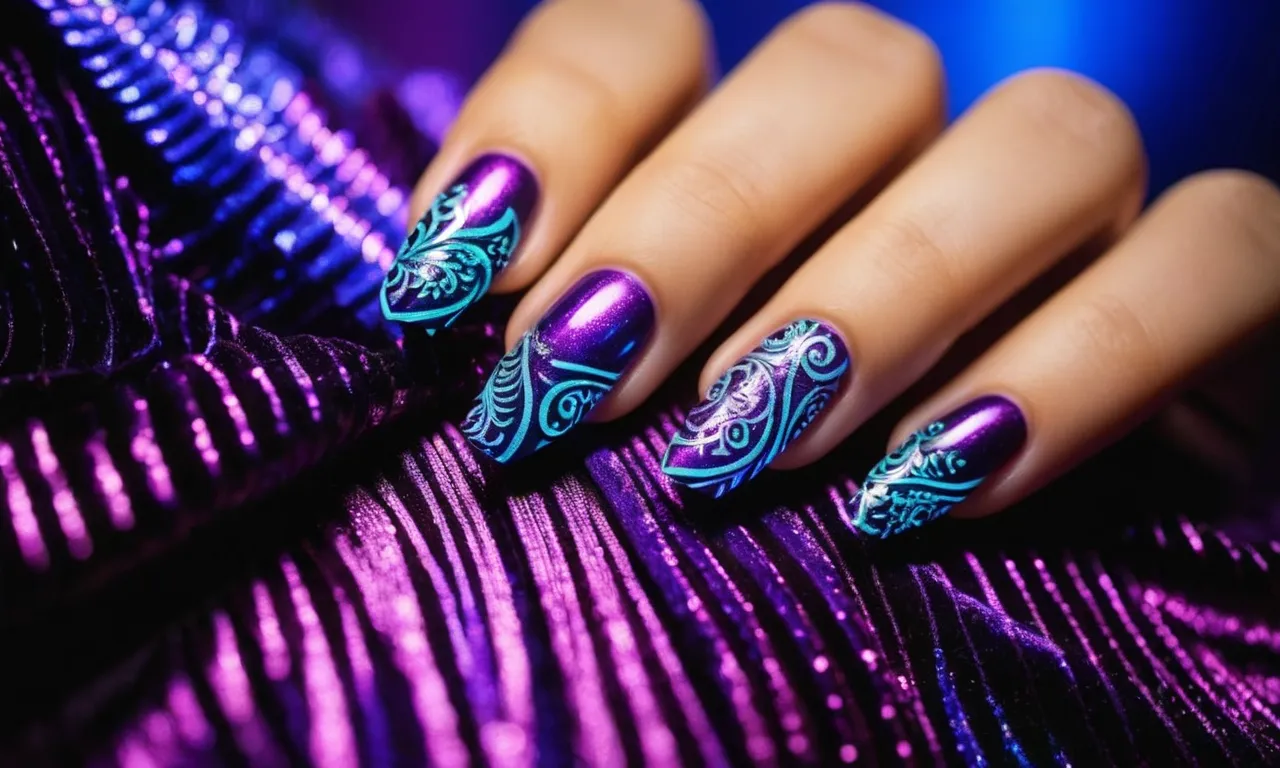
UV Gel Nails
Gel nail polish cures under UV light, allowing it to harden on the nail for long-lasting wear. Gel polish applies like a thick, viscous lacquer but dries completely hard in just minutes under the UV lamp.
Gel manicures are a popular artificial nail option because the hardened polish resists chipping, scratching, and smudging for 7-14 days. When done properly, gel polish will not damage your natural nails. Gel manicures require use of a UV nail lamp.
Most reputable nail salons use LED UV lamps now because they cure the gel polish just as effectively but without potentially dangerous wavelengths.
Here are some key advantages of gel nail polish:
- Dries completely in the UV lamp for instantly dry nails
- Lasts for up to 2 weeks chip-free
- Wide variety of gel polish colors and finishes
- Less odor compared to acrylics or nail glue
The main drawback of UV gel nails is the removal process. Gel polish does not just peel off with regular nail polish remover; it must be soaked in pure acetone to break down the layers of hardened polish. Harsh acetone can dry out your nails if overused.
Most professionals recommend taking a break between gel manicures to let your natural nails recover.
UV Powder Nails (Dip Powder)
Dip powder nails are a popular artificial nail technique that uses UV light to cure the layers of powder polish. After pushing your nails into colored acrylic powder, a UV gel topcoat is applied and cured under the lamp.
This seals and hardens the layers of powder into a durable, long-lasting manicure. Dip nails feel lighter than acrylics or gels and allow your natural nails to grow out as they would with regular polish.
Benefits of dip powder UV manicures:
- Thin yet strong nail coating that lasts 2+ weeks
- Lightweight feel compared to acrylic extensions
- Instantly dry and harden under UV light
- Nails can grow out naturally under the powder
One downside to dip nails is the removal process involving electric filing. Filing too deep can damage your nails, so it’s important to have them removed properly by a professional. Like gel polish, taking occasional breaks between dip powder manicures allows your nails to recover.
UV Acrylics
UV cured acrylic nails are very durable artificial extensions applied over your natural nail and attached with forms. After applying, shaping, and cleaning up the acrylic nail, it is sealed with a UV gel top coat. This hardens and bonds the acrylic nail extension instantly under the UV lamp.
UV acrylics are lighter and thinner than traditional acrylics cured in the air, allowing a more comfortable, natural looking artificial nail.
Benefits of UV acrylic nail extensions:
- Thinner yet strong nails compared to traditional acrylics
- Dry and harden instantly under UV light
- Long lasting 2-4 weeks with fills
- More natural looking than bulky acrylics
One drawback to acrylic extensions is the greater damage to natural nails during removal. Frequent use of acrylics is not recommended as they require filing off the natural nail. For long natural nails with minimal damage, gel polish or dip powder are better options.
But acrylics allow the most dramatic artificial nail looks.
Equipment and Supplies Needed
UV/LED Lamp
A UV/LED lamp is essential for curing gel polish and building nail enhancements. You’ll need a high-quality lamp that provides the proper wavelength of UV light to properly cure gel polishes and acrylics. Most quality salon lamps range from $70 to $300.
LED lamps tend to be more expensive but cure polish faster.
Nail Tips and Adhesives
Nail tips come in various shapes and sizes and are usually made of plastic or paper. They fit over the natural nail and act as an extension for building length. An adhesive is used to glue the tips on. Look for a strong adhesive formulated for nails. Nail glue costs around $5 to $15.
Nail Files and Buffers
Files and buffers are critical for shaping and smoothing natural nails and enhancements. You’ll need 100/180 grit files for shortening and shaping, 240/280 grit buffer blocks for smoothing ridges, and shine buffing blocks for perfecting the surface.
A set of professional nail files and buffers generally ranges from $10 to $50.
Nail Dehydrator and Primer
A nail dehydrator is used to remove oils from the natural nail plate and prepare it for enhancement services. Using a dehydrator helps products like gel polish and acrylic adhere properly. A primer adds an extra layer of adhesion.
Expect to pay around $10 each for a professional nail dehydrator and primer.
Base and Top Coats
A base coat and a top coat are essential products for any gel manicure or acrylic set. The base coat helps bond the polish or acrylic to the nail. The top coat seals and protects the color. Using quality base and top coats also helps extend the life of the manicure.
Expect to pay $10 to $20 each for premium professional base and top coats.
Acetone and Foil Removers
To remove gel polish or acrylics, you’ll need 100% acetone nail polish remover. This is a stronger formula than regular polish remover. You’ll also need foil wraps, cotton, or Remover Clips to help the acetone work quickly and efficiently. A liter of salon-grade acetone costs around $10.
Foil wraps cost around $5 for 100 sheets.
Step-by-Step Application Instructions
Prepping the Natural Nail
Properly preparing the natural nail is crucial for getting the best results from your new fake nails. Here are the key steps:
- Remove any old nail polish from your nails with nail polish remover and cotton balls.
- Trim and shape your natural nails into a uniform length and shape using nail clippers and a nail file. Oval or squoval shapes tend to fit fake nail tips the best.
- Use a nail dehydrator to remove oils from the natural nail plate and improve adhesion.
- Gently push back and trim any cuticles with a cuticle pusher and nipper. Don’t cut any live skin.
- Use a nail buffer to lightly buff the shine off your nails. This improves adhesion by roughing up the surface a bit.
- Wash hands with soap and water and wipe nails with isopropyl alcohol to remove any dust or oil.
Applying and Shaping Tips
Once prepped, you can apply your fake nail tips:
- Select tips that fit each nail well without overlap at the sides.
- Apply a small drop of nail glue inside the tip and gently press onto the natural nail, holding for 30 seconds.
- Use nail clippers to trim the tip length slightly past the end of your finger.
- Shape and refine the tip edge using a nail file, matching the curve of your natural nails.
- Blend the seam between your natural nail and the tip using a nail buffer.
Brush On Build Layers and Shape
Now it’s time to add length and structure with acrylic or gel products:
- Apply a thin layer of primer to help building layers adhere.
- Brush on 2-3 layers of acrylic powder and liquid or gel, allowing each layer to cure in between.
- Shape the overall nail length and shape using a nail file. Aim for a smooth, even curve.
- Refine the shape of the tip using a nail file to taper it thinner toward the edge.
- Use a hand file to refine and smooth sidewalls and remove any bumps.
Finish with Top Coat and Cure
The final step is finishing with a smooth, protective top coat:
- Apply a thin, even layer of gel or acrylic top coat over the entire nail.
- Cure the top coat under an LED or UV nail lamp for 30-60 seconds until smooth and shiny.
- Gently wipe nails with isopropyl alcohol to remove any tacky residue.
- Massage cuticle oil around the nails to hydrate the skin.
And that’s it! Following these steps carefully will help your fake nails last 2-3 weeks. Just be sure to avoid chips and always use gloves for cleaning, gardening etc. With proper application and care, you’ll have beautiful, durable salon-quality nails. Time for a cute emoji manicure! 💅
Proper Curing Techniques
Following Manufacturer Recommendations
When using UV gel polish or a UV lamp for curing artificial nails, it’s incredibly important to follow the manufacturer recommendations for timing and technique. Rushing the curing process can lead to weak or damaged nails that peel and chip quickly.
Most quality gel polish brands will indicate the exact “flash” time needed to properly set each coat – usually 30 seconds for the base coat, 60 seconds for color coats, and another 60 seconds for the top coat.
Going over these suggested times won’t necessarily hurt the manicure, but cutting cure times short can leave layers under-hardened and compromised. Don’t risk a shoddy DIY manicure by ignoring the brands’ advice!
Curing Each Layer Thoroughly
In addition to following gel directions for full hand cures, it’s essential to cure each nail thoroughly after every layer. With some practice, you can keep one hand under the UV lamp while painting layers on the other hand.
But don’t forget to flash cure each finger individually after base, color, and topcoat. Moving the light over each nail for the full recommended time ensures proper curing across the entire nail surface. Under-cured areas on the edges or cuticles can allow gels to stay sticky and lift off easily.
Take those extra seconds to guarantee an even, durable cure.
Avoiding Overexposure
It is possible to overdo UV exposure when working with gel manicures. While most quality bulbs automatically shut off after the recommended time to prevent over-curing, lower-end models may not have this feature.
Prolonged UV exposure can potentially lead to skin irritation and burns around the nail bed and fingers. Over-hardening the gels with excessive light can also make them brittle and prone to cracking. Stick within the manufacturers suggested times, and invest in a higher-end light with auto shut-off if you’ll be using gels frequently.
Taking proper precautions allows you to enjoy long-lasting, rock hard nails without safety risks!
Removal and Rebalance Appointments
Soaking Off Gel Polish and Layers
When it’s time for a fill or a new set, the first step is gently soaking off the gel polish and any acrylic or gel layers on the natural nail. This is done by filing off some of the shine to rough up the surface and then soaking the nails in pure acetone for 10-15 minutes.
The acetone breaks down the nail chemistry so the products lift off the nail plate. According to nail care websites like Nail Care HQ, acetone must fully saturate under any enhancements to dissolve the bonds.
Patience is crucial so that the soaking is thorough but also gentle on natural nails. Rushing can cause extra filing and stress on the nails. The goal is to retain maximum length and thickness of the natural nail. For a rebalance appointment, soaking off just the free edge may be sufficient.
Any remaining product gets roughed up with a file or e-file for better adhesion of new product.
Filing Down Enhancements
Filing requires meticulous attention to shape and balance. Nail technicians remove length based on a client’s request and file the free edges to the desired shape. For example, square, squoval, round, or coffin. They also refine sidewalls and smooth over any imperfections from lifting or cracking.
Filing down to the natural nail, known as backfilling, may be necessary to remove excessive thickness and bulk.
Rebalancing sets the foundation for the nail plate to grow out healthily. The National Nail Technicians Association recommends keeping free edges less than 2 millimeters thick to prevent cracks and breaks. For longevity, rebalance appointments every 2-3 weeks are ideal to manage new growth.
Filling in Gaps and Repair Work
Whether cracks, pops, or complete losses of enhancement—gaps need to be refilled and secured for protection and aesthetics. The natural nail also may show signs of weakness and need reinforcement. Master nail technicians artfully fill in gaps with acrylic, gel, or hard gel and expertly blend for smooth transitions.
Repairs may involve removing the entire damaged enhancement and reapplying on one nail versus the full set. Or possibly patching just a corner or section in cases like a chip or crack. Isolated breakage can simply get filled while keeping most of the enhancement intact.
Quick repair appointments typically range 15-30 minutes and offer clients budget-friendly options between sets.
Upkeep and Troubleshooting Tips
Keeping Cuticles Moisturized
Keeping your cuticles moisturized is key to preventing lifting and damage with fake nails. Massage cuticle oil orthick hand cream into the skin around and under your nails daily. Petroleum jelly also works well. This keeps the skin supple so the nail enhancement adheres properly.
Avoid harsh soaps that can dry out this tender area. When washing dishes, be sure to wear rubber gloves to protect your manicure.
Avoiding Chipping and Lifting
There are a few things you can do to avoid chipping and lifting of your fake nails:
- Don’t use your nails as tools – Opening soda cans, picking at labels, etc. can cause chips and cracks.
- Avoid excessive water exposure – Wear gloves when washing dishes and cleaning. Water can loosen the bond between the fake and real nail.
- Get fill-ins regularly – As your natural nails grow out, it causes a gap between the fake tip and real nail that leads to lifting. Fill them every 2-3 weeks.
- Carefully apply nail polish – Putting too much pressure when painting can weaken the bond and lead to lifting. Do very thin coats.
Fixing Breakage or Damage
If you do experience a crack or break in your fake nail:
- Trim any jagged edges with nail clippers or file. Round the corners.
- Apply nail glue inside the crack and hold closed for 60 seconds, so it fuses back together.
- Buff over the damaged area with a fine grit file. Smooth and shape the nail.
- Apply 1-2 thin layers of nail glue over the entire nail, let fully dry between coats.
- Finish by applying a fresh coat of the uv gel polish color.
If the lifting or damage is more severe, it’s best to remove the nail and replace it entirely with a new fake tip. See your nail technician right away if multiple nails have lifted from the nail bed. Trying to salvage them yourself may worsen the condition of the nails or cause injury if done improperly.
Conclusion
Achieving durable, natural-looking fake nails at home with UV lighting is easy with the right products, techniques, and care. Investing in quality gel, dip powder, or acrylic systems along with taking precautions against overexposure, can lead to stunning manicures that last 2 weeks or longer.
We covered everything from nail tip application, achieving an ideal shape and length, properly curing each layer under UV lamps, and finish with glossy, long-lasting top coats. Don’t forget to carefully remove your manicure after 2-3 weeks and give nails a break before reapplication.
With the tips above, you can have salon-quality results without heavy damage or high costs.