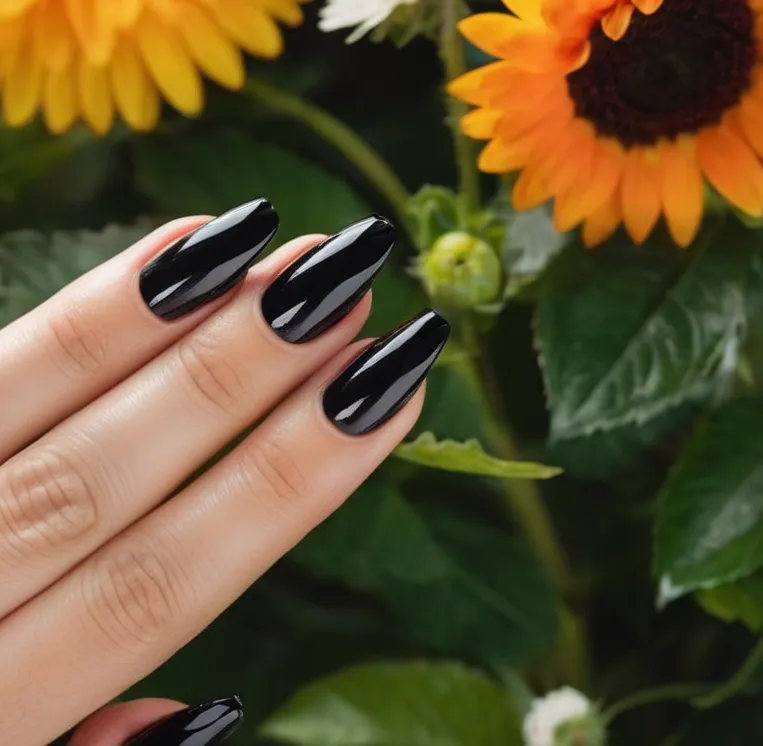
The Easiest Way To Paint Your Nails
Painting your nails can be a fun and creative way to express yourself, but it can also be tricky to get an even, smooth coat without any smudges. If you’re looking for the easiest foolproof method to paint your nails quickly and beautifully, we’ve got you covered.
If you’re short on time, here’s a quick answer to your question: prep your nails by filing and buffing, apply a base coat, use thin coats of polish and let each coat dry between applications, cap the tips, and finish with a top coat for protection and shine.
In this comprehensive guide, we’ll walk through each step of a basic nail painting routine in detail, from getting your nails ready for polish to sealing it in with topcoat. We’ll also go over tips and tricks for neat, streak-free application.
With this advice, you’ll be painting perfect nails in no time!
Prep Your Nails
Trim and File
Before painting your nails, it’s crucial to start with a clean slate by trimming and filing each nail into the desired shape. Use nail clippers to trim nails straight across, then smooth the edges with a nail file.
File in one direction starting from the outside corner down towards the center to prevent nails from snagging. Filing removes layers of dead cells and allows the nail polish to adhere better. According to nail care experts at WikiHow, filing nails also reduces chipping and peeling of polish later on.
Push Back Cuticles
After filing, use a cuticle pusher to gently push back overgrown cuticles around each nail. Removing dead cuticle tissue allows for a deeper base color and longer-lasting manicure. Be very gentle, as the skin around nails is delicate.
Consider using cuticle remover gel or cream for 5 minutes before pushing them back for easier removal without tearing the skin. Popular beauty vlogger Simply Nailogical swears by Sally Hansen’s Instant Cuticle Remover for easy, painless cuticle care.
Buff for Smoothness
The final pre-painting step is to buff nails to create a smooth, shiny surface using a 4-way nail buffer. Buffing fills in ridges on nails and removes residue. Buff nails using gentle, even motions – do not scrub too hard.
Go over nails with each grit, starting with the roughest and ending with finest for best results. Smooth nails help nail polish self-level after application, reducing brush strokes and streaks according to DIY experts.
So take the time to properly prep nails beforehand – it makes all the difference for a flawless, long-lasting manicure!
Base Coat Application
Applying a base coat is one of the most important steps when painting your nails. The base coat acts as a primer and helps the polish adhere to your nails better. It also prevents staining of the nails from dark polishes. Here’s a step-by-step guide to applying the perfect base coat:
Prep Your Nails
Start by cleaning and filing your nails into the desired shape. Use a nail file to gently buff the surface of your nails to remove any shine. This helps the base coat grip better. You can also use a nail dehydrator or rubbing alcohol to remove any oil from the nails.
Push back and trim any cuticles if needed.
Apply The Base Coat
Once your nails are prepped, you’re ready for the base coat. Shake the bottle first before use. Apply a thin, even layer on each nail, starting with your pinky and working towards the thumb. Make sure to cap the free edge of each nail so the entire nail is covered.
Let the base coat dry completely before moving on. This usually takes 2-3 minutes.
Tips for A Flawless Base Coat
- Opt for a ridge filling base coat if you have ridged nails. This will help even out the nail surface.
- Always use base coat, even if you’re wearing a sheer polish. It protects your nails.
- Don’t apply too thick of a layer. You only need one thin coat.
- Make sure the base coat is fully dry before applying color.
- Apply all the way to the tip and sides of the nail.
- Pay attention to the little finger and thumb which are easy to miss.
With the perfect application of base coat, your manicure will last longer and look more professional. According to nail experts, using a base coat can double the life of your manicure! Take those extra couple minutes to start off right with a base coat, and your pretty nails will thank you.
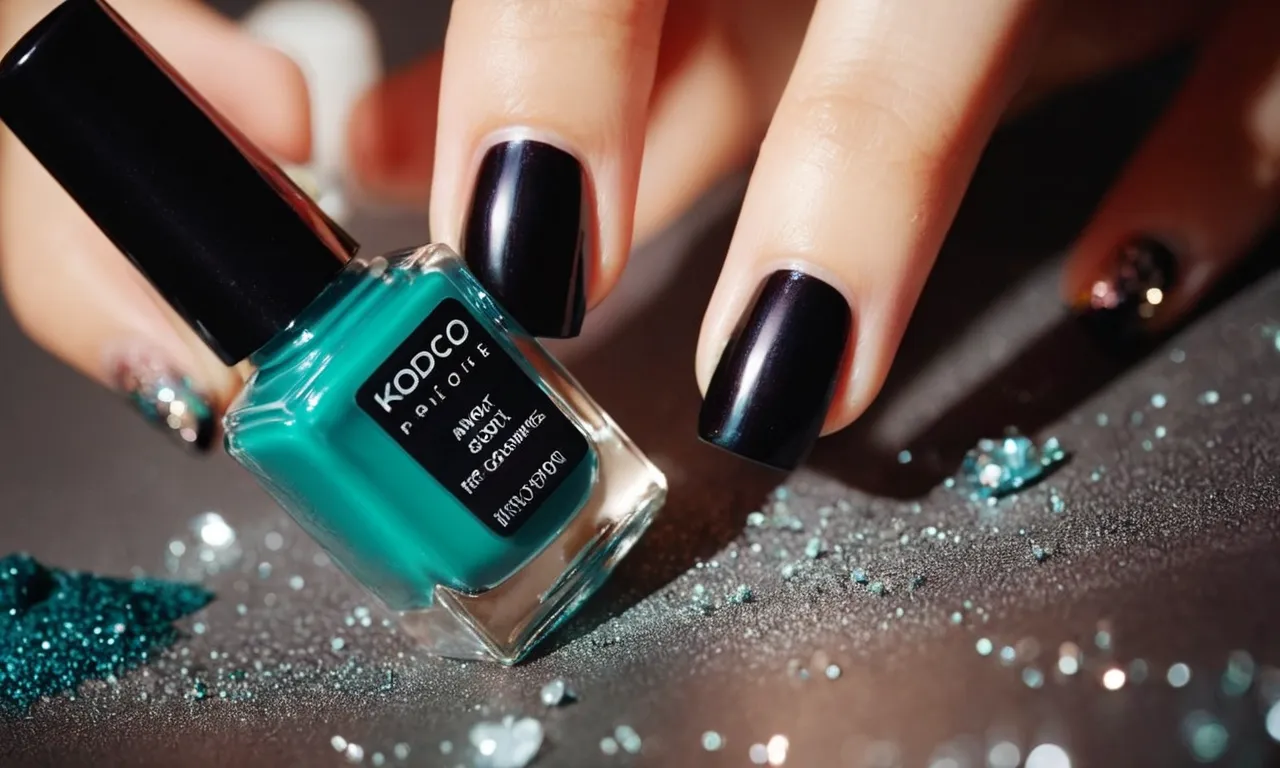
Polish in Thin, Even Coats
Brush Size Matters
When painting your nails, it’s important to use the right brush size for an even application. The general rule is to use a wider, flat brush for the main color coat and a smaller, pointed brush for details or your dominant hand.
A wider brush distributes polish smoothly and evenly across the nail surface. Using a brush that’s too small can lead to streaking or uneven coats. Most nail polish bottles come with a brush, but you can buy individual nail art brushes for more control.
Match brush size to nail size for the best results.
Opt for a flat, rectangular brush when painting your dominant hand. The wider surface area helps quickly cover the nail in fewer strokes, minimizing errors. A smaller round or pointed brush is better for your other hand and when you want to finesse the polish at the edges and cuticles.
The firmer pointed bristles allow you to maneuver around the nail beds with precision.
Let Each Coat Dry Fully
Nail polish often requires multiple thin coats to look its best. But it’s crucial to let each coat dry completely before adding another. Apply polish in smooth, even strokes avoiding pooling at the base and tips. Let the polish dry for at least 5 minutes before adding the next layer.
Thinner coats take less time to dry than thick globs.
Adding more polish too soon can cause bubbling, smearing, and uneven texture. The previous layer needs time to harden so the coats fuse together properly. Rushing the process or adding too-thick layers prevents thorough drying and reduces durability.
Let your nails dry thoroughly between coats and finish with a quick-dry topcoat for maximum shine and protection.
Here are some tips for quick, flawless drying:
- Use a fast-drying nail polish formula
- Apply thin coats and avoid flooding the cuticles
- Let each coat dry for 5-10 minutes between applications
- Wave hands to circulate air and speed up drying time
- Finish with a fast-drying top coat like Seche Vite
- Stay patient – resist the urge to rush the manicure!
Taking the time to let each layer of nail lacquer dry before moving on will reward you with a super glossy, long-lasting manicure. Don’t undo all your hard application work by smearing the polish.
Finish with Top Coat
Applying a top coat is the final essential step to achieve a professional, long-lasting manicure. This protective layer seals the color underneath, helps prevent chipping and peeling, and can also provide extra shine and style.
Why Use a Top Coat?
There are several benefits to finishing your nails with a quality top coat:
- Seals in color – Top coat creates a protective barrier over colored polishes, helping prevent chips, scratches and fading.
- Extends wear – By protecting the layers underneath, a top coat allows your manicure to last days longer without touch-ups.
- Enhances shine – Many top coats contain ingredients that make nails gorgeously glossy.
- Quick-drying – Top coats designed for at-home use dry fast so you can get on with your day.
- Versatility – There are top coats suited for different needs, like quick-dry, gel-effect, matte or ridge-filling.
Choosing a Top Coat
With various formulation available, consider what qualities are important for your purposes:
- Quick-dry – Great when you’re short on time. Dries polish in minutes.
- Glossy finish – Contains oils, silicone and polymers for an ultra-shiny end result.
- Matte finish – Provides a stylish muted, velvety look.
- Gel-effect – Mimics the smooth, curved finish of gel manicures.
- Ridge filling – Levels bumpy nails for flawless polish application.
Applying Your Top Coat
Follow these simple steps for best results:
- Apply when polish is touch-dry. Too soon and you risk smearing. Too long and top coat may not adhere properly.
- Use thin, even strokes from cuticle to tip, front and back of nail.
- Let dry completely. Curing times range from 60 seconds to over 2 minutes.
- Don’t forget the tips! Seal wrap-around edges to deter chips and peeling.
- Apply every 2-3 days to revive shine and reinforce protection between manicures.
With the right top coat technique, you can extend your fabulous nail color for up to seven days or more! A small effort that pays off in less time spent repairing chips. 💅😊👍 Give it a try and see your mani shine!
Clean Up Tips and Fixes
Use a Cleanup Brush
One of the handiest tools for quick nail polish touch-ups is a cleanup brush. These are small, angled brushes designed specifically for neatening up the skin around the nails after painting. Using a cleanup brush with a little nail polish remover allows you to erase stray marks and polish with precision.
Cleanup brushes are available from most beauty supply stores or online retailers like Amazon and eBay for just a few dollars. Choose a brush with soft, synthetic bristles and a nice sharp angle. Shorter bristles give you greater control.
Before painting your nails, have your cleanup brush ready in a small bowl or jar with some nail polish remover. Acetone-free remover is less harsh on skin. When you’ve finished applying color, go back and dip just the tip of the brush into the remover and gently wipe away excess polish from the skin surrounding each nail.
The angled brush lets you get right up close to the nail.
Be very careful not to let the brush touch the polished nail itself, as it will quickly dissolve the fresh polish. Wipe the brush clean and re-dip into the remover as needed. With practice, you’ll be able to neaten up your manicure like a pro!
Freezer Wrap for Smudges
Even with the best cleanup methods, quick-dry top coats, and steady hands, it’s not uncommon for nail polish to end up somewhere you didn’t intend. If this happens while the polish is still wet, try this clever freezer trick:
Take a sheet of aluminum foil and mold it gently over the smudged nail. Carefully wrap the tips of fingers on either side to secure it. Then pop your finger into the freezer for just 60 seconds. This quick blast of cold will set the polish so that when you remove the foil, excess polish should peel away with it.
Give the area a wipe with polish remover on a cotton ball afterwards if needed.
You can also try holding ice on top of the foil for up to 5 minutes for those bigger, thicker smudges. The frozen polish will get thick and less sticky, allowing it to pop right off.
While not always 100% effective if you catch a smudge too late, this freezer trick works amazingly well most of the time. No more ruined manicures! Just be sure not to leave your finger freezing for more than 5 minutes maximum, or the extreme cold could damage skin.
| Average time women spend painting nails per week | 26 minutes |
| Percentage of women who use nail polish | 64% |
| Global nail care market value in 2022 | $19.25 billion |
With nail polish more popular than ever in recent years, clean up is an essential skill for creating picture-perfect manicures at home. Follow these handy tips using clever tools like cleanup brushes and freezer wrap, and you’ll fix smudges in a flash!
For more nail art inspiration and tips, check out popular YouTube tutorials like Simply Nailogical.
Conclusion
With some basic preparation and careful technique, painting your nails can be fast, easy, and mess-free. Making sure to buff and dehydrate the nail first, using thin coats of polish, and sealing it all in with a top coat are key to a long-lasting, flawless manicure.
Along with the handy cleanup tricks, you’ll have salon-worthy nails any time. So grab your favorite colors and get creative with your own DIY nail art!
For more nail inspiration and tips, check out our blog for tutorials on nail trends, tricks for different nail shapes, and reviews of top polish brands. With practice, you’ll be able to paint perfect nails every time. Happy polishing!