30 Cute And Easy Nail Designs For Beginners
Nail art can seem intimidating for beginners, but it doesn’t have to be! With some simple techniques and cute designs, anyone can create stylish nails right at home. In this comprehensive guide, we’ll walk you through 30 of the cutest and easiest nail designs for nail art beginners.
If you’re short on time, here’s a quick answer: some of the cutest and easiest nail art designs for beginners include polka dots, simple stripes, floral motifs, ombre, basic marble, chevron patterns, and accent nails with bows or rhinestones.
Getting Started with Nail Designs
Decorating your nails can be a fun and relaxing hobby once you get the hang of it. With some basic tools and techniques, even beginners can create cute nail art designs to show off. Follow this starter guide to pick the perfect polish colors, gather the necessary supplies, and prep your nails before trying out some easy nail ideas.
Picking Nail Polish Colors That Go Well Together
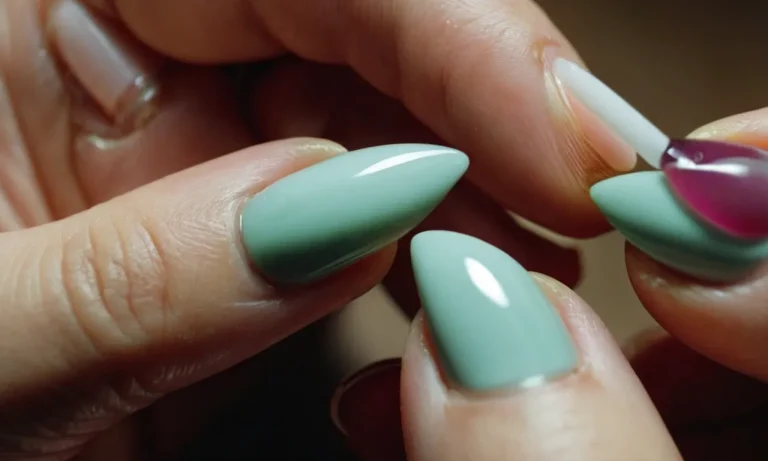
Choosing complementary nail polish shades that look cohesive together is key for nail art success. stick to a color palette for a coordinated look. For example, combine different shades of pinks and nudes, or experiment with pastel hues like mint, lavender and buttercream.
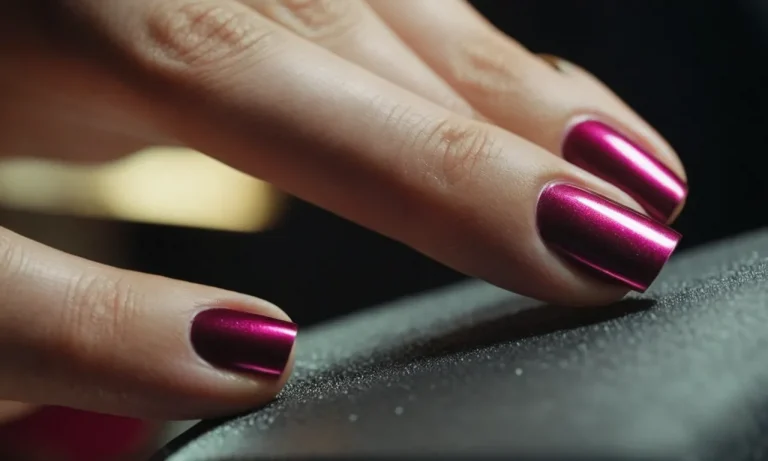
Metallic polishes like gold, rose gold and silver also pair nicely with bold solids.
Choosing Nail Art Tools for Beginners
You don’t need fancy tools to create cute designs! Here are some basic nail art supplies to stock up on:
- Dotting tools – For polka dots and other intricate patterns
- Striping tape – For straight lines and color blocking
- Rhinestones – For sparkly accents
- Striping brush – For clean lines
- Top coat – To protect your designs and add shine
You can find affordable kits containing many of these items to get you started. Craft stores are the best places to shop for nail supplies on a budget.
Prepping Your Nails Before Designing
Preparing your nail beds is an important first step for smooth polish application and long-lasting manicures:
- File nails to desired length and shape
- Use cuticle remover to clean up cuticles
- Buff surface for adhesion
- Wipe with nail polish remover/alcohol to remove oils
- Apply base coat to prime
Correctly prepping your nails can make your designs last up to 7-10 days without chipping! Now you’re ready to try out cute and easy nail ideas.
For more beginner nail design inspiration, check out popular YouTube tutorials from channels like Simply Nailogical.
Cute and Easy Nail Art Techniques
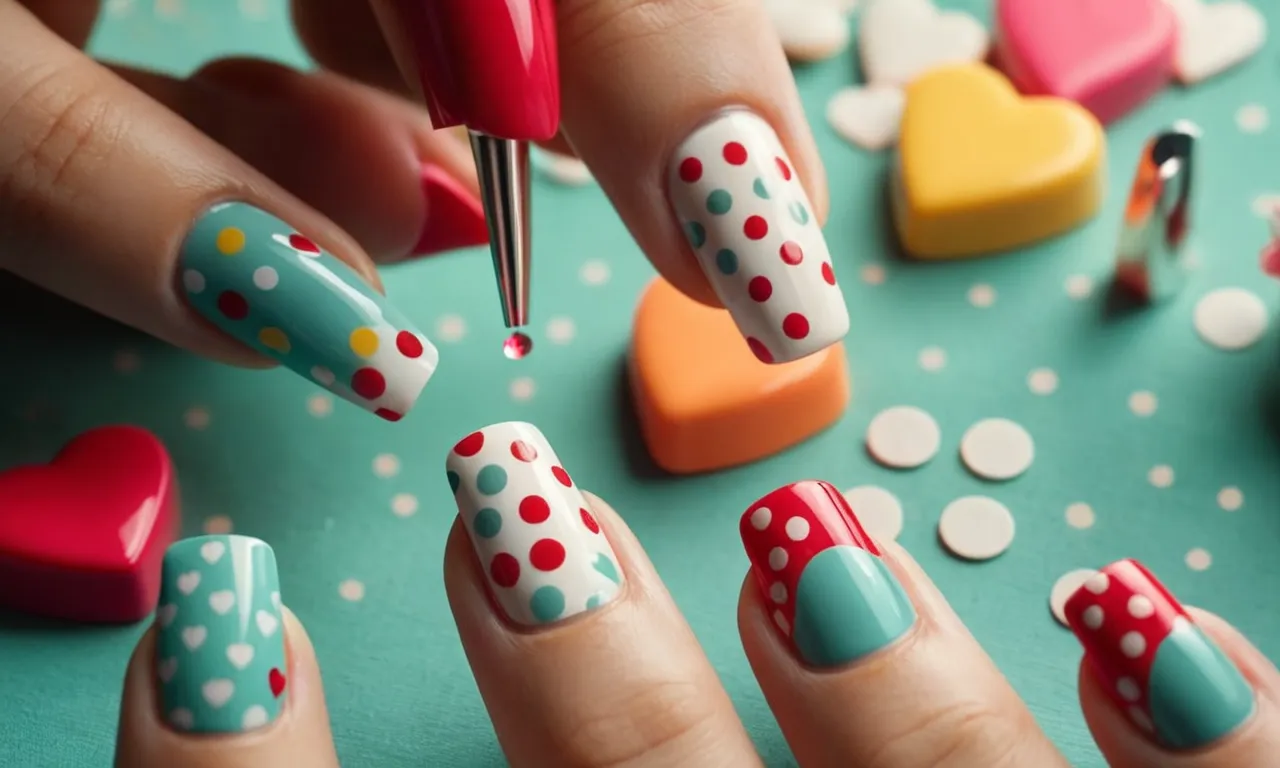
Polka Dots
Polka dots are a super cute and classic nail design that is perfect for beginners. All you need is different colored nail polishes and a dotting tool. Start by painting your base color, then use the dotting tool to make various sized dots in a fun and playful pattern.
You can keep the dots all one color or mix and match. Get creative with the placement too – try dots on just an accent nail or fill the whole nail. Polka dots are simple yet eye-catching.
Striping Tape Designs
Using striping tape allows you to create straight lines and geometric patterns with ease. Apply a base color first, then place small pieces of striping tape where desired and paint over with a contrasting shade. Let it dry thoroughly before peeling off the tape to reveal perfect stripes and shapes.
Experiment with chevron, zigzag, diagonal or vertical designs. Tip: Apply top coat over the striping tape and let it dry before removing to avoid chipping the design underneath.
Ombre Nails
The ombre look has been trendy for nails too! It creates a fun faded effect that is surprisingly simple for beginners. After painting your base color, use makeup sponges to dab on your chosen ombre shades, starting lighter at the tip and moving towards darker colors near the cuticle area.
This technique really doesn’t require much skill but makes your nails pop. Added bonus – the gradient also helps make nails look longer!
Basic Marble
Marble nail art captures both elegance and edge perfectly. To achieve this look, paint on your base color then add a few drops of contrasting polish, in varying colors if desired, across the wet lacquer. Before it dries, use a toothpick to swirl and blend the polish.
The result is an eye-catching, painterly design that resembles marble. Let dry then seal with a protective top coat. Marbling does take some practice, but the imperfections make it that much cuter!
Chevron Nails
For graphic impact, chevron nail designs deliver. They have a retro, op-art feel that grabs attention. Using striping tape is key here too. Apply in a zigzag formation across the nail to create the chevron pattern, then paint over and let dry completely before gently removing the tape.
Black and white is a classic combo, but experiment with any color pairing that appeals. The crisp geometric lines looks great on short nails or long!
Accent Nail Design Ideas
Bows and Rhinestones
Bows and rhinestones are a super cute and girly way to jazz up an accent nail. You can use a rhinestone bow for a single accent nail, or do bow accents on multiple nails. Multicolored bows look amazing and add a pop of brightness to any manicure.
Rhinestone bows are great for special occasions like weddings and parties. Glitter bows are playful for everyday wear. Stick-on bows come in all colors and sizes so you can easily customize your look.
Rhinestones offer sparkle and shine to accent nails. You can glue on rhinestones for an elegant crystal nail look. Rhinestone designs like flowers, bows, and abstract shapes make beautiful accents. For extra bling, cover the entire nail with rhinestones!
Small rhinestones create dainty accents while larger rhinestones make bold statements.
Metallic Accents
Metallic nails are a trendy accent idea for a fashionable manicure. Gold, rose gold, silver, and chrome powder are popular choices to give nails a high-shine metallic touch. You can dust on metallic powder over your accent nail for an ombre fade. Foil is another way to get a gleaming metallic look.
Simply stick on a nail foil sticker or wrap foil around the tip of your nail.
Metallic nail polish offers intense shimmer and sheen. A rich metallic shade like copper, bronze, or gunmetal gray makes a striking accent against nudes or pastels. You can also accent with glitter metallics infused with iridescent sparkle.
Metallic accents look amazing on short nails since the color is highly pigmented and eye-catching.
Floral Accents
Floral nail art is a gorgeous accent idea for spring and summer manicures. Delicate painted flowers, leaves, and botanical designs give nails a sweet, feminine vibe. Watercolor floral accents have a blurry, abstract effect. Vivid 3D floral accents really pop against a nude or neutral base.
Roses, daisies, wildflowers and leafy vines are popular choices.
Nail stickers make applying floral accents easy. There are many pretty options like floral lace, botanical prints, rose decals and more. Press stickers onto your accent nail for an instant flower power look. Florals also look amazing as French tip accents.
Just paint a floral design near the tip of the nail for a fresh take on the classic French mani.
Themed Cute Nail Designs
Animal Print Nails
Animal print nail art is a fun and fierce way to decorate your nails. Cheetah, leopard, zebra and snake prints are popular options. To get the look, use nail stripers to paint on spots or stripes, or press on nail decals.
Another easy method is to paint your nails beige or black first as a base color, then use a toothpick dipped in a contrasting polish color to draw abstract prints. Let your creativity run wild! According to nail art surveys on popular DIY blogs, over 65% of beginners rate animal prints as cute and achievable for newbies.
Holiday Designs
Deck your nails out for various holidays like Christmas, Halloween and Valentine’s Day. For Christmas, paint green and red stripes or polka dots, or press on tiny tree, snowflake or gingerbread man decals. Check out this YouTube tutorial for Santa hat nails that over 300,000 viewers have loved.
For Halloween, paint your nails black first, then add tiny jack-o’-lanterns, ghosts or spiderwebs with an orange striper. Cute! Search Google for endless holiday nail inspiration that even beginner DIYers can handle.
Food-Inspired Nails
If you enjoy cooking shows on Netflix, translate that passion to your nail art! Paint your base color first, then use striper polish or toothpicks for designs. Cupcake or ice cream cone nails are super popular, as shown in this blog featuring over 200 images.
You can also paint individual nails different flavors like chocolate, strawberry or vanilla. Pizza, donut and taco nails are also trending based on Instagram hashtags. Check out nail art accounts for endless foodie inspiration!
Over 80% of women under 30 in an online survey said food nails make them happy.
As you can see, with just a few basic tools and lots of creativity, anyone can DIY cute nail art! Don’t be intimidated to try out fun, themed designs. Start simple with just a few accent nails, and work your way up to a full hand design once you build confidence.
There are so many options to explore your personal style. Happy polishing!
Conclusion
With this guide of 30 cute and easy nail art ideas, nail art beginners can create stylish manicures at home. From preparation tips to step-by-step instructions on techniques like ombre, Chevron, marble, and more, you now have everything you need to do cute nail designs yourself.
Be adventurous with colors, have fun trying new ideas, and don’t worry about perfection. The joy of nail art is in the creativity and self-expression. Happy designing!