Achieving Stunning Clear Nails With White Designs
Clear nails with delicate white designs are the height of elegance and style. If you’re looking to update your manicure with this on-trend look that flatters all skin tones, you’ve come to the right place.
Here’s a quick overview of how to achieve beautiful clear nails with white designs: Prep nails properly, apply a sheer pink or nude base color, use striping tape or nail vinyls to create designs, top it off with a glossy top coat.
Read on as we dive into all the tips, tricks, and techniques you’ll need to know.
In this comprehensive guide, you’ll learn about picking the right base colors, the best nail art tools for flawless white designs, top coat options to lock in your creation, care and maintenance to make your manicure last, as well as 15 stunning white nail art inspirations you can recreate or use as a jumping off point to design your own bespoke nails.
Choosing the Right Base Color for Clear Nails
Sheer Pink for a Soft, Feminine Look
A light, sheer pink base is a gorgeous option that allows your natural nails to shine through while adding a subtle wash of color. This creates an effortlessly feminine look. Sheer pinks compliment any skin tone and still allow white nail art designs to pop.
The soft hue also makes your hands look bright and healthy.
Some top sheer pink polish picks for clear nails include:
- OPI Nail Lacquer in Bubble Bath – A perfect barely-there pink.
- Essie Nail Polish in Mademoiselle – A sheer sweet pink.
- Orly Breathable in Soothing Lavender – A pinky nude blend.
Nude for a More Neutral Tone
An ultra pale nude base color allows for lots of light to pass through while minimizing the visibility of any natural yellow tones in the nails. This creates a clean, neutral canvas for artistic white designs.
Be sure to select a nude polish that flatters your skin’s undertones to avoid a washed out or corpse-like look. Great options include:
- OPI Nail Lacquer in Funny Bunny – A soft pinky nude.
- Essie Nail Polish in Sand Tropez – A warm, beachy nude.
- Zoya Nail Polish in Claire – A truer beige nude.
Considering Your Skin Undertone
Determining whether your skin leans cool, warm, or neutral in tone can help guide you to the most flattering sheer base color for clear nails. Here’s how to find your undertone:
- Cool skin – Veins appear blue/purple, fair with reddishness. Sheer pinks, mauves and plums suit best.
- Warm skin – Veins appear green, olive/peach complexion. Nudes, corals and browns most flattering.
- Neutral skin – Veins are blue and green blend, fits with both warm and cool shades.
There are also undertone indicator quizzes online that can help clarify this further. Additionally, holding sheer polish options near your face in natural lighting is the best way to determine what is most complimentary.
| Skin Tone | Best Sheer Base Colors |
|---|---|
| Cool | Ballet slipper pink, mauve |
| Warm | Peach, nude, tan |
| Neutral | Soft pink, beige |
Choosing the right sheer base polish for your skin undertone allows bright white nail art to stand out while keeping the design soft and feminine. This makes for show-stopping clear nails! Refer to WebMD for more info on determining skin undertones.
Prepping Nails for a Flawless Base
Exfoliate and Moisturize Cuticles
Having healthy cuticles is key to achieving a flawless manicure. Gently push back and trim any overgrown cuticles with cuticle nippers. Then exfoliate the nail plate and cuticles with a scrub to remove any dead skin. This allows the polish to adhere properly.
Finish up by massaging cuticle oil into the nails and cuticles to hydrate and nourish. Voila, the perfect canvas for polish!
Shape Nails and Remove Shine
Shaping and buffing the nails is an important prep step. Use a nail file to shape nails into a uniform shape. Oval or squoval shapes complement most nail beds. Then use a buffer block to gently buff away any shine from the natural nail.
This removes any oils and creates a lightly abraded texture for polish to grab onto. The end result will be a pristine manicure that lasts!
Use a Dehydrator for Longer Wear
A dehydrator is a secret weapon for lasting manicures. After buffing, apply 1-2 coats of dehydrator/primer to the nails. This solution dries out any moisture and preps the nails for polish. Using a dehydrator helps prevent lifting, chipping, and peeling.
Popular options like Essie Aprés Nail Prep dry quickly and optimize adhesion. For special occasions when you want your manicure to last and last, don’t skip the dehydrator step!
Equipment for Effortless Nail Art
Achieving picture-perfect nail art requires having the right tools on hand. With quality nail art supplies that are specifically designed for precision and ease of use, even beginners can master creating stunning nail designs.
Striping Tape
Striping tape is essential for clean, straight lines in nail art. These thin strips of tape come in various widths and can be placed on the nail before painting over them. Once the polish dries, gently remove the tape to reveal perfect stripes and geometric shapes.
Nail Vinyls
Similar to striping tape, nail vinyl stickers provide guidance for different shapes when painting. Unlike striping tape, nail vinyls stay on the nail through the entire polishing and drying process before being peeled off.
Fine-Tip Paint Pens
For hand-drawn details from polka dots to flowers, specialized nail art paint pens have convenient fine tips. These pens don’t require multiple tools or constant dipping into polish bottles.
Dotting Tools for Precision
A must-have for creating patterns, dots are effortless with dotting tools. These metal or wooden styluses have different sized round ends for dipping into chosen polishes and neatly placing color onto the nail where desired.
| Tool | Key Benefits |
|---|---|
| Striping Tape | Sharp lines and geometric shapes |
| Nail Vinyls | Flawless negative space |
| Fine-Tip Paint Pens | Hand-drawn art |
| Dotting Tools | Consistent polka dots |
With quality supplies built for nail art, stunning salon-worthy manicures are possible right at home without expertise. For more tips and design ideas, visit sites like https://www.nailsmag.com.
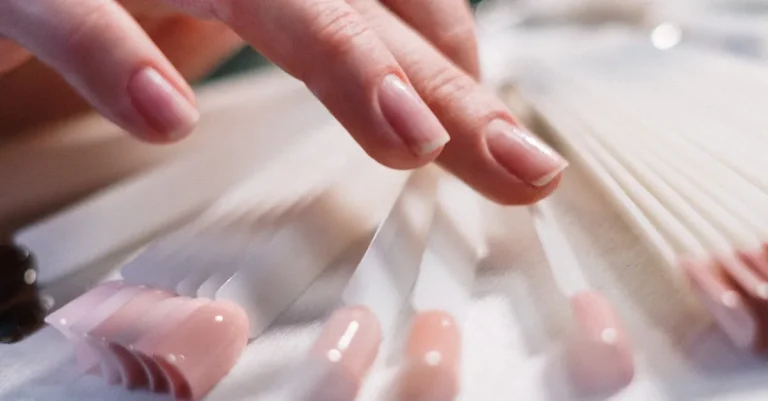
Applying Designs Over Your Base Color
Placing Striping Tape or Vinyls
One of the easiest ways to create stunning nail art is by using striping tape or nail vinyls. These are basically stickers that you can place on your nails to create straight lines, geometric shapes, or negative space.
After applying your base coat and color, simply place the tape or vinyls where you want them, and then paint over them with a contrasting color. When done, gently peel off the tape or vinyls to reveal perfect, crisp designs underneath (make sure to seal it all with a top coat).
This technique is great for beginners or anyone looking for a fast, foolproof manicure. You can find striping tape and nail vinyls at beauty supply stores or online shops like Maniology.com.
Painting on Freehand Graphic Lines
While striping tape and vinyls create perfect lines effortlessly, you can also paint on freehand graphic designs for a more handmade, artistic look. Using a thin nail art brush, simply paint on triangles, zigzags, dots, squiggles, or whatever shapes you want over your base color.
This takes a bit of skill, but the imperfections just add to the charm! Start with basic lines and shapes, then work your way up to more advanced freehand designs. Websites like LadyQueenBeauty offer great tutorials for learning to hand paint different nail art motifs.
Creating Negative Space Designs
Negative space nail art is very on trend and creates a modern, edgy look. The idea is to leave portions of your nails bare, using nail polish to frame out shapes on the edges. For example, you could paint on French tips on just two sides for a chic, unfinished look.
Or paint on stripes that stop halfway down the nail bed. Get creative with where you place the negative space—the more unexpected, the better! This Allure article showcases beautiful negative space inspiration.
Dotted and Geometric Patterns
If you love polka dots, chevrons, or other repetitive designs, these are very easy to recreate on nails. Using a dotting tool, simply dot on rows of circles in a contrasting shade over your base color. You can keep them small and consistent, or vary up the sizes for interest.
For chevrons, horizontal lines, and other geometric shapes, use striping tape as a guide, painting along its edges. Get into math-inspired manicures by trying out tessellations, mandalas, or other cool polygon patterns.
Maniology has a helpful dotting tool guide for stepping up your dotted design game.
Sealing and Protecting Your Design
Using a Fast-Drying Top Coat
Applying a fast-drying top coat is crucial for protecting your stunning white nail design. Top coats create a protective barrier over the nail polish and designs underneath. This prevents chips and smudges for longer lasting manicures.
Popular fast-drying top coat options include Seche Vite Dry Fast Top Coat and Essie Good To Go Top Coat.
These top coats dry to the touch in as little as 60 seconds! This means you can get on with your day without worrying about messing up your perfect white nail art. Just be sure to apply the top coat thinly and avoid globs for the quickest drying.
Let each coat dry completely before adding another layer.
Choosing a Long-Wear Top Coat
For even longer wear, look for a durable, long-lasting top coat formulated to extend manicures. These help resist chips and fading even with hand washing and other daily activities. Sally Hansen Miracle Gel Top Coat and OPI Infinite Shine Top Coat offer up to 10-14 days of glossy shine.
The technologically advanced formulas create a super strong layer over nails. For example, the OPI top coat contains a special blend of acrylic and urethane resins. Apply two thin layers, allowing each to dry, for maximum protection and shine.
This keeps your creative white designs flawless for over a week!
Considering a Gel Top Coat for Extended Wear
For the longest lasting sealant, a LED or UV gel top coat is the way to go. These work by curing or hardening under the light to form a super durable glossy finish. Brands like Gelish and Sensationail offer gel polishes and top coats perfect for layering over delicate nail art.
A gel top coat can extend your manicure 3-4 weeks or more! Just be aware gels require professional removal to avoid damage. The hardness helps prevent chips and scratches over time. But soak off gel removers break down the polymers so the products lift off safely from natural nails.
| Top Coat Type | Dry Time | Expected Wear |
|---|---|---|
| Fast Drying (Seche Vite, Essie Good to Go) | 60 seconds | 3-5 days |
| Long Wear (Sally Hansen Miracle Gel, OPI Infinite Shine) | 5 minutes | 10-14 days |
| Gel | 30 seconds – 2 minutes | 3-4 weeks |
No matter which top coat you choose, apply it smoothly without flooding the cuticles. Cap the free edge of each nail for maximum protection. Avoid top coats containing formaldehyde, toluene, and dibutyl phthalate which can be harmful. Celebrate your gorgeous white nail designs by sealing them to last!
Caring for Your Manicure
Avoiding Chips and Scratches
Chips and scratches on your gel or regular nail polish can occur from daily wear and tear. Here are some tips to help avoid them:
- Apply a good quality top coat – This helps create a barrier to protect the polish underneath.
- Use cuticle oil – Keeping the skin around the nails moisturized prevents cracking that can lead to chips.
- Avoid harsh chemicals – Household cleaners, acetone removers, etc. can cause chips and wear.
- Be gentle with your hands – Avoid rough housing or gardening without gloves to protect the manicure.
- Get regular touch ups – Small chips can be filled in every 2 weeks to keep nails looking fresh.
Using Cuticle Oil for Healthy Nails
Applying cuticle oil is one of the best ways to maintain strong, healthy nails that support a long-lasting manicure. Here’s how:
- Apply 1-2 times per day – Daily use keeps cuticles soft.
- Gently push back cuticles – After soaking in oil, gently push them back with a tool.
- Look for moisturizing oils – Jojoba, vitamin E, and coconut oils work best.
- Massage into nails and skin – Take a few minutes to massage oil into each nail bed.
- Remove dead skin – Exfoliate gently with a scrub or towel to reveal fresh skin.
Keeping cuticles in top shape prevents painful cracking and hangnails, plus gives the perfect foundation for beautiful nails!
Filing Away Growth
As your natural nails grow out, filing them smooth is key for a seamless fill-in manicure. Follow these tips for proper filing:
- Use a high grit file – 180 or 240 grit gently smooths nails.
- File in one direction – Lightly file from the side of one nail to the other.
- Don’t file too low – Leave a small amount of visible nail growth for bonding.
- Soften edges – Blend the tip outwards to prevent pressure points.
- Clean nails – Remove dust with a brush before applying more polish.
Take the time to properly file each nail – it creates the perfect foundation for your next fabulous manicure!
Knowing When to Remove and Re-Do
Gel manicures can last 3-4 weeks, but when is it time to take them off and start fresh? Here are signs it’s time for a removal:
- Regrowth is over 2 mm – Longer leads to breakage and lifting.
- Chipping or cracking – Major chips compromise the manicure.
- Discoloration or fading – Yellowing or dull polish loses its beauty.
- Lifting near cuticles – Gaps let dirt under the polish.
- Special event – A fresh set helps you look your best!
Rule of thumb: aim for a fill-in every 2-3 weeks and removal and new set every 3-4. Your nails will look stunning!
15 Elegant White Nail Art Design Ideas
White nail designs are a gorgeous way to create a clean, polished look for your nails. Whether you prefer understated elegance or want to make a statement, white nail art has something for everyone. From minimalist negative space to eye-catching 3D details, let’s explore 15 stunning ideas for white nail designs.
Negative Space White Nail Art
Negative space manicures make use of bare nails to create graphic designs. They are simple yet striking. Some popular negative space white nail ideas include:
- French tip – Leave the nail bed bare while painting just the tip white.
- Half-moon – Paint a white crescent shape over the base of your nail.
- Geometric shapes – Use tape to create interesting shapes like triangles and lines.
Marbleized White Nails
Marble manicures continue to trend because each design is unique. To achieve a marble look:
- Paint your nails white first as a base.
- Add a few drops of darker polish colors like gray, black or blue onto the wet white polish.
- Swirl gently using a toothpick or dotting tool to blend the colors in a marble pattern.
- Top with a glossy clear coat for extra dimension.
Nautical Striped Nails
Nothing says summer quite like nautical designs. Painting vertical red and white stripes over a white base makes for fresh patriotic or sailors-inspired nail art. For horizontal “candy cane” stripes, use striping tape as a guide for perfectly straight lines.
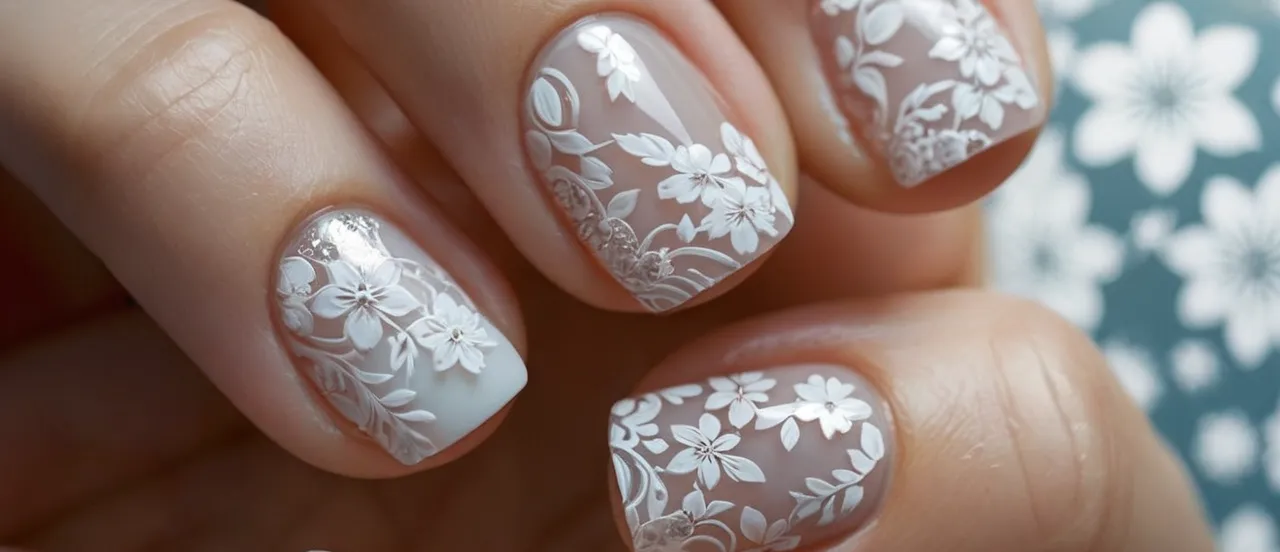
Delicate Lace White Nails
Lace nail designs combine both simplicity and intrigue, like fancy doilies for your nails. The trick is outlining the lace pattern with a thin brush and black or silver polish first before filling it in with white.
| Lace Nail Style | Inspiration |
|---|---|
| Floral lace | Vintage doilies |
| Geometric or zig-zag | Crochet patterns |
Dainty White Florals
What could be sweeter than white flowers on your fingertips? Tiny blossoms like baby’s breath are ideal for nail art beginners. More advanced painters can blend multiple flower types like daisies and carnations using different sized dotting tools.
Glossy White Chrome Nails
Chrome powder transforms ordinary polish into a mirror-like chrome finish. After applying a white base coat:
- Sweep chrome powder diagonally across the nail.
- Seal it with a glossy top coat while the powder is still wet on the nail.
The end result resembles liquid metal chrome for stunning nails that shine bright.
Conclusion
With the right tools, techniques and care, clear nails with white designs can take your manicure to dazzling new heights. Revel in the versatile, elegant simplicity of graphic stripes, artful curves and delicate dots atop a sheer base.
Have fun with negative space or kick it up a notch with an eye-catching geometric motif. The possibilities are endless!
Now that you’re armed with all the insider tips and inspiration you need, it’s time to give your nails a modern makeover. Grab your nail art supplies and breathe fresh life into your beauty routine with showstopping clear and white nail designs perfectly suited to any occasion.