Using Clear Dip Powder On Natural Nails: A Complete Guide
If you love getting your nails done but don’t want the damage of acrylics or gels, clear dip powder may be the perfect solution for you. Clear dip nails provide a glossy, long-lasting manicure while allowing your natural nails to grow out healthy underneath.
If you’re short on time, here’s a quick answer: Clear dip powder can be safely applied to natural nails without damage. It’s a powder and liquid method that’s strong, durable, and grows out seamlessly.
In this comprehensive guide, we’ll cover everything you need to know about getting and maintaining a clear dip manicure on your natural nails.
What is Clear Dip Powder?
Dip Powder Overview
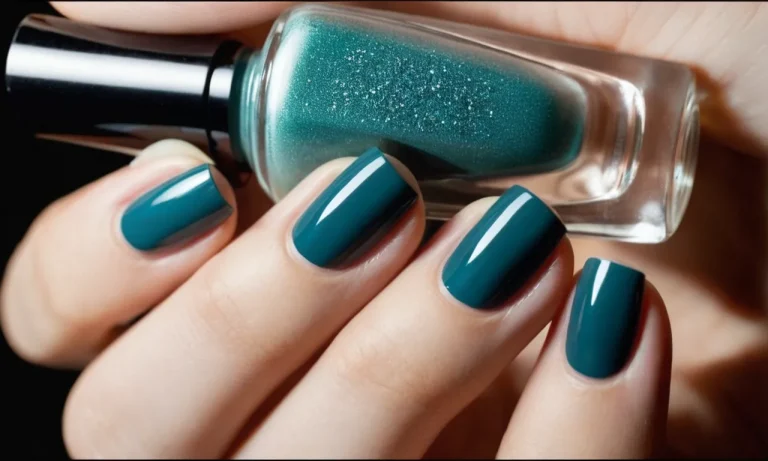
Clear dip powder, also known as clear acrylic powder, is a nail enhancement product used to achieve a smooth, glossy manicure while extending the natural nail. It’s applied using a dipping technique that layers on thin coats of powder and liquid activator to build up the nails.
Unlike acrylic nails applied using forms, dip powder directly bonds to the natural nail for a lighter, more flexible feel.
Clear Dip vs Color Dip
The main difference between clear and colored dip powders is the pigment. Clear dip has no added color while colored dip contains pigments to achieve different shades and effects. Here’s a quick comparison:
- Clear dip powder results in a natural, transparent manicure that still strengthens nails.
- Colored dip powder allows you to achieve any color while strengthening nails.
- Both provide a durable, long-lasting manicure that’s easy to apply at home.
- Clear dip powder is especially popular for achieving an enhanced yet understated look.
Dip Nail Process Step-By-Step
Achieving a salon-quality dip manicure at home is easy with some practice! Here are the basic steps:
- File and prep nails – Remove shine and shape nails.
- Apply nail primer – Ensures max adhesion to the natural nail.
- Dip powder – Dip nail into the powder to adherer a thin layer.
- Activate with liquid – Brush activator liquid onto the nail to harden dip powder.
- Repeat dipping and activating to build layers.
- Shape and buff nails.
- Apply clear acrylic sealant.
- Finish by wiping nails clean and applying cuticle oil.
With some basic supplies and practice, you can achieve a strong, lasting manicure with clear dip powder right at home! The finished look is natural, glossy, and chip-resistant.
Is Clear Dip Powder Safe for Natural Nails?
Less Damaging than Acrylics or Gels
Unlike acrylics or gels, clear dip powder is much gentler on natural nails. The powder does not need to be soaked off – it can simply be filed off, avoiding the excessive filing and stress that can weaken nails with other enhancements.
Additionally, dip powder does not require the use of UV or LED lamps to set it. This avoids overexposure to drying and potentially damaging light. Overall, clear powder dip is a safer alternative that doesn’t thin the nail plate or damage the nail bed nearly as much as other methods.
Protects Nails While Wearing
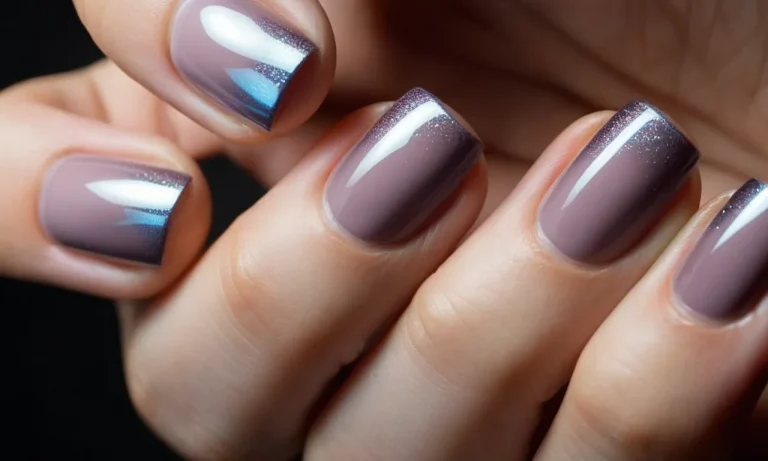
Clear dip powder forms a hard, protective layer over natural nails. This acts as a shield against splits, cracks, and breaks in the nail. Compared to bare nails, the strength provided by the powder overlay helps keep nails intact. The rigid finish is also resistant to dents and scratches.
Those with brittle nails or nails prone to peeling and chipping can benefit from the safeguard of dip powder.
Easy Removal When Ready
One of the perks of dip powder is that it’s temporary and does not penetrate the natural nail like acrylic liquid. This allows for easy removal when you’re ready for a fresh look. Simply filing off the powder is painless and avoids nail damage.
There’s no need for time-consuming soaking and prying off hard acrylic or gel. The average removal time is only 10-15 minutes. Quick elimination of the powder overlay lets nails “breathe” again sooner.
How to Apply Clear Dip on Natural Nails
Prep Nails Properly
Proper nail prep is crucial for a long-lasting and flawless clear dip manicure. Here are the key steps:
- Start by shaping your natural nails into the desired length and shape using a nail file. File in one direction to prevent weakening the nails.
- Use a nail dehydrator or wipe nails with acetone to remove any oils for better adhesion.
- Gently push back and trim cuticles with a cuticle pusher and nipper. Never cut cuticles as this can lead to infection.
- Buff nails lightly to create a slightly rough surface for powder adhesion. Avoid over-buffing as it can thin nails.
- Wash hands with soap and water and dry thoroughly.
Apply Base Coat
Applying a quality base coat helps the powder adhere properly to natural nails. Here’s how to do it:
- Apply a very thin layer of base coat on each nail and let it dry completely. This usually takes about 60 seconds.
- Make sure you seal the free edge and sidewalls to prevent lifting.
- Avoid touching skin or cuticles with base coat as it can lead to lifting.
- Choose a non-acid base coat specifically formulated for dip powder application.
Dip in Clear Powder
Dipping nails in finely milled clear dip powder is what builds the durable extension on natural nails. Follow these steps:
- Once base coat is dry, dip nail into the clear powder pot starting with your pinky and working towards thumb.
- Lightly tap finger on the rim of the jar so your cuticle area doesn’t get overfilled with powder.
- Do one finger at a time to prevent smudging.
- Apply thin layers and avoid over-dipping to prevent excessive bulk.
- Make sure you fully encapsulate the free edge for strength.
Apply Activator and Shape
The activator liquid hardens and sets the acrylic powder. Here are some tips for this step:
- After dipping each nail, use an activator brush to set the powder. Wave activator over the nail without touching.
- Let it dry and then brush on activator to further harden.
- Shape and file nails after full application. File in one direction only.
- Buff gently with a fine grit buffer block to smooth nails.
Finish with Top Coat
The final step is to seal the manicure with a protective top coat:
- Apply 1-2 thin layers of quick-dry top coat for a super glossy finish.
- Make sure to cap the free edge to prevent chipping and peeling.
- Apply cuticle oil around nails to rehydrate.
- Avoid water exposure for 1-2 hours to allow full dry time.
- Reapply top coat every 2-3 days to maintain shine and protection.
Following these clear dip application steps properly allows you to achieve a durable, long-lasting manicure on your natural nails. Take your time prepping nails and applying thin, even layers for flawless results. Be gentle filing and buffing to avoid weakening natural nails.
With the right technique, clear dip powder is a great option for extending and strengthening natural nails.
Clear Dip Powder Maintenance and Removal
Filling in Regrowth
As your natural nails grow out, you’ll begin to see a noticeable gap between your cuticle area and the start of the dip powder overlay. This is normal, but once it reaches 1⁄4 inch or so in size, it’s important to get the nails filled.
Trying to let too much regrowth occur before getting a fill can weaken the dip powder and increase chances of cracking or lifting.
The nail technician will use an e-file to gently file off the lifted edge and trim back your cuticle area. They cleanse the nail and lightly buff to remove shine before applying a thin layer of clear base coat and dipping into clear powder.
This fill layer adheres to the remaining dip overlay and creates a smooth, seamless finish again. Fills are fast, easy, and maintain the length and look of your manicure between full sets.
Soaking Off at Home
While you can have your dip powder nails professionally removed at a salon, you may want to soak them off at home if a nail appointment doesn’t fit your schedule. Here are some tips for safe, effective at-home removal:
The soaking and wiping process can take 30-60 minutes total to remove a full set. Make sure to avoid getting acetone on your skin and use nail oil after to hydrate your nails!
Removing Dip Nails at Salon
Salons use professional e-file equipment to safely and effectively take off your dip powder manicure. The process is quicker than doing it yourself at home and reduces the risk of nail damage.
Your technician will use a handpiece set on a low speed to gently file off the top layers of powder until reaching your natural nail. They will then use a special bit to lightly buff your entire nail surface to ensure no leftover product remains.
Filing the nails reduces work time compared to acetone soaking and keeps your nails strong.
After removing all traces of your previous set, your nail technician will examine your nails for thin spots, cracking or peeling. If your nails are healthy and undamaged from the removal, you can immediately get a new set of dips applied if desired!
FAQs about Clear Dips on Natural Nails
Clear dip powder nails have become an increasingly popular nail enhancement option. Here are answers to some frequently asked questions about applying clear dip powder to natural nails:
How long does a clear dip manicure last?
With proper application and care, a clear dip manicure can last 2-3 weeks on natural nails. Using a high quality clear dip powder system and top coat helps extend wear time. Avoid picking at or peeling theenhancement and use nail oil daily to condition nails and cuticles underneath the dip powder.
Do you need a primer for clear dip powder?
Yes, a bond/primer is essential when applying dip powder directly to natural nails. The primer provides adhesion so the clear powder sticks to the nail surface. Using a primer formulated for dip systems helps create a strong bond.
Does clear dip powder damage natural nails?
When applied correctly, a clear dip manicure does not damage natural nails. To prevent damage:
- Trim and file nails before application to ensure proper fit
- Avoid overfiling the natural nail surface
- Use thin coats of dip powder and activator liquid
- Gently file off product during removal instead of prying it off
Can you do clear dip powder over gel polish?
Yes, clear dip systems can be applied over a base of gel polish or gel base coat. This provides a protective layer between the natural nail and the dip powder. Just be sure the gel is fully cured before applying dip powder.
The gel polish color will show through the clear dip for a pretty, polished look.
How do you take off clear dip powder from natural nails?
An acetone-based dip powder remover is required to dissolve the resin and take off a clear dip manicure. Soak cotton pads in remover and hold on each nail for 5-10 minutes. Then gently use a cuticle pusher to scrape off product. Buff nails lightly to remove any remaining residue.
Be patient during removal to avoid excessive filing that can thin nails.
Can you do a clear dip manicure at home?
Yes, clear dip powder can be applied at home with some practice! A dip starter kit provides the essentials like base coat, clear dip powders, activator liquid, and remover. Watch technique videos to learn application steps. Go slowly, and don’t flood the cuticle area.
DIY dip manicures are an affordable way to get long-lasting salon-quality nails.
Conclusion
With proper application and removal, clear dip powder is a great option for getting a durable, long-lasting manicure without compromising the health of your natural nails. Dip powder protects nails while providing weeks of high-gloss wear.
As you can see, clear dip nails are the best of both worlds – you get the beauty of polished extensions with the ability to let your nails grow out naturally over time. We hope this guide gave you all the info you need to decide if clear dip is right for you!