Can You Use Regular Nail Polish For Stamping?
With the rising popularity of nail art techniques like stamping, many nail polish enthusiasts wonder if they need to invest in special polishes or if their regular lacquers will do the trick. If you’re short on time, here’s a quick answer: While you can use regular nail polish for stamping in some cases, dedicated stamping polishes tend to work better for transferring intricate designs.
In this comprehensive guide, we will explore everything you need to know about using regular polish versus stamping polish, from how each formula impacts the stamping process to tips for making regular lacquers work when needed.
The Difference Between Regular and Stamping Nail Polish Formulas
Pigment Load
Stamping nail polish contains a much higher pigment load than regular nail polish. The thick, dense pigments allow for crisp image transfer onto the nail plate. Regular nail polish has lower pigment loads, resulting in sheerer coverage that is ideal for natural nails but not opaque enough for nail stamping.
Drying Time
Stamping polishes are formulated to dry quickly. The fast-drying allows the polished image to transfer cleanly onto the stamper head and then onto your nail. Regular nail polishes have longer drying times that allow for self-leveling on natural nails.
The longer dry-down is not ideal for stamping when you need to work quickly.
Consistencies
Stamping polishes have a thick, almost paste-like consistency to allow for precise image picking. The viscosity grabs and releases the etched design cleanly. Regular nail polishes are thinner to create smooth, even coverage on natural nails.
The thinner formula does not have the opacity and tackiness needed to transfer stamping images.
When to Use Stamping Polish vs. Regular Polish
When it comes to nail stamping, using the right polish can make all the difference in getting a crisp, clear stamping image. Stamping polish is formulated specifically for the nail stamping process, while regular nail polish tends to be too thin for cleanly picking up the stamper image.
Here’s an overview of when you’ll want to use stamping polish versus regular nail polish for stamping:
Use Stamping Polish For:
- Picking up the image from the stamping plate. Stamping polishes are highly pigmented and have a thick, pasty consistency that allows them to cleanly pick up intricate designs from the etched plate.
- Transferring the image to the nail. The opaque pigments and thick viscosity of stamping polishes allows for a crisp image transfer.
- Layering colors. Stamping polishes are designed to layer cleanly over each other for a smooth gradient or detailed image.
- Creating crisp lines and details. The high opacity covers well and dries quickly, enabling sharp lines and edges.
Use Regular Polish For:
- Base and top coats. Use regular base and top coat formulas before and after stamping to prep and seal the manicure.
- Under stamping as a base color. Regular polish can be applied under stamped images to coordinate colors.
- Top coats over stamping. Quick-dry top coats help set and smooth stamped designs.
- Touch-ups. Use regular polish to neatly fill in any empty spots and make quick touch-ups.
While specialty stamping polish will provide the most crisp, pigmented results, you can often get away with using regular polish as a base or topper over stamping. Just avoid using runny or overly thin polishes for the stamping itself to ensure you can pick up the designs cleanly.
With the right polish and great technique, you can create awesome stamped nail art designs! Let your creativity run wild and don’t be afraid to experiment with mixing stamping polish and regular polish to customize your manicured masterpieces.
Tips for Using Regular Nail Polish for Stamping
Use Thick, Opaque Formulas
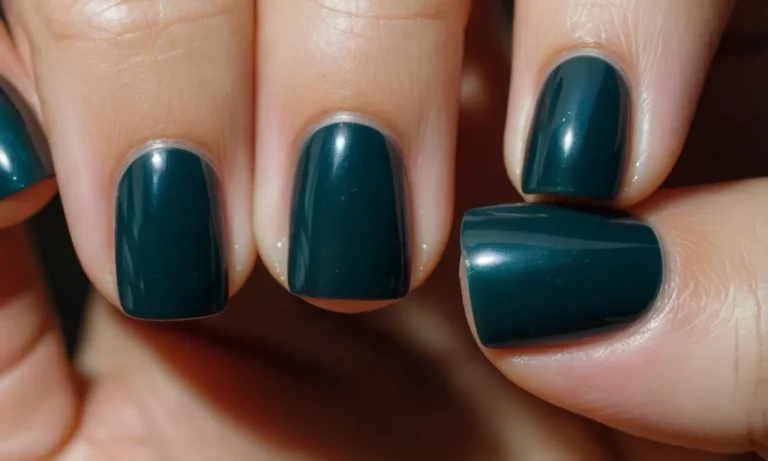
When choosing a regular nail polish for stamping, it’s important to select an opaque, thick formula. Sheer and thin polishes will not pick up the stamping plate pattern well. Go for polishes labeled as “creme” rather than “jelly” or “pearlized.”
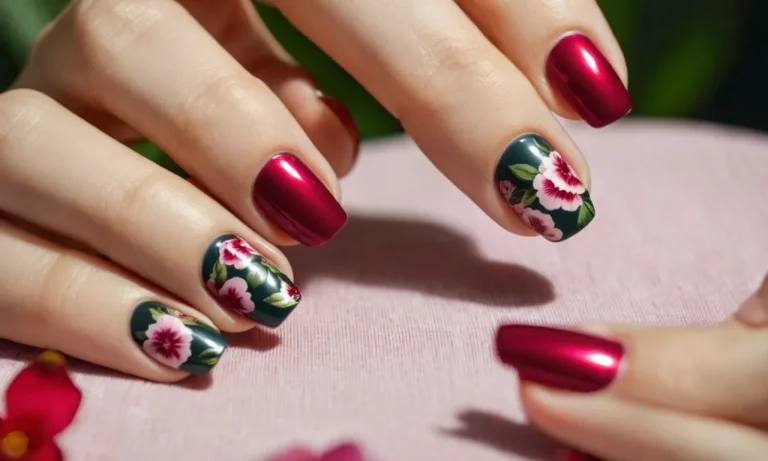
Darker, richer shades also tend to work better than pale or pastel colors. Some great options are deep reds, bright corals, bold blues, forest greens, or black. Apply two to three coats for maximum coverage and intensity of color.
Work Quickly
Regular nail polish dries faster than special stamping polish, so you need to work efficiently. After painting your stamper with the regular polish, swiftly transfer the pattern onto your nail. Don’t pause between steps or the polish may start to dry and prevent an even transfer.
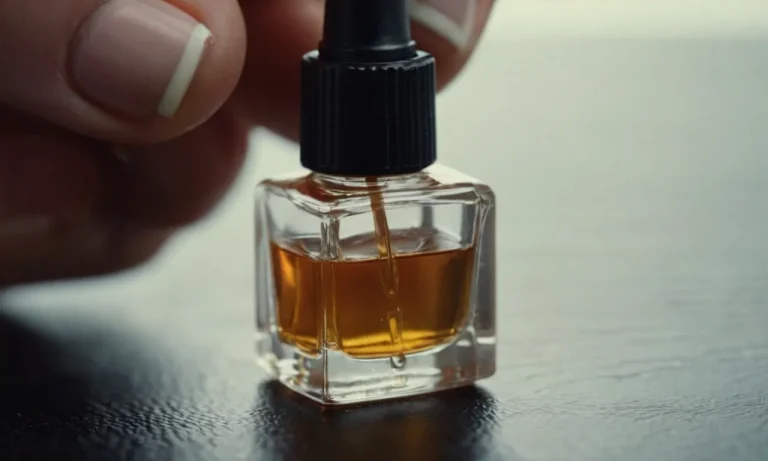
Have all your supplies ready nearby so you can keep up the pace. If you do find the polish dries too fast, try adding a drop of nail polish thinner to the bottle to slow the drying time slightly.
Apply a Base Coat First
Don’t forget to start with a base coat before stamping! This will help the design grip better on your nails. A sticky base coat works best to adhere the stamped polish. Let the base coat dry thoroughly before stamping – this usually takes about 2 minutes.
The slick surface of a base coat helps the stamped design glide on smoothly and prevents bubbling or lifting of the patterns. Using a base coat also helps protect your nails from staining.
The Best Regular Nail Polishes to Use for Stamping
When it comes to nail stamping, using the right polish is key to getting a crisp, clear image transferred onto your nails. While special stamping polishes exist, did you know you can also use regular nail polish for stamping?
The trick is finding opaque polishes that dry quickly and leave an even finish. Here are some of the best drugstore nail polishes to use with stamping plates:
Sally Hansen Insta-Dri
The Sally Hansen Insta-Dri line is a top choice for stamping with its fast-drying formula and extensive color selection. The flat, opaque finish ensures your stamped designs will stand out beautifully.
From reds and pinks to metallics and neutrals, it’s easy to find a shade to coordinate with any manicure.
Revlon Colorstay Gel Envy
Another drugstore winner, Revlon’s Colorstay Gel Envy polishes deliver that salon-perfect look in one step. The durable, chip-resistant formula leaves nails ultra shiny. And the one-stroke application means full coverage and no streaks – perfect for transferring images cleanly.
Essie Expressie Quick Dry
True to its name, Essie’s Expressie line sets in under 60 seconds for a super quick mani. The flat, creme finish offers great opacity for stamping intricate designs. With the vast Essie color palette, you’re sure to find a perfect match no matter your nail look.
OPI Infinite Shine
Known for salon-quality lacquers, OPI’s Infinite Shine polish gives a glossy, long-lasting finish. The advanced formula also helps prevent chipping and fading. And with creative limited edition collections launching all the time, you’ll never run out of unique colors to stamp.
When shopping for regular polish to use with nail stamping plates, look for opaque, quick-drying formulas. Matte or creme finishes generally show designs better than shimmer or glitter polishes. Always do a test stamp before starting your manicure, to ensure your chosen shade will pick up the etching cleanly.
With some trial and error, you can achieve stunning stamped nail art with standard drugstore polishes.
Conclusion
While dedicated stamping lacquers make the stamping process easier, you can absolutely use regular nail polishes in many cases. Just be strategic in choosing quick-drying opaque formulas and work swiftly when stamping.
With a bit of practice, even deep shades and metallics can transfer well from plate to nail.