Can You Use Nail Stickers With Gel Polish?
If you love getting your nails done but don’t always have the time or money for frequent salon visits, nail stickers can be a quick and affordable alternative to polish. But can you layer stickers on top of a gel manicure, or do you need to remove the gel first?
Keep reading as we dig into the details.
The short answer is yes, you typically can apply nail stickers or decals on top of gel polish. However, there are a few things to keep in mind for the best results.
Prepare the Nail Surface Properly
Properly preparing the nail surface is crucial for getting the best results from nail stickers and gel polish. Here are some tips for prepping your nails:
Remove any oil or lotion
Nail stickers and gel polish won’t adhere well to nails that have oils, lotions or moisturizers on them. Use nail polish remover or alcohol to thoroughly cleanse the nails and remove any residue. This helps the products stick better.
File the surface lightly
Use a fine grit nail file to gently buff the top layer of your nails. This removes any shine and creates microscopic ridges for the nail stickers and gel polish to grip onto. Be careful not to over-file, as this can damage the nails.
Clean nails with alcohol
After filing, wipe the nails with 70% isopropyl alcohol. This ensures the nail beds are completely free of dirt, oil and moisture. Allow the nails to fully dry before applying stickers or gel polish. According to nail care experts at Nails Magazine, this helps achieve maximum adherence.
Proper nail prep takes a bit of time but is worth the effort. Following these simple steps allows the nail stickers and gel manicure to last longer without peeling or chipping. Beautiful, long-lasting nails are just a few minutes of prep work away!
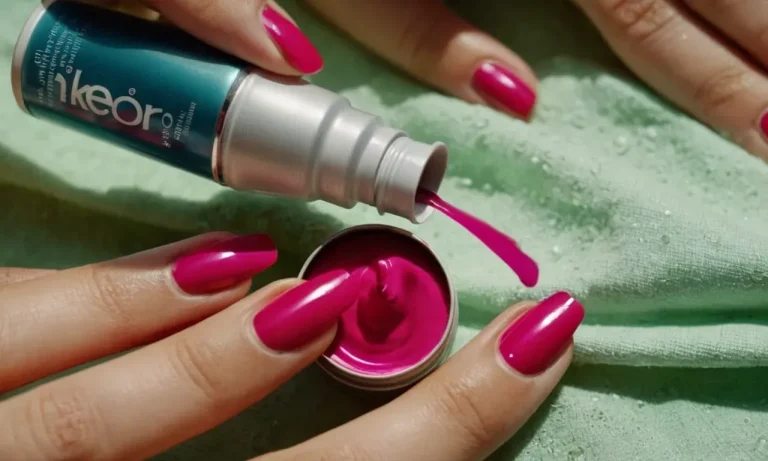
Let the Gel Polish Cure Fully First
Wait at least 24 hours after application
When applying nail stickers over gel polish, it is crucial to allow the gel polish to fully cure and harden first. Most gel polishes take at least 24 hours to fully cure and harden after application. Rushing the curing process can lead to the gel being soft or tacky, which will prevent the nail stickers from adhering properly.
Here are some tips for allowing your gel manicure to cure:
- Avoid getting the nails wet or exposing them to moisture during the curing period. This can inhibit the gel from drying properly.
- Try to avoid direct contact with surfaces or materials that could dent the gel polish while it is still soft.
- Resist the urge to touch up or remove any imperfections in the gel polish until it has had sufficient time to cure.
- Use nail gloves at night to protect the gel while you sleep.
Giving your gel manicure at least 24 hours to cure will help ensure it is smooth, hard, and forms a non-tacky surface for nail stickers to adhere to. Rushing the process often leads to frustration when stickers do not stick or the gel itself gets damaged or marked up.
Ensure top coat is smooth and dry
In addition to allowing the colored gel polish to cure, it is equally important to make sure the top coat layer is smooth, dry, and free of tackiness before applying nail stickers. The top coat seals and protects the polish underneath, so it must be fully set for stickers to properly adhere.
Here are some top coat tips:
- Apply top coat in thin, even layers and allow to dry fully. Thick or uneven layers may require longer cure times.
- Use a fast-drying top coat formulated for gel polish to speed up curing time.
- Check that the top coat is smooth without bumps, ridges, or raised areas.
- Feel the nails to ensure the top coat feels uniformly smooth and dry to the touch.
- Look for a uniform shine across all nails to indicate complete drying.
An improperly cured top coat is one of the most common reasons nail stickers do not adhere well over gel polish. Taking the time to apply a smooth, thin top coat and allowing 24 hours or more to dry helps avoid this issue. Doing so provides an optimal base so stickers grip tightly.
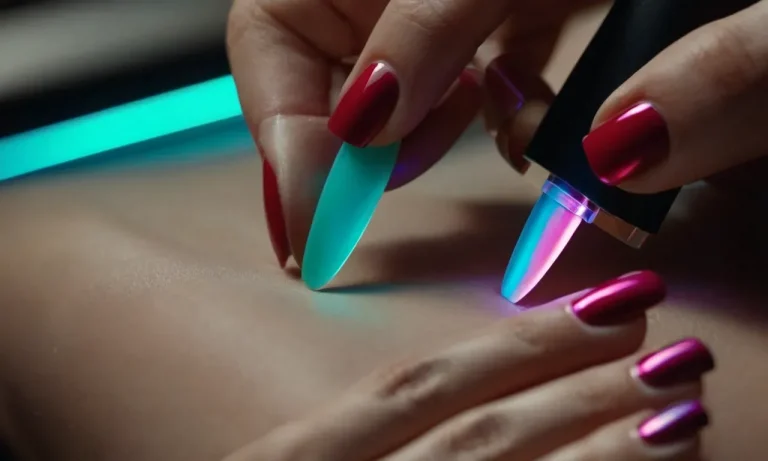
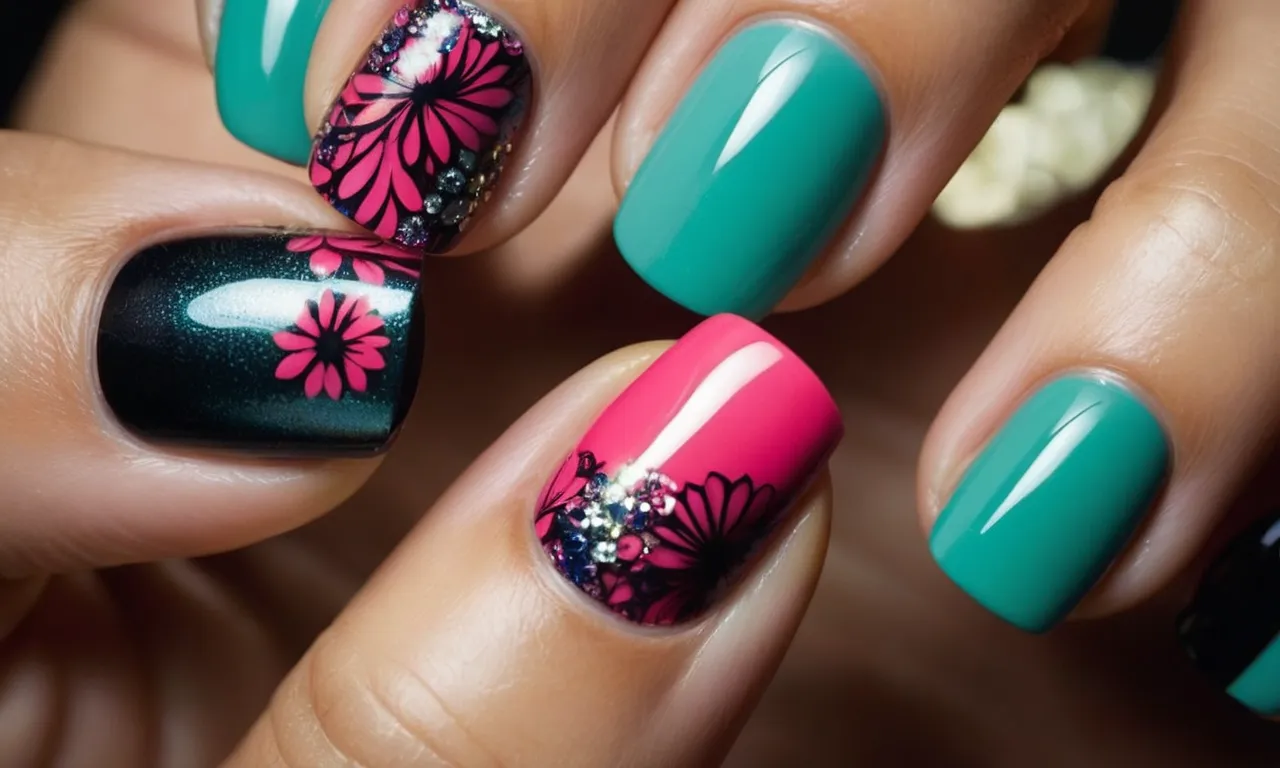
Apply Stickers Carefully to Avoid Lifting
Work slowly and gently
When applying nail stickers to gel manicures, it’s important to work slowly and gently. Gel polish can be rigid, so pressing down too firmly or quickly on stickers may cause them to lift or peel up over time.
Take your time gently pressing stickers into place on each nail, working from cuticle to tip. Don’t rush the application or press too hard. Allow stickers to adhere naturally to the gel surface. Working methodically prevents wrinkles, bubbles or edges from lifting later on.
Press down edges firmly
Pay special attention to pressing down the edges of nail stickers after application. The sides are the most likely to peel up or detach from gel polish over time, especially as nails grow out. Use a cuticle pusher or orange stick to firmly adhere sticker edges against cuticles and side walls after positioning a decal on the nail.
Hold the pusher over edges for 5-10 seconds to help them adhere properly. Avoid buffing or filing gel near cuticles and sides prior to stickers, as this can weaken adhesion.
Use a top coat over stickers
Applying a quality gel or regular nail polish top coat over stickers helps seal them in place. The top coat works like glue to prevent lifting or detachment from the manicure underneath. Apply a thin, even layer of top coat over the entire nail surface and stickers.
Make sure to cap the free edge so the top coat adheres to the underside of the nail tip as well. Allow top coat to fully dry as directed. A shiny top coat also smooths any sticker edges and gives fun nail art a polished finish! Reapply top coat every few days to maintain stickers.
With the right gentle technique, nail stickers can be a fun addition to gel manicures! Just take care when applying and use a top coat after to seal in the stylish look. Allowing plenty of time for the stickers to adhere prevents lifting or peeling, even on rigid gel polish.
Have fun decorating those beautiful gel manis with easy-to-use nail stickers!
Maintain the Manicure
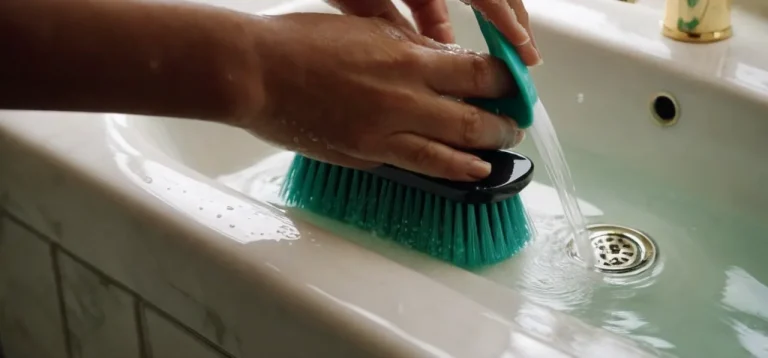
Avoid soaking nails
When you have nail stickers on, it’s important to avoid soaking your nails in water for extended periods of time. This can cause the stickers to lift or peel off prematurely. Try to keep your hands out of the sink when doing dishes, and limit long baths.
When you do wash your hands, avoid vigorously scrubbing the nail stickers.
Use cuticle oil daily
Applying cuticle oil around the nails every day helps keep the nail stickers looking fresh and avoids cracking or peeling. The oil moisturizes the nail bed and cuticles, which helps the stickers adhere properly. Opt for a nourishing oil like jojoba, vitamin E, or argan.
Gently massage just a drop or two into the skin around each nail.
Reapply top coat as needed
A shiny top coat helps seal the nail stickers and smooth any ridges on the surface. Over time, that top coat can wear off or get chipped. When you notice dull spots or nicks, go ahead and apply another layer of top coat to keep the stickers looking flawless.
This helps prevent moisture from getting underneath and weakening the adhesive.
With proper care between manicures, nail art stickers can easily last over a week without lifting or peeling. Avoid picking at the stickers, and resist the urge to peel them off early. The key is maintaining the moisture balance – don’t over-soak the nails, but do keep cuticles nourished.
Let the stickers fall off naturally as the nail grows out. With regular touch-ups of top coat and cuticle oil, nail stickers can look fabulous for their full duration.
Remove Properly When Ready
When you are ready to remove your nail stickers, it is important to do so properly to avoid damaging your natural nails or gel polish underneath. Here are some tips for safe sticker removal:
Use foil method to protect nails
The foil method is an easy way to remove stickers without pulling up your gel polish. Start by saturating a cotton ball or pad with pure acetone nail polish remover. Place it on top of the sticker, then wrap the finger in foil.
Let it sit for 5-10 minutes – the acetone will dissolve the sticker adhesive. Gently slide dental floss or an orangewood stick under the sticker to lift it off.
Avoid roughly pulling off stickers
Trying to rip stickers off can cause cracks and chips in your natural nails and gel polish. The sudden tension damages the nail layers. Instead, loosen them slowly with acetone as mentioned above. If stickers start to lift at the edges, apply more remover and gently push the raised parts back down until the sticker is ready to slide off intact.
Buff away any leftover adhesive
Sometimes a bit of sticker glue remains even after removal. Take a soft nail buffing block and gently smooth it over the area until any adhesive residue disappears. Avoid using metal nail files as these can cause more harm.
Be careful not to over-buff or you may thin out your gel polish layer too much. Top off with a hydrating cuticle oil when finished.
By following these tips, you can safely wear and remove cute nail art stickers without ruining your beautifully polished nails underneath! Allowing stickers time to fully dissolve in acetone is key for easy, non-damaging removal.
Conclusion
Nail stickers can be a fun way to decorate and customize a gel manicure in between salon appointments. Just be sure to let the polish cure fully first, apply stickers gently, maintain the manicure with top coat, and remove properly when ready.
With some care and patience, you can safely layer stickers over gel for a creative, eye-catching look.