Can You Use Gel Nail Polish As Regular Nail Polish?
With the rising popularity of gel manicures, you may be wondering if you can use your gel nail polishes at home like regular nail polish. After all, who wouldn’t want nails that last 2-3 weeks without chipping?
If you’re short on time, here’s a quick answer: While gel polish formulas are similar to regular polishes, they require special UV/LED lamps to properly cure the polish in order to get that super durable, long-lasting finish.
In this comprehensive guide, we’ll discuss the key differences between gel and regular polish, whether or not gel polishes can be used as substitutes for regular polish, application tips, and things to look out for, such as different formulations and choosing the right UV/LED lamp if you do decide to experiment with gel polish at home.
The Differences Between Gel and Regular Nail Polish
Ingredients and Formulas
Gel nail polish has a different chemical formulation from regular polish. It contains more resin and plasticizers, giving it a thicker, gel-like consistency. These extra ingredients allow gel polish to cure under UV light to form strong, long-lasting bonds on the nail.
Regular polish relies more on evaporation and oxidation for drying and hardening.
Curing Methods
Gel polish must be cured under a UV or LED lamp, which solidifies the formula through polymerization. This curing process takes 30-60 seconds and leaves an instantly dry, hard finish that resists chipping.
Standard nail lacquer simply air dries at room temperature, which takes around 15-20 minutes initially. It remains softer and more prone to dents.
Durability and Wear Time
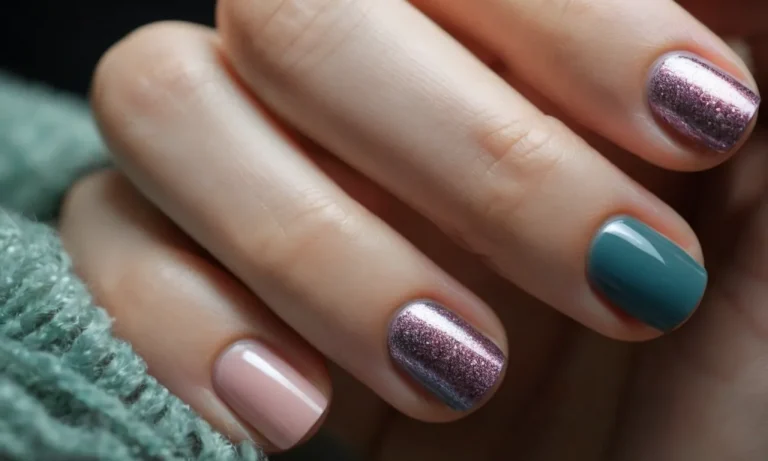
The cured nature of gel nail polish makes it significantly more scratch and chip-resistant compared to traditional lacquers. With proper application, gels can last over 2 weeks without showing signs of wear or losing shine. Regular polish usually begins chipping after just 3-5 days.
However, gels must be soaked off to remove them while standard polishes can simply be peeled off with remover.
Can Gel Polish Be Used Without a UV/LED Lamp?
Trying Gel Polish Without Curing
While gel polish is formulated to cure under UV or LED lamps, you can technically paint it on your nails without setting it. The polish will dry to the touch within a few minutes, allowing you to go about your day with an uninterrupted manicure.
However, the wear time will be severely reduced compared to properly cured gel polish.
Without UV light exposure to initiate the bonding process, gel polish essentially acts as a thick lacquer coating. It will chip and peel off quickly, likely within 24 hours. The polish also won’t fully harden, so it can dent and scratch easily.
Using gel polish without curing certainly works in a pinch when you’re short on time, but don’t expect long-lasting results.
The Risks and Downsides
Skipping the curing step with gel polish comes with a few drawbacks:
- Short wear time – lasts less than a day before chipping
- Never fully dries or hardens – stays thick and dentable
- Can feel gummy and tacky on the nails
- Difficult to remove without acetone
- Higher risk of staining nails
Uncured gel can be notoriously hard to take off since it doesn’t fully set. You’ll likely need pure acetone and some elbow grease to break down the polish layers. Aggressive filing and buffing to remove unfinished gel can also thin and damage nails over time.
Tips for Making Gel Last Longer Without Curing
While subjecting your gel manicure to UV lights remains the best way to maximize wear, you can take a few extra steps to help extend an uncured gel mani:
- Apply a base coat first to help gel adhere better
- Finish with a fast-drying top coat like Seche Vite
- Avoid water exposure to prevent early lifting
- Touch up chips as soon as they appear
- Buff nails lightly before removing polish
Taking good care of your uncured gel polish and nails can yield up to 2-3 days of wear rather than just 24 hours. However, regular gel manicures lasting 7-14 days are still highly recommended over skipping the curing process altogether.
Application Tips and Tricks
Prep Your Nails Properly
Proper nail prep is crucial for getting the most out of your gel manicure. Here are some tips for prepping your nails:
- Remove any existing nail polish and use a nail dehydrator to get rid of oils on the nail plate.
- Gently push back and trim your cuticles, being careful not to cut the skin.
- Use a buffer to lightly buff the shine off your nails so the gel polish adheres better.
- Wash your hands with soap and water and use a nail cleanser to remove any debris.
- Swipe your nails with a prep solution or gentle alcohol wipe to further remove oils and ensure adhesion.
Taking the time to properly prep your nails helps the gel polish last longer and apply smoothly.
Choose the Right Gel Polish Consistency
Gel polish comes in different viscosities, from thin to thick. The consistency you choose can make application easier or more challenging.
- Thinner gel polishes spread easily and self-level well on the nail, great for beginners.
- Medium gel polishes are moderately viscous for balanced control.
- Thicker gel polishes are more opaque and allow greater sculpting ability.
If you’re new to DIY gel manicures, opt for a thinner formula. Once you’ve got the technique down, play with thicker gels for bold looks.
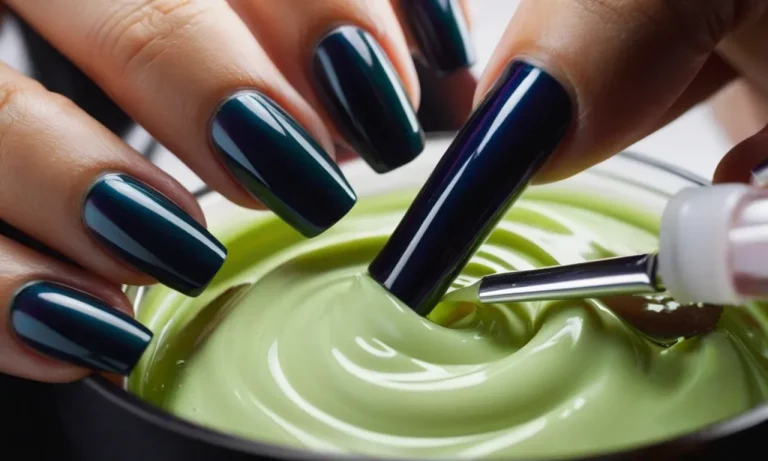
Apply Thin, Even Layers
The key to a flawless, long-lasting gel mani is applying multiple thin layers of polish rather than one thick layer. Here are some tips:
- Use a gel brush with fine bristles to smoothly spread the product.
- Load the brush sparingly to avoid flooding the cuticle area.
- Brush on gel starting in the center of the nail and stroke outward to each side.
- Apply gel to just past the free edge for full coverage.
- Cure each layer for 30 seconds in an LED lamp before applying the next.
- Repeat for 2-3 layers to build opaque, durable color.
Applying gel polish in thin, even coats prevents bubbling and allows for a flawless, professional-looking manicure.
Finish with a Top Coat
Once you’ve built the desired color with thin gel layers, finish off your manicure with a gel top coat. This seals in color, helps prevent chipping and scratching, and adds enticing shine.
- Apply top coat to fully cover each nail and free edge.
- Cure for 30 seconds under the LED lamp.
- Wipe away the sticky inhibition layer with isopropyl alcohol.
- Apply cuticle oil to rehydrate the skin.
A quality top coat takes your gel manicure to the next level. Follow these pro tips and tricks for stunning nails that will turn heads.
What to Look for When Buying Gel Polish
1-Step vs. 3-Step Gel Systems
When shopping for gel nail polish, you’ll find there are two main types of gel systems: 1-step gels and 3-step gels. 1-step gels are all-in-one polishes that don’t require a base or top coat. They are the easiest gels to apply for beginners.
3-step gel systems involve applying a base coat, color coat, and top coat for longer wear. Most salon gel manicures use 3-step systems. While 1-step gels are quicker, 3-step gels tend to be more durable and long-lasting.
Salon-Quality vs. Drugstore Gel Polishes
You can find gel polishes ranging from professional salon brands to affordable drugstore options. Salon gel brands like OPI GelColor or Gelish typically offer superior color payoff and lasting power compared to cheaper drugstore gels. However, drugstore gel brands like Revlon Gel Envy or Sally Hansen Miracle Gel provide decent gel manicures for much less.
Look for gels with reviews from manicurists on longevity. Focus on quality over cost when picking gels.
Check for Harmful Ingredients
Some gel polishes contain harsh chemicals and ingredients like formaldehyde, toluene, dibutyl phthalate (DBP), and camphor which can damage nails and skin. Always check a gel polish’s ingredients before buying. Brands like OPI and Essie make gel polishes without these harmful additives.
When possible, look for “3-free” or “5-free” gels missing the worst ingredients. Using safer gel formulas helps protect the health of your natural nails.
Using Gel Polish Safely
Do an Allergy Test First
Before slathering gel polish all over your nails, it’s wise to do a patch test first to check for any allergic reactions. Apply a tiny bit of gel polish on the inside of your elbow or wrist and let it fully cure under the LED or UV lamp as you normally would.
If any redness, itching, or irritation occurs after 24 hours, you may be sensitive or allergic to some of the chemicals in the gel formula.
Common culprits include the methacrylates found in many gel polishes. Another possibility is an allergy to the photoinitiators that allow gel polish to harden under UV light. Be sure to do an allergy test every time you switch to a new gel polish brand or formula, as ingredients can vary.
Use Proper UV Protection
Exposure to UV light when curing gel manicures has been a concern, but you can take steps for protection. Apply a broad spectrum, SPF 30 (or higher) sunscreen to your hands and fingers 20 minutes before your gel manicure. Reapply after the manicure as well.
You can also ask your manicurist to cure the polish for the minimum time needed.
Newer LED lamps are considered safer than the older UV lamps, as they emit less UV radiation overall. However, LED lamps still produce some UV rays, so apply sunscreen regardless of the type of light used.
Also be sure to wear the protective gloves provided at salons when placing just your nails under the UV/LED lamp.
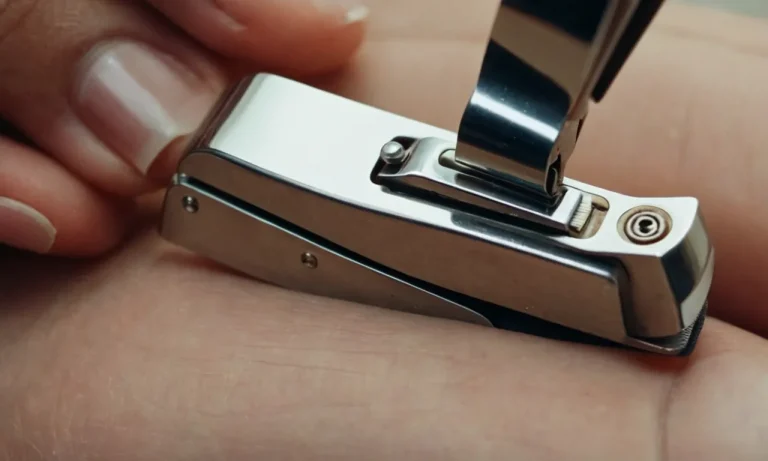
Soak Off Properly to Avoid Damage
While gel polish is more durable than regular polish, it still needs to be removed properly to avoid damage. Never peel or pick off gel polish, as this can take layers of your natural nails with it. The best and safest removal method is to soak cotton pads with pure acetone-based remover and place them on top of each nail.
Wrap your fingers in foil and let the acetone work for 10-15 minutes to fully break down the gel.
Once the gel polish wipes off easily with light pressure, resist the urge to scrub stubborn spots. Instead, reapply the remover and allow more soaking time. Buffing off bits of leftover gel can thin and weaken your natural nails.
Take your time with removal and always moisturize after to nourish your bare nails.
Conclusion
While gel manicures make having polished nails for weeks easy, you do need specialized equipment to get the full benefits. Without a UV or LED lamp to properly cure them, gel polishes act similar to regular polishes and won’t be as long-lasting or chip-resistant.
However, you can maximize gel polish wear at home with some tricks. When shopping for gels, look for quality ingredients and formulas that work with your nail care needs. With proper technique and by following safety precautions, experimenting with gel polish can take your nail looks to the next level.
In the end, only you can decide if the extra effort of gel manicures is worthwhile for your lifestyle. But whether you choose to stick to trusty regular polish or invest in some gel options, remember to always put nail health first by keeping cuticles moisturized and protecting nails from damage when removing any lacquer.
Happy polishing!