Can You Use Epoxy Resin On Nails? Everything You Need To Know
If you enjoy doing your own nails at home, you may be wondering if you can use epoxy resin on your nails. Epoxy resin has become a popular material for creating long-lasting, glossy nail designs. In this comprehensive guide, we’ll answer the question can you use epoxy resin on nails and provide everything you need to know about safely using epoxy resin for beautiful nail art.
If you’re short on time, here’s a quick answer to your question: Yes, you can use epoxy resin on natural or artificial nails, but special care must be taken to avoid skin irritation and properly prepare and cure the resin.
What Is Epoxy Resin?
Definition and Properties of Epoxy Resin
Epoxy resin is a two-part adhesive made up of an epoxy resin and a polyamine hardener that must be mixed together before use. Once mixed, the epoxy undergoes a chemical reaction called polymerization, which transforms it from a liquid to a solid plastic material.
This makes epoxy resin extremely strong, durable, and resistant to heat, chemicals, and weathering.
Here are some of the key properties of epoxy resin:
- Bonds strongly to various materials like metal, glass, stone, and some plastics
- Forms a hard, rigid plastic when cured that withstands heavy loads
- Resists chemicals, water, heat up to approximately 250°F depending on the formulation
- Does not expand or contract once cured, providing dimensional stability
- Can be tinted with color pigments before curing for decorative effects
Thanks to these characteristics, epoxy is used for everything from industrial coatings and adhesives to artistic resin crafts. When used as a nail overlay, epoxy resin forms a glossy, rock-hard protective layer over natural or artificial nails.
Difference Between Epoxy Resin and Acrylic/Gel/Polygel/Dip Powder
While epoxy resin has some similarities to other nail enhancement products, it has some key differences:
| Epoxy Resin | Acrylic | Gel | Polygel | Dip Powder | |
|---|---|---|---|---|---|
| Ingredients | Epoxy resin + hardener | Methyl methacrylate monomer + polymer powder | Methacrylate monomers + photoinitiators | Acrylic polymers + methacrylate monomers | Acrylic polymer powder |
| Curing Method | Chemical reaction | Polymerization upon contact with monomer | UV/LED light | UV/LED light | Activator liquid + air exposure |
| Curing Time | 12-24 hours | Instant | 30-60 seconds | 2 minutes | Instant |
| Removal | Must be filed off | Soaked off with acetone | Soaked off with acetone | Soaked off with acetone | Filed off |
| Durability | Extremely durable | Durable | Flexible | Flexible | Durable |
As you can see, epoxy resin stands out with its chemical curing process, long curing time, and extreme durability compared to other nail products. This makes it ideal for nail overlays that need to withstand heavy wear and tear.
Is Epoxy Resin Safe for Nails?
Epoxy resin can be an amazing product for creating long-lasting, durable nail enhancements. However, like any chemical product, epoxy resin does come with some safety concerns that need to be considered.
Potential Skin Irritation
One of the biggest concerns with epoxy resin is skin irritation. The chemicals in uncured epoxy resin can cause allergic reactions in some people, resulting in redness, itching, and discomfort on the skin.
This reaction is quite common, with some studies suggesting that around 4-5% of people are sensitized to epoxy resin. The hands are particularly prone to exposure when working with epoxy on the nails.
To reduce the risks, it’s important to wear gloves when handling uncured resin to avoid direct skin contact. Nitrile gloves work best. You should also do a patch test before fully using epoxy on nails to check for any reaction. Avoid resin if you have very sensitive skin or known allergies.
Properly cured resin is much less risky, but gloves should still be worn during filing and cleanup.
Fumes and Ventilation Requirements
The fumes released from epoxy resin as it cures contain volatile organic compounds (VOCs) and other chemicals like bisphenol A diglycidyl ether. These fumes can cause headaches, dizziness, and eye and throat irritation if you inhale too much over time.
The fumes can also trigger asthma attacks in susceptible people.
Using epoxy resin in a well-ventilated area is critical for nail safety. Working outdoors or near an open window is ideal. If indoors, use a fan to direct fumes away from your face and run a ventilation system if available. Take regular breaks for fresh air. Use respirator masks when exposure is high.
Following Proper Safety Precautions
Taking the right precautions goes a long way in keeping risks low when working with epoxy resin on nails:
- Wear nitrile gloves to avoid skin contact
- Work in a well-ventilated area and use a respirator if needed
- Keep epoxy away from your eyes and wear eye protection
- Avoid contamination of food or drinks
- Clean up spills right away to avoid slip hazards
- Follow all manufacturer safety directions
- Dispose of waste properly
While epoxy resin does require care, don’t let safety concerns scare you away! Just be sure to take the proper precautions. Work slowly and carefully as you get comfortable using epoxy resin on nails. With good practices, it can be used safely and provide gorgeous, long-lasting nail art.
How to Apply Epoxy Resin on Nails
Preparing nails
Before applying resin, thoroughly clean nails with soap and water to remove any oils or debris (source). Use a nail file to gently buff away the shine from the natural nail plate—this helps the resin adhere properly (source). Wipe nails with isopropyl alcohol after filing.
Mixing resin and hardener
Pour equal parts resin and hardener into a mixing cup and stir thoroughly with a popsicle stick for 2-3 minutes. Stirring activates the hardening agent and gives you plenty of time to work. Mixed resin remains usable for up to 45 minutes at room temperature (source).
Layering resin and embellishments
Apply a thin layer of mixed resin over nails with a small spatula or acrylic nail brush. Allow it to become tacky before placing glitter, rhinestones, dried flowers, or any other embellishments. Apply more thin coats, allowing each to cure slightly before adding the next, to encapsulate items fully (source).
Multiple sheer layers prevent unwanted air bubbles.
Curing under UV/LED lamp
Once nails look complete, cure the resin by waving hands under a UV or LED nail lamp for 30-90 seconds per coat (source). Do not skip this vital step! Natural light alone will not set resin fully. Once cured properly, epoxy resin nails are incredibly hard, shiny, and long-lasting—up to 2 weeks or more with proper care!
Epoxy Resin Nail Design Ideas
Encapsulation with glitters or flowers
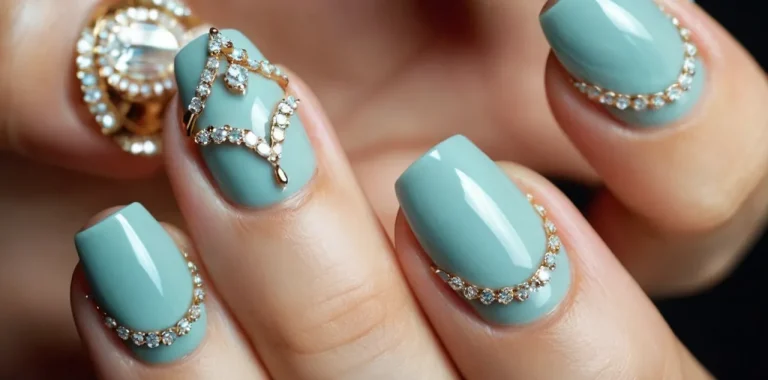
Encapsulating small objects like glitters, charms, or dried flowers in epoxy resin creates an eye-catching 3D effect on nails. This application involves pouring a layer of resin over the design elements placed on the nail tip or surface.
As the resin cures, it locks the objects in place, allowing you to show off tiny details. The transparent shine of the resin amplifies the sparkle and dimension. Popular YouTube tutorials by nail artists like Naio Nails demonstrate examples like orchid petals or gold leaf trapped in resin.
Geode or stone effects
An epoxy resin mixture tinted with mica pigments can mimic the look of geodes, marble, and other fine stones. The key is to mix the colors and effects before pouring so they set in an interesting, irregular stone-like pattern.
You can assist the process by blowing or swirling the resin with a toothpick. Add glitter or small beads during this phase to increase the stone-like quality. The blog for Nail Career Education recommends blue and purple tints with iridescent glitter to achieve an amethyst geode nail design.
Color blocking with mica powders
Color blocking gives nails a graphic, modern look. To try this with resin, first map out different color sections by taping off parts of the nail. Then mix epoxy resin with mica powders or alcohol inks in different colors and carefully pour into each section.
Peel off the tape after about 10 minutes while the resin remains a bit flexible. This creates sharp defined edges between the color blocks. The sections may meet in geometric angles or organic curves. Videos on YouTube display excellent examples of color blocking in resin manicures.
Marble or galaxy colors
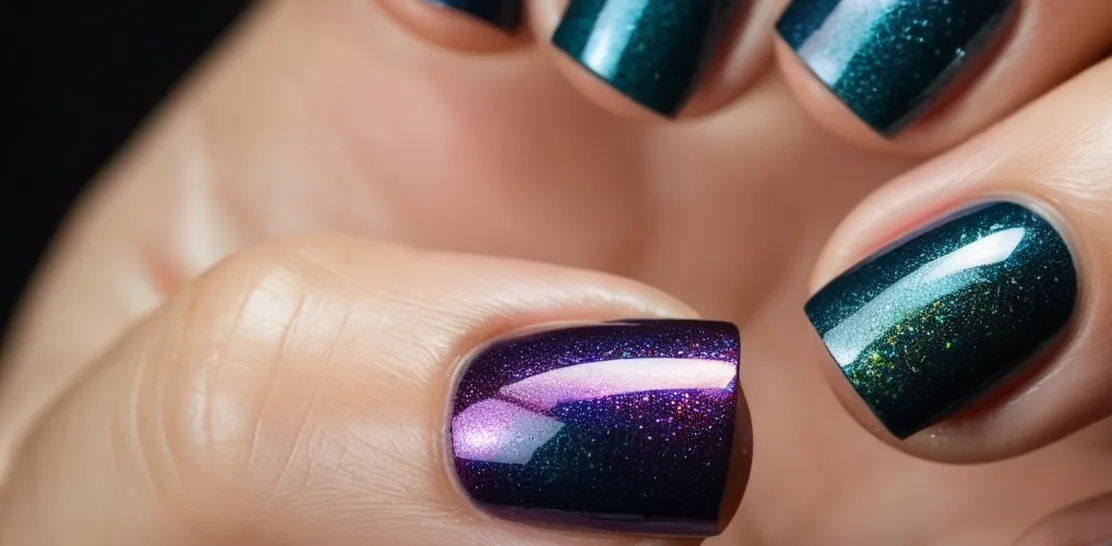
Similar to stone effects, marbling involves swirling together two or more colored epoxy resin mixtures to create ribbons of color. Start with a base transparent layer, then drop the colors and guide them into patterns with a toothpick or skewer.
The swirling technique aims to achieve a resemblance to marble. For galaxy colors, add fine glitter or mica powder to the mix as well. Nail Thoughts recommends a combing motion with a toothpick to generate cloud-like shapes and achieve a starry night inspired design.
3D sculpted nails
Sculpting with layers of colored epoxy resin allows you to build up 3D shapes and textures. You might sculpt high points, ridges, flakes, or transparent droplets for a textured, dimensional look. Allow each layer to cure before adding the next.
If encasing objects, make sure to fully seal glitters or charms so they don’t fall off. You can file and polish between layers too. Revel Nail’s article shows an example tutorial for sculpting a faux gem out of layers of builder gel and polish, adaptable to epoxy resin as well.
Aftercare Tips for Epoxy Resin Nails
Avoiding chips and cracks
Epoxy resin nails can look super stylish, but they do require some extra TLC to keep them in good condition. Here are some handy tips to avoid those unwanted chips and cracks:
- Be gentle with your nails – avoid using them to pry open cans or scratch off labels. Those tough tasks can cause cracks in the resin.
- Don’t use your nails as tools – opening bobby pins, scraping stickers off, etc. This constant stress leads to cracks and breaks.
- Always wear gloves for household chores involving chemicals or hot water. The heat and harsh cleaners can damage the resin.
- Use cuticle oil daily to keep the nail beds and skin around your nails soft and flexible. This helps prevent cracking.
- File down snags immediately with an emery board to prevent them worsening. Don’t pick at them with your other nails.
Soaking off safely
While strong epoxy resin bonds well to the natural nail, you’ll still need to remove it after some weeks of growth. Soaking the nails in pure acetone is the safest DIY removal method. Here are some tips:
- Never try to peel or pry off the false nails – this can damage the natural nails.
- Invest in some aluminium foil wraps. Soak a small ball of cotton wool in acetone, wrap each nail tightly in foil and leave for 15-20 minutes.
- Check after 15 minutes – slide a wooden stick under the nail gently to see if the bond has softened. If not, rewrap and leave longer.
- Once bonded resin has detached, slide it off gently with the stick to avoid pulling your natural nails.
- Follow up by buffing the nail surface lightly and apply cuticle oil to condition them.
How long epoxy resin nails last
With proper application and aftercare, a quality set of epoxy resin false nails can last around 2-3 weeks on most people.
However, several factors affect their longevity:
- Application skill – a competent, experienced nail tech will get far better mileage than DIY home application.
- Nail care – those who moisturize daily and avoid nail damage will get longer wear.
- Lifestyle – very active use of the hands shortens the lifespan.
- Reapplications – nails last longer if applied over existing resin, not natural nails.
No matter what, don’t try to get extra wear by patching up excessive lifting or breaks. It’s best to soak off and replace them once they show serious wear. Trying temporary fixes just damages the natural nail.
Conclusion
Epoxy resin can allow you to create stunning nail art designs at home. With proper safety precautions, high-quality products, and following correct application techniques, you can safely use epoxy resin on natural or artificial nails.
For long-lasting wear and brilliant shine, epoxy resin is an excellent choice for creative manicures. Just be sure to take care of your epoxy resin nails properly afterwards. We hope this guide gave you all the information you need to start experimenting with epoxy resin nail art!

