Can You Put Polygel Over Fake Nails?
If you love getting your nails done but don’t always have the time or money for professional manicures, you may be wondering if you can apply polygel over your fake nails yourself at home between salon appointments. The good news is, yes you can!
If you’re short on time, here’s a quick answer to your question: You can apply polygel over fake acrylic or dip powder nails as long as the surface is properly prepped first by lightly buffing and dehydrating the nail.
In this comprehensive guide, we’ll cover everything you need to know about applying polygel over fake nails. We’ll discuss the type of fake nails polygel can and cannot be applied over, proper application techniques, how long it lasts, removal process, and critical mistakes to avoid.
What Are Polygel Nail Extensions?
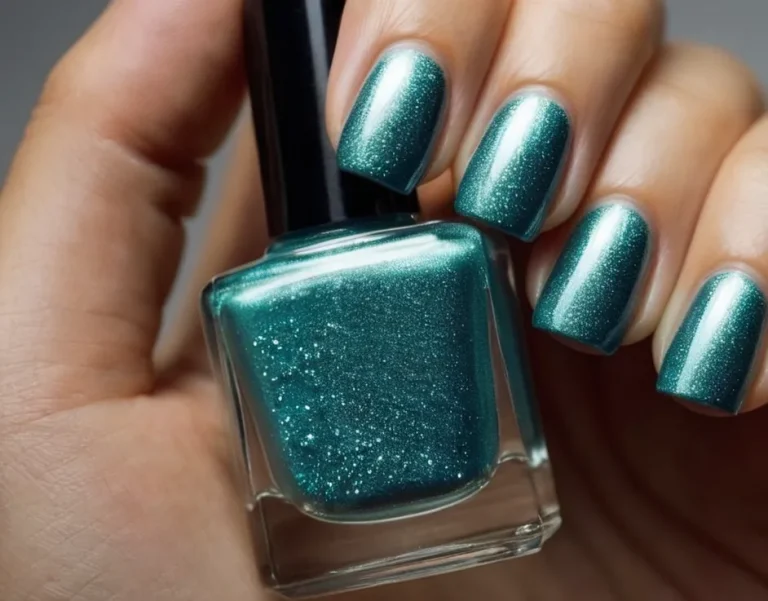
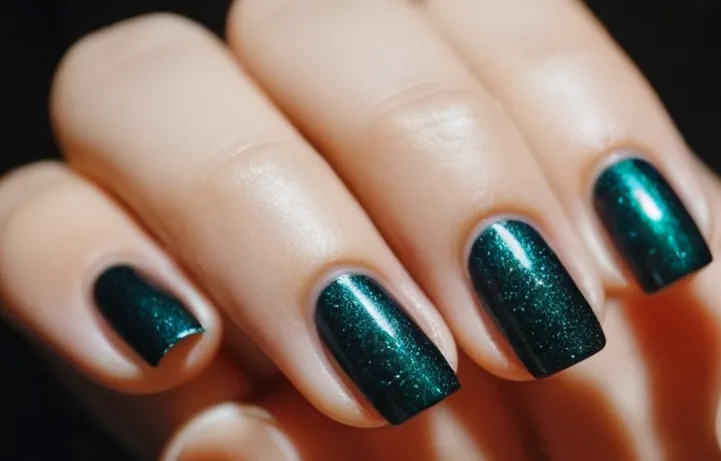
Polygel is a unique hybrid nail product that combines features of hard gel and acrylic nail products. It has a thick, putty-like consistency that allows it to be sculpted and shaped on the natural nail or on nail tips, similar to acrylic.
However, unlike acrylic, polygel cures under LED or UV light, which allows it to harden quickly with no odor or harsh fumes. Here’s an overview of some key things to know about polygel nail extensions:
Main Features
- Thick, moldable texture makes it easy to apply and customize nail shapes
- Cures in minutes under LED or UV lamp for quick, efficient application
- Has an acrylic-like appearance but cures hard like gel
- Odor-free and does not release fumes during application or curing
- Can last 2-3 weeks on nails with proper application and maintenance
Application Process
Applying polygel involves sculpting it in layers over a prepared natural nail or nail tip using a special polygel brush. Here is the basic application process:
- Trim, shape, and prep the natural nail plate
- Optional – Apply nail dehydrator and primer
- Use polygel brush to scoop up product and apply directly onto nail in desired shape
- Use brush to gently pat and smooth polygel into place
- Repeat until desired extension thickness is achieved
- Cure each layer under LED lamp for 30-60 seconds after application
- Shape and refine extension as needed with file and buffers
With some practice, polygel application can be fast and efficient compared to other sculpting products. Its versatility allows both short and long nail lengths to be created seamlessly.
Main Benefits
There are several advantages that polygel offers compared to other nail enhancement options:
- Damage-free removal: It does not require heavy filing or drilling for soak-off removal. This makes polygel very gentle on natural nails.
- Flexible strength: Polygel is durable yet has more flexibility compared to hard gels and acrylics. This makes them more comfortable to wear and less likely to crack or break.
- Lightweight feel: Properly applied polygel has a thin, lightweight texture that makes long nail extensions feel comfortable and not bulky.
- Quick application: With a fast LED curing time, a full set can be completed start to finish quicker than traditional acrylic or gel methods.
With both sculpting capability and gel-like technology, polygel offers a nice middle ground option with versatility for different nail art needs and skill levels.
Can You Put Polygel Over Acrylic or Dip Powder Nails?
Putting polygel over acrylic or dip powder nails is possible, but it requires some extra preparation and care to ensure proper application and longevity. Here are some tips for applying polygel over these other enhancement types:
Prepping the Nails
Before applying polygel over acrylics or dip powder, you’ll need to prep the nails:
- Gently buff the surface of the acrylics or dip powder with a 240 grit file. This removes any shine and creates texture for the polygel to adhere to.
- Wipe nails with isopropyl alcohol or nail dehydrator to remove dust and oil.
- Apply a nail primer formulated for use with enhancements. This further preps the nail plate for polygel application.
Applying the Polygel
When applying polygel over acrylics or dip powder nails:
- Use sparing amounts of polygel. Too much extra thickness can lead to cracking or lifting.
- Work carefully to ensure proper adhesion. Avoid pulling or dragging the product too much.
- Cure each layer for the full recommended time under an LED or UV lamp.
- Cap the free edge with each layer to reinforce strength.
- Finish with filing and buffing for a smooth look.
Pros and Cons
Adding polygel over acrylics or dip powder nails has some advantages but also some drawbacks to consider:
| Pros | Cons |
|---|---|
| – Reinforces overlaying weak or damaged nails | – Can be time consuming |
| – Allows you to change nail shape or length | – Adds thickness that can cause lifting |
| – Offers variety of color or design options | – Overfiling polygel layers weakens them |
| – Allows easy soak-off removal later | – Excessive thickness stresses nails |
Maintenance Tips
To help polygel last over acrylics or dip powder:
- Avoid using acetone-based removers, as these can break down the underlying enhancement.
- Go easy with filing and buffing to prevent thinning the layers.
- Use cuticle oil daily to keep the nail flexible and help prevent lifting or cracks.
- Fill any gaps as they grow out to maintain strength and structure.
- See your nail tech promptly if you notice any issues like lifting or discoloration.
With proper application and care, polygel can be a great option for temporarily enhancing your existing acrylic or dip powder manicure. Just be mindful of thickness and adhesion to help the manicure last.
How to Apply Polygel Over Fake Nails
Prep the Nails
When applying polygel over fake nails, proper preparation is crucial for getting a smooth, flawless finish. Here are the key steps for prepping nails:
- Remove any old nail polish from the fake nails using acetone or nail polish remover. Buff the surface of the nails gently to remove shine and create a rough texture for the polygel to adhere to.
- Wash hands thoroughly with soap and water, then use a nail dehydrator or alcohol wipe to remove any oils from the nail plate surface.
- Optional: Apply a pH bond or primer specially formulated for enhancement products. This helps the polygel bond properly.
- Cut or shape the fake nail tips to your desired length and shape using nail clippers or a file. Shorter nails are easier to work with.
Taking the time to properly prep the fake nails is worthwhile, as it allows the polygel to grip securely. Rushing this step can lead to lifting, cracking or poor adhesion.
Apply Polygel
Once prepped, you can begin sculpting and building out the polygel:
- Apply a slip solution like isopropyl alcohol on the nail using a clean brush. This prevents sticking.
- Scoop a small bead of polygel onto the nail form or your sculpting brush. Spread and pat the product gently to cover the nail.
- Use the body heat from your fingers to manipulate and shape the polygel into your desired extension length and shape.
- Apply thin, even layers and avoid over-building to prevent cracking or excessive bulk.
- Repeat the process on each nail, using additional slip solution as needed to prevent sticking.
- Once satisfied with the shape, use a UV or LED lamp to cure the polygel as directed on the package, usually 30-60 seconds.
Polygel cures quickly under the light, transforming to a hard, glossy finish. Avoid wiping or touching the nails immediately after curing while they finalize hardening.
After applying polygel to all nails, use a fine grit nail file to shape and refine the extension edge and smooth any bumps. Finish by buffing for a natural shine. The polygel will adhere securely to the fake nail and provide a flexible, chip-resistant overlay that can last 2-3 weeks with proper care.
Curing and Finishing the Polygel Nails
Once you have sculpted your polygel nails into the desired shape, it’s time to cure them under an LED or UV lamp. This hardens the polygel so your nails are strong, shiny, and ready to show off!
Curing the Polygel
Curing polygel nails is an important step for getting a long-lasting, damage-resistant manicure. Here are some tips for properly curing polygel over fake nails:
- Cure the polygel in 30-60 second intervals, up to 2 minutes total. This prevents overheating or undercuring.
- Use an LED lamp for the fastest, most thorough curing. LED lamps also run cooler than UV lamps.
- Cure each nail fully before moving onto the next. Don’t expose multiple nails to the lamp at once.
- Make sure to cap the free edge with each cure interval. This prevents lifting or cracking.
- After the final cure, check that the polygel feels completely hard and smooth. Give it another 30 seconds if needed.
Properly curing the polygel helps it fully harden and adhere to the fake nail underneath. Don’t skimp on this step for a long-lasting manicure!
Finishing the Nails
Once cured, there are just a few more steps to finish off your stunning polygel manicure:
- File and shape the nails as desired using a fine grit nail file. Be gentle to avoid too much heat from friction.
- Buff the surface for a super smooth, glossy finish. Use a soft buffing block.
- Cleanse the nails with nail prep solution or alcohol to remove dust and oils.
- Apply a UV/LED top coat or gel sealer. This seals the manicure and adds brilliant shine.
- Cure the top coat for 30-60 seconds to seal and harden.
And that’s it – you have beautiful, lasting polygel nails over your fake nail extensions! Be sure to properly maintain them by applying cuticle oil daily and getting fill-ins every 2-3 weeks. Enjoy your fresh, fabulous nails!
How Long Does Polygel Last Over Acrylic or Dip Nails?
Polygel can last 2-3 weeks or longer over acrylic or dip powder nails. Here’s a more detailed overview of how long polygel typically lasts when applied over other enhancement types:
Polygel Over Acrylic Nails
When polygel is applied over a properly prepped acrylic nail, it can last around 2-3 weeks on average. The polygel forms a strong, flexible layer over the acrylic base. This helps protect the acrylic underneath while providing extra strength and durability to the nail enhancement.
As long as the polygel is applied and cured correctly, it will have excellent adhesion and longevity over acrylics.
Polygel Over Dip Powder Nails
Polygel and dip powder work great together and create a durable nail enhancement when used in combination. Polygel over dip powder can last approximately 2-3 weeks or longer with proper application and care. The dip powder provides a textured foundation for the polygel to bond to.
The polygel adds extra reinforcement and helps seal in the dip powder color. This makes the nail extremely sturdy yet flexible.
Factors That Affect How Long Polygel Lasts
There are several factors that can influence the wear time of polygel over acrylics or dip powder:
- Prep – The nails must be properly prepped and dehydrated before polygel application for maximum wear.
- Application technique – Polygel should be applied thinly and smoothly over the entire nail.
- Curing – Polygel requires curing under an LED or UV lamp to fully harden and polymerize.
- Maintenance – Regularly applying cuticle oil helps keep polygel flexible. Avoid excessive water exposure.
- Nail structure – Natural nail health impacts how long polygel lasts. Weak or damaged nails don’t hold enhancements as well.
- Lifestyle – Hand washing, daily activities, typing, etc. can cause wear that shortens polygel’s lifespan.
Taking steps to prep, apply, and care for polygel correctly allows it to last its maximum duration over acrylics or dip powder. With proper maintenance, polygel can last over 3 weeks on most clients before needing filled.
Its versatility and durability over various nail enhancement types makes it a great option for lasting beauty and protection.
Removing Polygel from Fake Nails
Removing polygel that has been applied over fake nails can be tricky. Polygel forms a durable bond with the natural nail, so getting it off fake nails without damaging them takes some care and patience. Here are some tips for safely removing polygel from fake nails:
Soak Off the Polygel
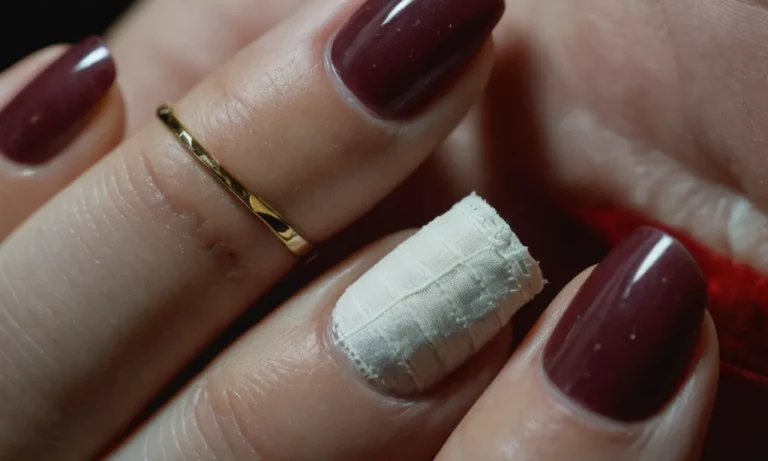
Just like with regular nail polish, the best way to remove polygel from fake nails is to soak it off. You’ll need pure acetone, available at beauty supply stores. Pour enough acetone into a small bowl to submerge your nails.
Soak for 15-20 minutes until the polygel begins to bubble and lift from the fake nails. The acetone breaks down the bonds in the polygel, allowing you to gently pry it off.
Avoid Pulling or Picking
It can be tempting to just pick and pull off peeling parts of the polygel. But this can cause the fake nails underneath to warp and become damaged. The key is patience. Let the acetone do the work of dissolving the polygel so it comes off smoothly without pulling.
Use Foil Wraps
For a faster soak off, you can wrap each nail in aluminum foil after applying acetone. This helps contain the acetone against the nail, speeding up the breakdown of the polygel. Just be sure not to let the acetone touch your skin, as it can cause dryness and irritation.
File off Remaining Traces
After soaking and removing the bulk of the polygel, there may still be some leftover residue on the fake nails. Use a coarse nail file to gently buff off these traces. Work in one direction across the nail, being careful not to file so aggressively that you damage the fake nail surface underneath.
Avoid Acetone on Nail Glue
When soaking off polygel, avoid getting acetone on the area where the fake nail is adhered to your natural nail. Acetone can degrade the nail glue and cause the fake nail to loosen or fall off. Use a cuticle pusher to carefully lift the polygel away from the base of the nail.
Moisturize After Removing
Once all traces of polygel have been removed, your nails and skin will need some TLC. The acetone in nail polish remover can be very drying. Apply a thick hand cream and let it soak in. You can also massage coconut or olive oil into your cuticles and nails to replenish moisture and prevent brittleness.
Removing polygel from fake nails takes time and care. But with the proper products and techniques, you can get your nails back to their original, beautiful shape without damage. Soak, don’t pull, and protect your skin and nails from dryness for the safest removal process.
Mistakes to Avoid When Applying Polygel Over Fake Nails
Applying polygel over fake nails can be tricky. Here are some common mistakes to avoid for the best results:
Not Prepping Properly
One of the biggest mistakes is not properly prepping the natural nail and fake nail surface before applying polygel. The surface needs to be buffed and dehydrated so the polygel can adhere properly. Make sure to rough up the shiny surface of the fake nails with a file, then use nail prep dehydrator before applying polygel.
Using Too Much Polygel
It can be tempting to apply a thick layer of polygel to reinforce the fake nails, but using too much product can cause cracking or popping off. Apply thin layers and let each layer fully cure under an LED or UV lamp before adding more. Build up the strength gradually.
Not Shaping Properly
Shaping the polygel extension smoothly onto the fake nail bed takes practice. Make sure not to apply too much polygel down the sides, as this will create a bulky seam that catches on things. File and shape the polygel so it has a natural tapered look.
Skipping the Top Coat
A quality no-wipe gel top coat is essential for getting a smooth, glossy finish and preventing the polygel from staining or lifting. Apply top coat after filing and shaping the extensions, and cure it fully under the lamp. The top coat seals and protects the polygel.
Not Allowing Proper Curing
One of the biggest mistakes is not curing each layer of polygel fully under an LED or UV lamp. This can cause the layers to remain tacky and not adhere properly. Follow the product directions for cure times, holding the nails under the lamp for 30-60 seconds each layer.
Insufficient curing leads to peeling and damage.
With some care and practice, polygel can be applied successfully over fake nails for a durable, long-lasting enhancement. Avoid these common mistakes for beautiful, natural-looking results that last.
Conclusion
As you can see, you can successfully apply polygel at home over your existing acrylic, dip powder, or other fake nail enhancement. Just be sure to properly prep the nail surface first and use the right application techniques to help the polygel adhere and last.
Avoid common mistakes like applying too thick and not curing thoroughly. With some practice, you’ll be able to easily maintain your manicure between salon visits by adding polygel yourself over your trusty fake nails.