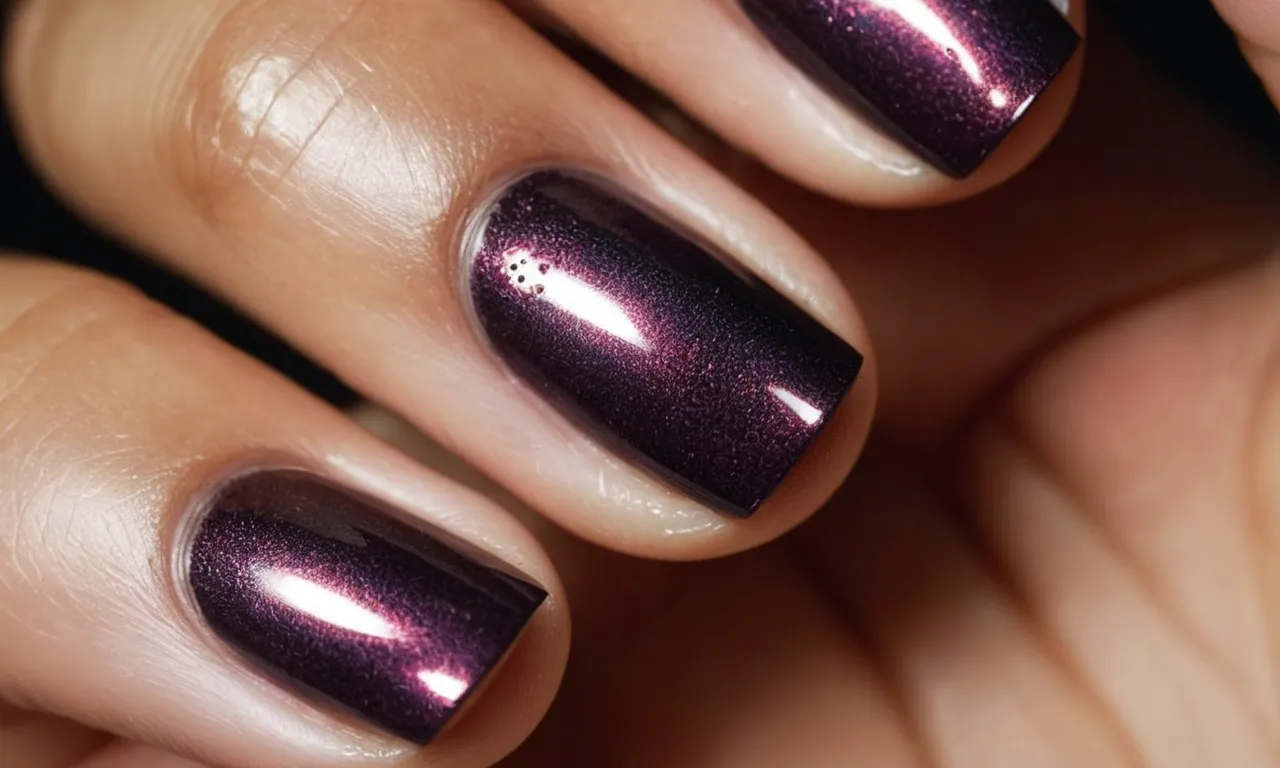
Can You Put An Acrylic Nail On A Missing Fingernail?
Having a missing fingernail can be uncomfortable and unsightly. You may be wondering if you can apply an acrylic nail to cover up the exposed nail bed.
If you’re short on time, here’s a quick answer to your question: Yes, you can apply an acrylic nail to a missing natural nail, but special care and precautions need to be taken.
In this comprehensive guide, we will cover everything you need to know about applying acrylics over missing nails. We will discuss the risks and benefits, preparation steps, application process, proper care and removal.
What Happens When a Fingernail Falls Off
Causes of Lost Nails
Fingernails can fall off for a variety of reasons. Here are some of the most common causes:
- Injury – Direct trauma to the fingernail, like jamming it in a door, can cause the nail to fall off. This is one of the most common reasons for nail loss.
- Fungal infections – Long-term nail fungus can damage the nail bed and cause the nail to detach and fall off.
- Psoriasis – This chronic skin condition can affect the nails and cause them to separate from the nail bed.
- Skin disorders – Issues like eczema or lichen planus that affect the skin around the nail can also lead to nail loss.
- Chemical exposure – Exposure to harsh chemicals over time can damage the nail matrix and cause the nail to fall out.
- Medications – Certain medications like chemotherapy drugs can affect nail growth and cause nails to fall out.
Losing a fingernail completely is known medically as onychoptosis. It occurs when the nail detaches from the nail bed at the base and sheds off. This is usually painless but can be psychologically distressing. Proper nail care and avoiding trauma to the nails can help prevent accidental nail loss.
The Nail Regrowth Process
Luckily, fingernails are designed to regrow if they fall off! Here’s an overview of the regrowth process:
- Within 1-2 weeks, a new nail starts growing from the nail matrix under the cuticle.
- At 2-4 weeks, the new nail is visible emerging from the nail fold.
- By 8 weeks, the new nail has grown to the end of the nail bed and attaches firmly.
- Within 4-6 months, the new nail is fully regrown and smooths out as it lengthens.
The regrowth rate may vary slightly depending on age, health, diet, and nail care. The new nail will usually look a bit misshapen or ridged at first. With proper care, it can regenerate to look just like the original nail.
While waiting for the nail to grow back, it’s important to keep the nail bed moisturized and protected from injury. Bandages, nail strengtheners, and artificial nail tips can mask the look of a missing nail. See a doctor if the nail doesn’t start to regrow after a few weeks.
Should You Apply Acrylics to Missing Nails?
Potential Benefits
Applying acrylic nails to missing natural nails can provide some benefits for those looking to restore a complete set. Here are a few potential positives:
- Creates a full, uniform look – Acrylics can fill in gaps from missing nails, providing a seamless, consistent appearance.
- Offers structural support – The acrylic overlay helps strengthen and reinforce fragile, weak nails.
- Improves appearance – Artificial nails can effectively cover imperfections, discoloration or damage on natural nails.
- Allows you to maintain length – Keeping nails long may be important to some, and acrylics enable this.
- Boosts confidence – Many feel more self-assured with neatly manicured, attractive looking nails.
Risks and Complications
However, there are also some potential risks and downsides to consider with acrylic nails enhancement on missing natural nails:
- Can damage natural nails – The process involves some filing and dehydration that may weaken already thin, fragile nails.
- May inhibit proper nail growth – The acrylic overlay could potentially stop the nail from growing out properly.
- Risk of infection – Without proper sanitation and nail prep, bacteria could lead to fungal or microbial infections.
- Allergic reactions – Some may experience nasty allergic responses to the chemicals in acrylic products.
- May not adhere well – Bonding acrylic to partial nails or tiny stub nails poses challenges.
- Can cause more nail loss – Pulling off enhancers improperly may rip out remaining natural nails.
Thus, those with missing nails should weigh up the pros and cons. Be sure to visit an experienced, licensed technician and care for acrylics properly to avoid damage. Proceed cautiously and remove immediately if any pain, swelling or reactions occur.
How to Apply Acrylic Nails to Missing Nails
Preparation
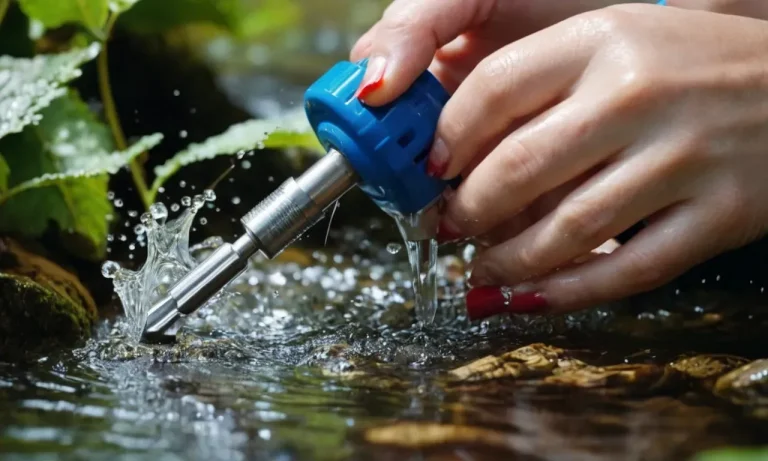
Before applying acrylics over a missing fingernail, the first step is to thoroughly clean and prep the nail bed. Gently scrub the area with soap and water to remove any dirt or oil, then use a nail dehydrator and primer to dry out and create a tacky surface for the acrylic to adhere to (source).
Be very gentle around the exposed nail bed. Then push back and trim any overgrown cuticles to create a smooth surface. Protect the surrounding skin by applying cuticle oil or petroleum jelly before beginning the acrylic application.
Application Process
Start by custom sizing a nail form over the missing nail, sealing it firmly under the free edges of the natural nail. Apply a thin layer of acrylic powder and liquid, using the bead method. Place a small bead in the center of where the nail should be, then use a fine brush to gently push it towards the edges.
Repeat layers until the artificial nail is built up to your desired thickness, which should mimic the surrounding real nails (source). Be very careful not to bump or damage the sensitive nail bed. Once sculpting is complete, shape and refine the edges of the artificial nail to blend seamlessly with the natural nail.
Use a light colored powder to create a natural nude base.
For longer term wear, it is ideal to apply either a fiberglass or silk nail wrap underneath the acrylic overlay on a missing nail for added strength and flexibility. This helps prevent cracking or lifting. Press the fabric wrap firmly over the nail bed before brushing on products (source).
However for temporary wear, an acrylic overlay alone may be sufficient.
Drying and Curing
After sculpting the artificial nail, apply a ph-balanced nail primer and activator solution. This helps fully set and harden the acrylic. Gently wipe the surface with a lint-free pad soaked in cleanser to remove any excess residue or inhibition layer. Check that edges are properly blended.
Now cure the acrylic under an LED or UV nail lamp for the full recommended time, which is usually 2-3 minutes. The artificial nail should emerge with a clear, glass-like finish (source).
Be very careful with the new acrylic nail while the strengthener layers fully cure over the next 24 hours. Avoid water exposure or friction which could cause lifting or cracks. Use cuticle oil to keep the surrounding skin smooth and conditioned while growing out the natural nail again.
Properly cared for, an acrylic overlay can stay in place 4+ weeks before requiring any fill-ins or replacements.
Caring for Acrylic Nails on Missing Nails
Keeping the Area Clean
When you have an acrylic nail applied over a missing natural nail, it is crucial to keep the area very clean. Any debris or bacteria under the artificial nail can lead to infection. Here are some tips for keeping it clean:
- Wash your hands thoroughly with antibacterial soap and water several times a day, especially before touching the acrylic nail.
- Use a soft bristle nail brush when washing to gently clean under the acrylic.
- Rinse very well and be sure to thoroughly dry the area after washing.
- Use an alcohol-based hand sanitizer frequently throughout the day.
- Avoid getting cosmetics, lotions, creams, or oils on the nails as these can get trapped underneath.
Keeping the nails and surrounding skin clean is vital for preventing bacteria and fungi from growing under the artificial nail which could lead to infections like paronychia.
Protecting the Nail Bed
Since there is no nail underneath the acrylic overlay, the nail bed area is vulnerable. It is important to take steps to protect it from further trauma or damage. Recommendations include:
- Wear light cotton-lined rubber gloves when doing household chores involving chemicals or excess moisture.
- Apply a nourishing cuticle oil daily to condition the skin and nail folds.
- File rough edges very carefully to avoid scraping the nail bed.
- Use nail guards or tips when playing sports or doing activities that could cause impact.
- Wear the artificial nail long enough to protect the nail fold but not so long that it is constantly catching on things.
Avoiding further damage to the exposed nail bed is crucial while it regrows. The nail technician should also be very careful not to over-file the natural nail or skin during fills.
Watching for Signs of Infection
While infections are uncommon, it is important to monitor the nails closely for any signs of redness, swelling, oozing, increased pain, heat, throbbing or pus. These could indicate an infection like acute paronychia. Other symptoms to watch for include:
- Green or yellow discharge or foul odor
- Loosening of the acrylic nail
- Red streaks spreading from the nail up the finger
If any of these occur, promptly contact your doctor or nail salon. The artificial nail may need to be removed to treat the infection. Untreated infections can spread to deeper tissues. According to the Mayo Clinic[1], paronychia treatment involves warm soaks, antibiotics, and sometimes draining the infection.
Removing Acrylics from Missing Nails
Soaking Off the Acrylic
When an acrylic nail lifts off the natural nail bed, removing the leftover acrylic can be tricky. Start by filling a small bowl with pure acetone nail polish remover. Soak a cotton ball or pad in the acetone and place it directly on top of the acrylic attached to the missing nail.
Let it soak for 10-15 minutes to allow the acetone to break down the acrylic resin. Check often and re-soak the cotton as needed. The acrylic will slowly soften and come free from the nail.
Filing the Excess Acrylic
Once the acrylic feels rubbery and starts to lift, gently pry it off using an orangewood stick. Be very careful not to damage the exposed nail bed underneath. If any hard acrylic remains stuck to the nail, use a fine nail file to gently buff it down towards the free edge.
Never file side-to-side as this can thin out the fragile nail plate. Light, even strokes will slowly remove the remainder of the acrylic without harming the natural nail.
Avoiding Damage to the Nail Bed
Working with a bare nail bed requires extreme care. The nail matrix and bed are very delicate and easily injured. To avoid damaging the area further:
- Do not dig, pick or peel at the nail
- No heavy filing or buffing of the exposed nail surface
- Apply a healing nail oil or salve after cleaning up the acrylic
- Keep the area hydrated with lotions and creams
Allow the nail time to grow out and regenerate before attempting to apply any new acrylic or gel polish. Be patient during this process and avoid any trauma to allow healthy reattachment of the nail plate.
Conclusion
While applying acrylic nails to missing natural nails is possible, proceed with caution to avoid complications. Work with an experienced nail technician and follow all preparation, application and removal steps carefully.
With the right precautions, acrylics can temporarily restore the look of a complete nail while protecting the exposed nail bed. But always consult your doctor if any signs of infection develop.