Can You Paint Over Gel Nails? A Detailed Guide
Painting your nails is one of life’s simple pleasures. With regular polish though, chips and dings are inevitable. Gel polish lasts longer, but what happens when you’re ready for a new color? Can you simply paint over gel nails or do you need to fully remove the gel first? Let’s take a look.
If you’re short on time, here’s a quick answer: You can paint over gel nails without removing the gel first, but only if the gel isn’t lifting. Painting over lifting gel can cause more damage. For best results, use a gel polish and apply a top coat to help it adhere to the cured gel.
Assessing Your Current Gel Manicure
Check for Lifting or Peeling
Before deciding to paint over your existing gel manicure, carefully inspect each nail for any signs of lifting or peeling. Look along the edges and near the cuticles for gaps forming between the gel polish and your natural nail.
Use a wooden cuticle pusher to gently test if you can spot an area starting to separate. If the gel is tightly adhered with no lifting whatsoever, your manicure may be a good candidate for touching up with a new coat of color.
However, according to nail care experts at Nails Magazine, if your gel manicure already has lifting or peeling covering more than 25% of multiple nails, it’s best to fully remove the gels and start fresh.
Attempting to paint over failing gel can lead to further lifting, damage to the natural nail, and increased risk of fungus or bacterial growth under the polish.
Note Overall Condition and Thickness
In addition to looking for lifting gel, also check that your manicure has not become overly thick from numerous past layers. Run your fingers over the nail surface and take note of any raised or bumpy texture, which can signal a heavy buildup of product.
According to gel polish brand LeChat, allowing too much thickness can cause brittleness, cracking, and injury to the nail bed over time.
- Ideal gel thickness: 0.15 mm or less
- Maximum thickness before removal needed: 0.3 mm
Use a ruler with millimeter markings to measure the thickness of your gel tips if you are uncertain. This can help you determine if a soaked-off full removal is necessary before starting fresh, or if your current manicure still falls within the acceptable range for an added coat of color.
In the end, err on the side of caution if you notice any substantial lifting, peeling, thickness, or excessive brittleness. Soak off the full gel layers and allow your natural nails to breathe before your next manicure for best health.
Prepping Gel Nails Before Painting Over
Gently Buff Away Shine
Before painting over gel nails, it’s important to gently buff away the shine on the nail surface. This removes the top layer of gel and creates a rough texture that will help the new polish adhere properly. Use a fine grit buffer or nail file in back and forth motions to lightly rough up the surface.
Be very gentle and do not over-buff, as this can damage the natural nail underneath the gel.
Clean Nails Thoroughly
After buffing, use a nail prep solution or alcohol to thoroughly cleanse the nail plate. This removes any gel residue, oil, or debris left behind after buffing. Proper cleansing helps the new polish last longer without peeling or chipping.
After cleansing, wipe nails with a lint-free pad or tissue to ensure the nails are squeaky clean.
Apply Dehydrator and Primer
The final prep step is to apply a dehydrator and primer product. The dehydrator removes any moisture from the nail plate, while the primer fills in ridges and creates a smooth surface for polish application.
Using a dehydrator and primer is especially important when painting over gel nails, as it helps the new polish properly bond to the gel below. Allow each product to dry completely before moving onto polish. This prep provides the perfect blank canvas!
With proper buffing, cleaning, and priming, you can successfully paint new polish right over a gel manicure. Taking the time to prep ensures your fresh color stays put for days without lifting or peeling away from the gel underneath. Just be careful not to over-file the natural nails during buffing.
With a little TLC, you can easily swap gel colors at home.
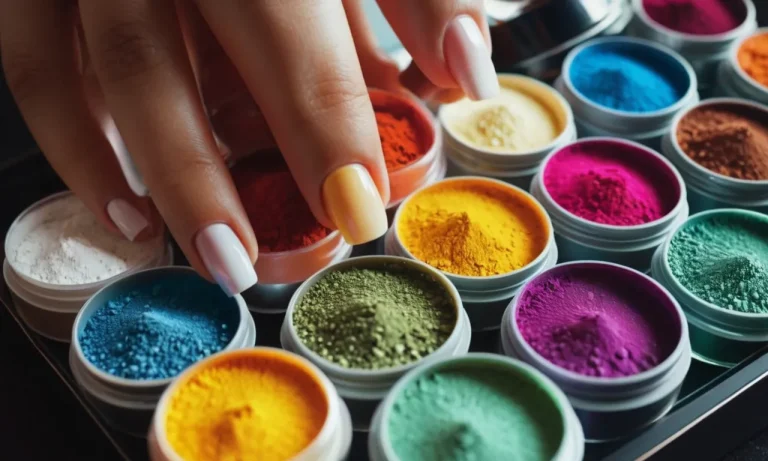
Choosing the Right Nail Polish
Opt for Gel Polish
When painting over gel nails, it’s best to use gel polish. Gel polish contains polymers that allow it to cure under UV or LED light. This creates a super durable, shiny, and long-lasting manicure that can last up to 3 weeks without chipping or peeling.
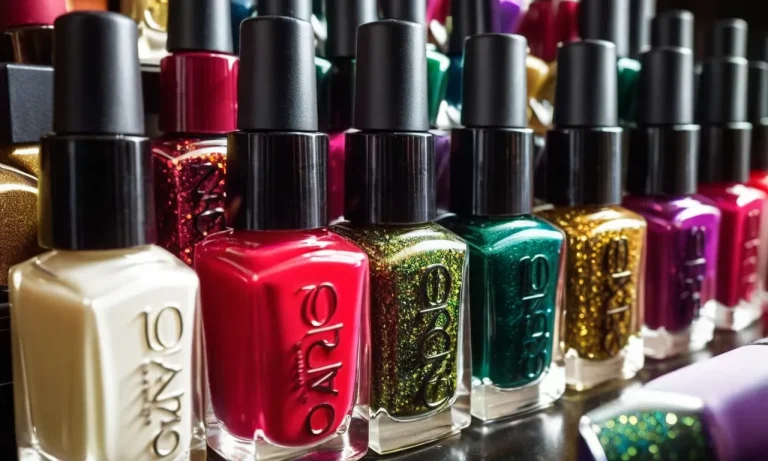
Gel polish adheres better to the gel nails underneath and provides a smooth finish. Popular gel polish brands like OPI, Essie, and Sally Hansen make gel polish lines with tons of trendy colors and finishes to choose from.
Some key benefits of using gel polish over regular polish on gel nails include:
- Doesn’t chip or peel as easily
- Lasts 2-3 times longer than regular polish
- Dries quickly under the LED or UV lamp
- Creates an ultra glossy, professional looking manicure
- Applies smoothly without streaking
You’ll need a UV or LED lamp to properly cure gel polishes. But it’s worth the investment if you want your manicure to look fabulous for weeks! Just be sure to prep the gel nail surface properly and apply thin coats of color for the best results.
Consider a Peelable Polish
Peelable polishes provide another option if you want to paint over gel nails. They apply like regular polish, but can be peeled off in one piece when you’re ready for a change – no need for remover! Popular options like Dashing Diva Gloss and imPRESS Press-On Manicure have several stylish colors and finishes to choose from.
Benefits of peelable polishes include:
- Super easy removal by peeling off
- No need for acetone or remover
- Lasts around 1 week on gel nails
- Goes on smoothly for streak-free application
- Available in glossy, glitter, and gel-like finishes
One downside is that peelables may not adhere as long or strongly compared to gel polish on gel nails. But they provide a quick, damage-free option when you want to switch up your color!
So opt for a gel polish or peelable polish when painting over gel nails. Avoid regular polish which can chip and peel quickly. Prepping the nails properly and using thin coats will help any top coat last as long as possible!
Applying and Curing New Nail Polish
Paint On Thin, Even Layers
When painting new nail polish over gel nails, it’s important to apply thin, even layers. Thick, goopy layers may take longer to dry and can cause chipping or peeling. Here are some tips for smooth application:
- Make sure your gel nails are clean before painting. Use nail polish remover to get rid of any oil or residue.
- Apply a very thin layer of base coat first to help the polish adhere. Let it dry.
- Use thin coats of color, making sure to cover the entire nail. It’s better to do 2-3 thin layers rather than 1 thick coat.
- Let each layer dry 2-3 minutes between applications. This helps prevent smearing.
- Finish with a thin layer of top coat to smooth and seal in the polish.
Applying polish in thin, multiple layers helps ensure even coverage and gives the polish a glassy, professional look. Quick dry top coats also help speed up the process.
Cure Each Layer Fully
It’s essential to allow each layer of nail polish to cure completely before moving on. Here’s why:
- Fully cured polish adheres better and lasts longer without chipping.
- Less likely to have shrinkage or wrinkling issues.
- Prevents smudging when applying the next layer.
- Allows you to see if you’ve gotten full, even coverage.
So how long should you wait between coats? General guidelines are:
- Base coat: 60 seconds
- Color coats: 2-3 minutes
- Top coat: 60-90 seconds
Make sure to cap the free edge of the nail with each layer. This prevents chipping on the very end of the nails. Pay attention to the first and last strokes of the brush to fully cover the tip.
If you’re short on time, look for quick dry polishes or use a nail dryer to speed up the curing process. But don’t skimp – remember that properly cured polish leads to a longer lasting manicure.
Adding a Protective Top Coat
Choose a Quick-Dry Top Coat
Applying a quick-dry top coat is crucial for protecting your gel manicure and making it last. The top coat creates a shield over the colored gel polish to prevent chipping and peeling. When selecting a top coat, opt for one specially formulated to bond with gel polishes, like Seche Vite Gel Effect Top Coat or Essie Gel Setter Top Coat.
Avoid regular nail polishes or top coats not made for gel—they can cause the manicure to lift or peel off prematurely.
It’s also important to choose a fast-drying top coat so you don’t smudge the polish. Most gel top coats dry in 60 seconds or less under an LED or UV lamp. This allows the protective layer to set immediately after your manicure is done.
Popular quick-drying top coat options include OPI Rapidry Top Coat and Gelish Foundation Top It Off.
Seal the Free Edge
When applying the top coat, be sure to seal the free edge of the nails—the part that extends just past the tips of your fingers. Gel manicures can start peeling from the free edge, so taking care to cover it with top coat is vital.
When you swipe on the top coat, run the brush off the nail onto the free edge to completely cover and protect that area.
You’ll also want to “cap” the free edge by angling the brush vertically instead of horizontally as you finish the stroke. This helps prevent cracking or chipping on the edge and makes the manicure more durable. Take your time sealing the free edge properly—don’t worry about doing quick strokes.
Let each layer of top coat fully dry under the LED or UV light as well. Rushing this step can lead to a sloppy application, reducing the longevity of your gel mani.
Applying a quality top coat and carefully sealing the free edge allows your gel polish to withstand daily wear without damage. Be patient during the top coat application and let each layer cure fully. With proper technique, your chip-free, glossy gel manicure can last up to three weeks or more!
Maintaining Your Gel Manicure
Use Cuticle Oil Daily
Using cuticle oil daily is crucial for maintaining healthy nails and cuticles with gel manicures. The UV and LED lamps used to cure gel polish can cause dehydration and damage, so moisturizing is a must.
Massage a few drops of oil like jojoba, vitamin E, or cuticle-specific oils into each nail and cuticle 1-2 times per day.
Cuticle oils hydrate the nail beds, nourish the surrounding skin, and prevent cracking and hangnails. This protects the manicure and allows it to last longer between fills. Continued use strengthens nails over time.
Many people notice less peeling and increased growth and hardness within weeks of daily oil use.
Some great cuticle oil options are:
- Sally Hansen Intensive Therapy
- Essie Hello Healthy Cuticles
- Cuccio Naturalé Milk and Honey Cuticle Oil
Cuticle care is easy to incorporate and pays off with a long-lasting, healthy gel manicure.
Avoid Picking or Peeling
Though tempting, avoiding manipulating the gel polish is vital to extend the life of a gel mani. Picking, peeling, or otherwise intentionally removing pieces of color prematurely allows moisture to penetrate under layers of gel.
This moisture gets trapped and can lead to lifting, cracking, breakage, discoloration, and infection. Fungus and bacteria love dark, damp places like under a gel mani. Brittle nails are also more injury-prone.
If you notice lifting or damage, resist the urge to pick. Instead, take preventative steps:
- Ensure the gel is being properly prepped and bonded to the nail during application.
- Continually reinforce with thin gel topcoats rather than thick or acrylic products which can overly strengthen and cause cracking.
- Use moisturizers like jojoba oil under solar oil or latex gloves when washing hands.
- Consider wraps or tips if your nails are very bendable or weak.
Getting ahead of any lifting or chipping keeps the gel adhered longer. Though the temptation is real, avoid detrimental picking for the healthiest nails possible!
Conclusion
With the right prep work and polish choices, you can successfully paint over gel manicures to change up your color. Just be careful with gels that are lifting or peeling. For best wear, seal your new polish with a quality top coat. And don’t forget nail care between manicures!
With a little TLC, your gel polish can look great for weeks.