Can You Overcure Gel Nails? A Comprehensive Guide
Gel manicures are known for their glossy finish and long-lasting wear, but taking proper care during the curing process is key. Overcuring gel nails can lead to a host of issues, from damaged nails to lifting polish.
If you’re short on time, here’s a quick answer: Yes, you absolutely can overcure gel nails. Overcuring causes the layers of gel to get too hot and can damage the natural nail underneath, leading to weak, brittle nails that lift and peel.
In this comprehensive guide, we’ll cover everything you need to know about properly curing gel polish, how to tell if your manicure has been overcured, and what to do if you have overcured nails.
What Happens When You Overcure Gel Nails
Overcuring gel nails can lead to a number of issues that can damage the natural nail and affect the longevity of your manicure. Here’s an overview of some of the main problems that can occur when you overexpose gel polish to UV/LED light.
Damages the Natural Nail
One of the biggest risks of overcuring gel nails is potential damage to the natural nail plate. Exposure to UV/LED light generates heat, and excessive heat can actually cook the keratin proteins in your nails, making them dry, brittle and prone to peeling or cracking.
This damage can also cause nails to thin out over time.
Additionally, the abrasives and solvents used to remove gel polish can be very drying and damaging to the nail bed if overused. Repeated removal and reapplication can gradually wear down the nail plate.
Causes Lifting and Peeling
When gel polish is overcured, it can lose flexibility and adhesion to the natural nail. The hardened layers of gel are less able to flex with the nail, leading to lifting around the tips and sides. Once lifting begins, moisture can penetrate and compromise the bond, resulting in further peeling.
Overly cured gel is also more likely to pop off in sheets rather than file off cleanly. This can take layers of the natural nail with it, damaging the nail bed.
Leads to Brittle, Weak Nails
The combination of UV damage, dehydration, and thinning of the nails makes them more prone to dryness, brittleness and breakage when gel is overcured. Nails become weaker and chips and cracks are more likely to form.
This damage is even more likely if gels are picked or peeled off improperly instead of soaked and gently removed. Harsh removal can further weaken nails and increase brittleness over time.
To avoid these issues, be very careful not to overexpose gel polish to UV/LED lamps. Always use the recommended cure times, and don’t round up or overcure just to be safe. It’s also wise to take occasional breaks from gel manicures to give your natural nails time to recover and rebuild strength and thickness.
How to Cure Gel Polish Properly
Use the Recommended Cure Times
When applying gel polish, be sure to cure each coat for the full amount of time recommended by the manufacturer, usually 30-60 seconds per coat. Undercuring can lead to weak, brittle nails that chip easily. Going over the recommended time won’t necessarily damage the nails, but it is unnecessary.
The lamps and gels are designed to fully cure in the stated time frame. Keep an eye on the clock to avoid undercuring or overcuring.
Invest in a Quality Lamp
Not all gel lamps are created equal! A higher wattage lamp (36W or more) will cure gel polish faster and more effectively than cheaper, lower-powered models. Skimping on the light can mean you don’t get a proper cure, even when using the recommended time.
Also look for lamps with a built-in timer so you can precisely control the length of the curing period. It’s worth investing in a reputable, high-quality light for optimum gel results.
Maintain Proper Lamp Hygiene
To keep getting the best cure, wipe down the lamp with rubbing alcohol regularly to remove any residue that could impede the UV light. Also replace the light bulb as soon as it starts to seem dim – don’t wait until it burns out completely.
With regular cleaning and fresh bulbs, your lamp can keep nails looking photo shoot-fabulous!
Don’t Double Cure
While it may seem logical that more curing time equals harder nails, extended curing sessions can actually weaken gels and damage the natural nail underneath. Once fully cured, further UV exposure provides no benefit and can degrade the polymers in the gel polish.
Stick to one cure session per layer, using the recommended timings from the brand. Your nails will look amazing without the risk of overexposure damage.
Signs You Have Overcured Gel Nails
Nails Feel Very Hot After Curing
Exposing your nails to UV or LED light for too long can make them feel uncomfortably warm or even hot to the touch right after curing (😱). This intense heat is a red flag that the gel polish layers have been overcured and the nails are damaged underneath.
Pay attention to how your nails feel after each cure in the lamp – a gentle warmth is normal, but excessive hotness means it’s time to check your cure times.
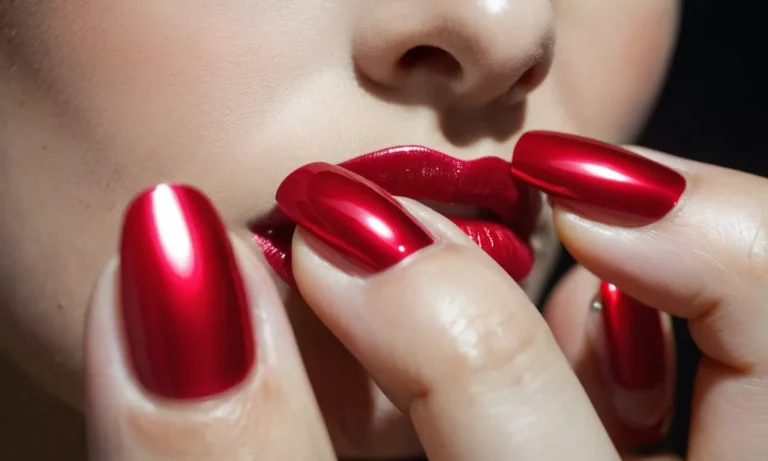
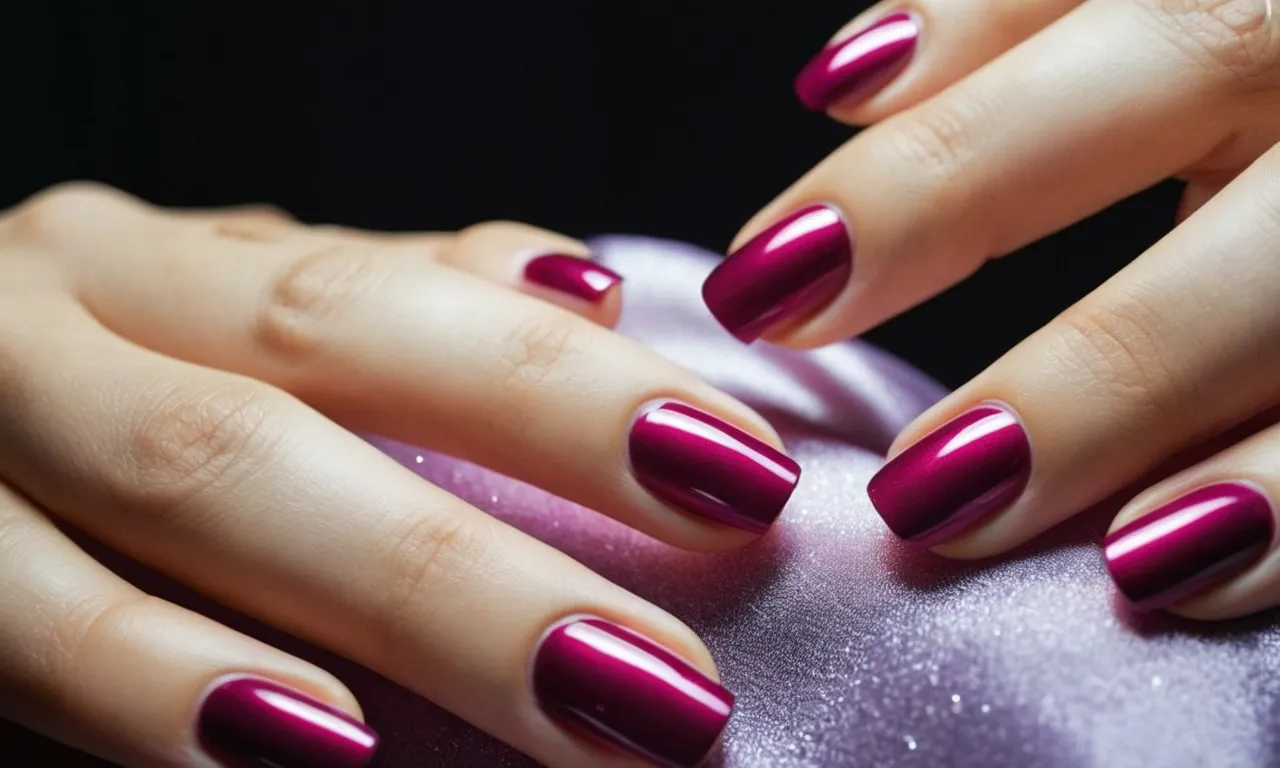
Nails Appear Shiny and Almost Melted After Cure
Closely inspect the surface of your gel manicure after curing. If the color layers look excessively glassy, slick, or almost melted, like plastic, you have likely overcured the polish. This visible cue correlates with intense UV/LED exposure that can weaken and thin the nails over time.
Adjust your nail tech’s timing down to restore a more natural, subtle gel shine instead.
Chipping and Cracking
If your gel manicure starts chipping or cracking within a few days of application, overcuring could be the culprit. Excessive light exposure dehydrates and stiffens the natural nail plate underneath, causing brittleness and leading to chips, cracks, and peeling.
This damage gradually compromises nail health and longevity with repeated overcuring. Getting ahead of it early and keeping cure times brief preserves integrity.
Discoloration Around Cuticles
Take note if you see any yellowing, burning, inflammation or roughness around the sidewalls and cuticles after gel application. The surrounding skin can act as a warning sign of overexposure before damage reaches the nail beds. This sensitivity indicates it’s time to pull back UV/LED intensity.
Nails still cure properly with lower intensities and shorter times.
What to Do for Overcured Nails
Gently File Surface to Smooth
Overcured gel nails can become rough and uneven on the surface. To help smooth them out, gently file the surface with a fine grit nail file or buffer. Apply light pressure and buff in one direction. This will remove any rough patches without thinning your nails too much.
Give them a shine with a nail polishing block afterwards.
Use a Nail Strengthening Treatment
Because overcuring can lead to dry, brittle nails, it’s important to nourish them. Apply a nourishing nail oil like jojoba or vitamin E daily to hydrate the nails and cuticles. For extra strengthening power, use a treatment containing keratin, biotin, or calcium.
Let it soak in for 5-10 minutes before rinsing. Doing this consistently can help restore strength and flexibility.
Avoid Harsh Removers When Taking Off Gel Polish
When it’s time to remove your gel manicure, stay away from acetone-based removers. These can be very drying and damaging to already compromised nails. Instead, look for ��gentle�� gel polish removers like those containing plant-based oils, vitamins, and moisturizers.
Alternatively, have your manicurist remove using the foil method which keeps moisture intact. Taking gels off properly helps prevent increased damage.
Give Nails a Break Between Manicures
One of the best things you can do for overcured nails is give them some recovery time. Aim to take a 1-2 week break between gel manicures, or even longer if possible. This gives the nails time to stabilize and regenerate. Use the break to do moisture-restoring treatments.
Letting them breathe once in a while makes nails healthier.
| Nail Care Tip | Reason |
|---|---|
| Apply cuticle oil daily | Hydrates and nourishes nails |
| Gently file surface | Smooths rough patches |
| Use gentle removal products | Avoids further damage |
| Take regular manicure breaks | Allows nail recovery |
Following specialized overcure care tips like these can help restore nail health over time. Be patient and consistent with nourishing treatments. With TLC, their condition will improve bit by bit.
How to Prevent Overcuring Gel in the Future
Test Cure Times Beforehand
One of the best ways to avoid overcuring gel nails is to test the cure times beforehand. When using a new gel polish or lamp, do a test swatch first. Paint a thin layer of gel polish on a practice nail tip or piece of plastic, then cure it in your lamp for the recommended time.
After curing, check that the gel is fully set – it shouldn’t have any tackiness or imprint if you touch it. If it’s still soft, add another 30 seconds to your cure time. Doing this test run means you won’t end up with undercured or overcured nails when you do your full manicure.
An ounce of prevention is worth a pound of cure!
Set a Timer When Curing
It’s super easy to overcure gel polish if you lose track of time, so set a timer whenever your hands are under the LED or UV lamp. Most salon lamps have built-in timers, but if yours doesn’t, use the timer on your phone or a small kitchen timer.
Set it for the recommended cure time and don’t go over – as soon as the timer goes off, remove your hands from the light. Going over the recommended cure schedule leads to overexposure. I like to hum a little song or count during the curing time too, so I’m not tempted to leave them in too long.
An extra 30 seconds can make all the difference between a perfect gel manicure and dried out, brittle nails.
Inspect Nails After Initial Cure
After curing each layer of gel polish, take a minute to inspect your nails closely. Look for any tacky or dull spots that indicate undercuring. Also check that the layer has fully set – it shouldn’t dent when you gently press on it with a fingernail.
If you notice any undercured areas after the recommended time under the light, do a focused cure for 10-15 seconds just on that nail to fully set it without overexposing the others. Properly curing each layer means you won’t need to do long cure times after applying your top coat.
When in doubt, it’s always best to undercure slightly rather than overcure. You can always add a few seconds, but you can’t reverse the damage from too much UV/LED exposure.
Following proper gel nail prep, application and curing steps can seem daunting at first. But taking the time to test cure times, set timers and inspect each layer means you’ll have a gorgeous, long-lasting manicure without any of the risks or damage from overcuring.
Just remember – less is more when it comes to curing UV and LED gel polishes. With a little care and precaution, you can have stunning nails that shine on without becoming dry, brittle or damaged.
Conclusion
While gel manicures are undeniably gorgeous, taking the proper precautions when curing the polish is critical to nail health. Always follow your lamp and polish instructions to avoid overcuring, which can lead to permanent damage.
Give nails a break between gels and routinely check that you haven’t overcured—your nails will thank you!