Can You Fill Dip Powder Nails With Acrylic?
Dip powder nails have become an increasingly popular alternative to acrylic or gel nails. But what happens when your dip powder manicure starts to grow out? Can you fill in the new nail growth with acrylic, or do you need to remove the powders entirely and start over?
In this comprehensive guide, we’ll cover everything you need to know about filling in dip powder nails with acrylic.
If you’re short on time, here’s the quick answer: Yes, you can fill dip powder nails with acrylic. As your natural nails grow out, an acrylic fill-in allows you to extend the life of your manicure without having to soak off and reapply the powders.
How Dip Powder and Acrylic Nails Compare
The Difference in Filing and Shaping
When it comes to filing and shaping, there are some key differences between dip powder and acrylic nails. Acrylic nails require more filing and shaping after application to get the desired shape. The acrylic is applied as a liquid that then hardens, so it can be tricky to get the perfect shape right away.
Filing and shaping acrylics takes precision and skill.
With dip powder nails, the filing and shaping is much easier. Since the powder adheres to the nail in thin layers, the shape is better defined from the start. Less filing and refining is required after the application. This makes the process faster for the nail technician.
Many people like dip powders since the shape looks great with less drill work on the natural nail.
The Difference in Chemical Bonding
The chemical bonding process differs between the two nail methods. Acrylic nails require the use of a liquid monomer and polymer powder. The monomer acts as the adhesive agent and the polymer powder adds strength and structure.
These two components combine in a chemical reaction that bonds the acrylic to the natural nail.
Dip powder nails involve a simpler bonding process. The natural nail is prepped with a bonding agent that acts as the adhesive. Layers of dip powder are then applied to bond to that agent. An activator solution sets each layer.
The chemical reaction occurs between the bonding agent and the powder, not between two mixed components as with acrylics. This often leads to a gentler feel on the natural nails.
How Application and Removal Differs
Applying acrylic nails is a more complex multistep process compared to dip powders. It requires mixing the liquid monomer and polymer powder in precise ratios. The mixture is then applied using a brush and shaped on the nail before hardening under a UV or LED lamp.
Getting the application smooth and even takes substantial skill and practice.
Dip powder application feels simpler to many nail techs. It’s a matter of dipping the nail into colored powder and setting with the activator spray. The repetitious dipping motion has been described as therapeutic! With proper technique, the application moves quickly.
The removal process differs as well. Acrylics must be meticulously filed off to avoid damage. Dip powders can be soaked off gently with less stress to the natural nail.
| Metric | Dip Powder Nails | Acrylic Nails |
|---|---|---|
| Application Time | Faster application, about 30-40 minutes for a full set. | Slower application, can take over an hour for a full set. |
| Learning Curve | Easier technique to learn for beginners. | Trickier technique with a steeper learning curve. |
| Cost for Full Set | $30-$50 on average. | $45-$75 on average. |
| Durability | Last 2-3 weeks typically. | Last 3-4 weeks typically. |
| Damage to Nail | Gentler on nails, less drilling required. | Harsher on nails, can lead to excessive filing. |
Can You Apply Acrylic Over Dip Powder?
Applying acrylic over dip powder nails can create a super strong and beautiful manicure. However, it’s important to properly prep the nails first and apply the products correctly to get the best results.
Prepping the Nails Properly
Before applying acrylic over dip powder, start by pushing back and trimming the cuticles to tidy up the nail bed. Use a nail file to gently buff off the shine from the natural nail so the dip and acrylic can adhere better.
It’s essential to remove any oil or lotion from the nails with acetone or nail dehydrator. This preps the nails for dip powder application.
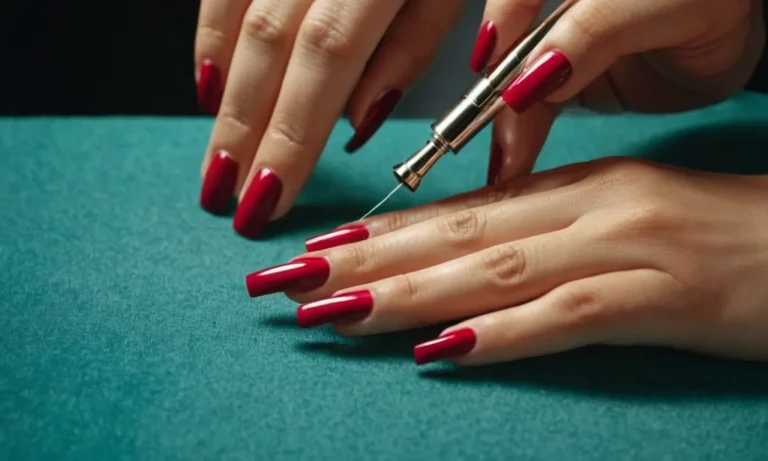
Applying Acrylic Over Dip Powder
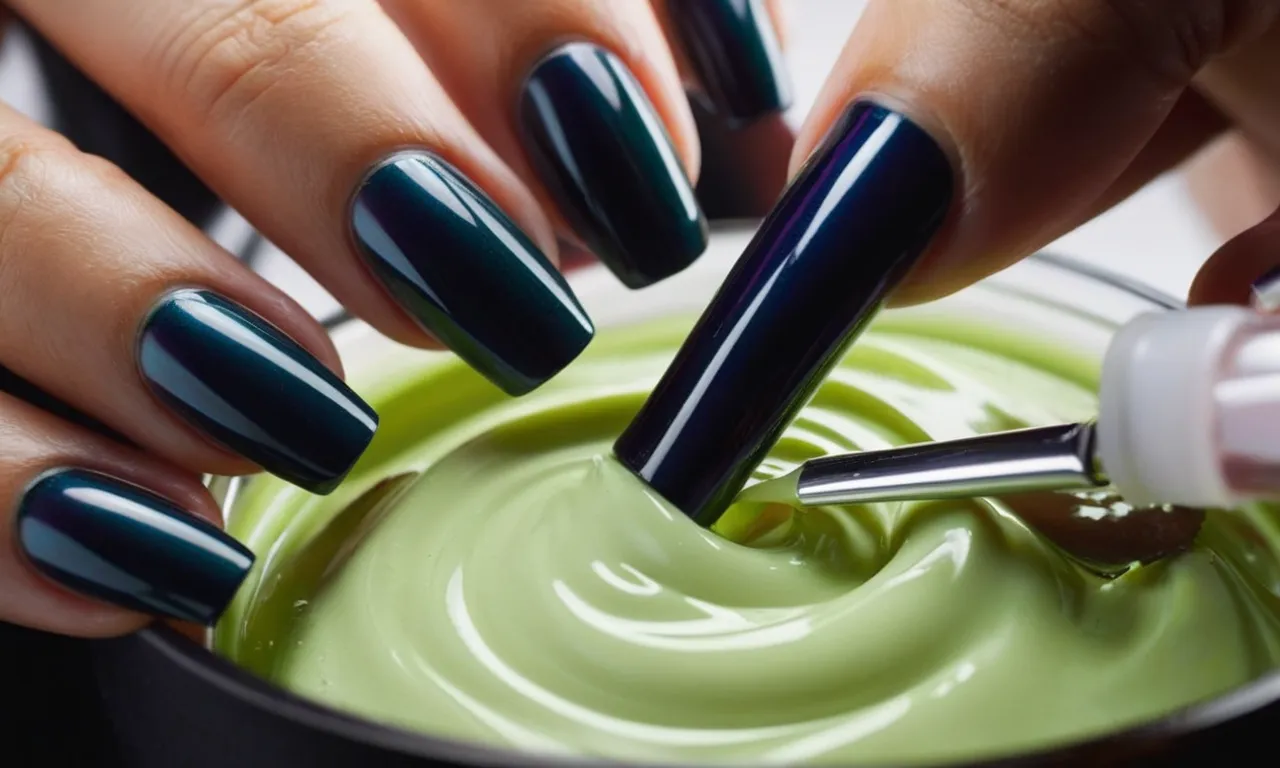
After prepping, apply a base coat on the natural nails prior to dipping in the colored dip powder. Once you have the desired coverage and shape, activate the dip powder by spraying it with acrylic activator liquid. This hardens the dip powder layer.
Next, brush acrylic powder over the dip powder nails, using acrylic liquid to cure it. This helps encapsulate the dip powder color in acrylic for strength and protection.
According to nail care experts, it’s best to apply 2-3 layers of acrylic over the dip powder to reinforce the manicure. Allow each acrylic layer to cure under an LED or UV nail lamp before adding the next. This prevents cracking or lifting.
The acrylic helps secure the dip powder and provides an impermeable protective shield.
Curing and Shaping
Once you finish applying the acrylic layers, cure the nails under the lamp one final time to harden them completely. Then use nail files and buffers to shape the acrylic dip powder nails and make them smooth. Finish with a hydrating nail oil to condition the nails and cuticles.
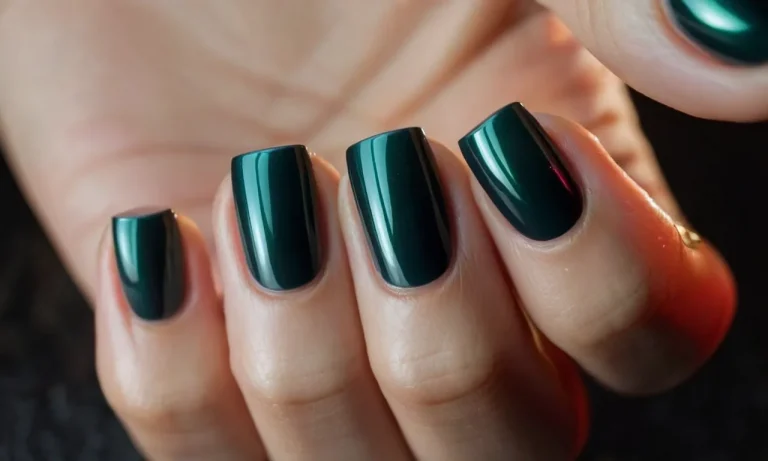
The combination of dip powder and acrylic creates a super durable, long-lasting manicure that can last over 2 weeks with proper application and home care. The acrylic helps reinforce and seal the dip powder, while still allowing the dip powder’s color to shine through beautifully!
Best Practices for Acrylic Dip Powder Fills
Don’t Skip Prep
When filling acrylic dip powder nails, it’s crucial not to skip the prep work. Start by gently buffing the natural nail with a 180 grit file to remove shine and oils. Thoroughly cleanse nails with acetone or nail prep solution. Skipping this step can lead to lifting and poor adhesion.
As the saying goes, “prep is key” for long-lasting, flawless nail fills!
Rough Up the Surface
Another key tip is to lightly rough up the surface of the existing dip powder with a hand file or electric drill. This removes the top shiny layer and creates microscopic abrasions for the new product to grip onto.
Think of it like sanding wood before painting – scuffing up the surface leads to better adhesion. Be gentle though, you don’t want to thin out the nail bed. A light buffing is all it takes to get the job done. 👍
Seal with a Thin Layer of Acrylic
After filing, apply a thin layer of clear acrylic powder over the existing dip. This seals the nail and creates a tacky base for the fill powder to attach to. It helps prevent lifting or popping off. This extra step takes a few minutes but leads to a long-lasting, natural-looking fill.
According to nail care experts at NailcareHQ, “sealing old dip with acrylic is the number one trick for flawless fills.” We recommend using a sheer pink or clear brush-on acrylic for the seal – it blends beautifully with natural nails and dip powder.
How Long Will an Acrylic Fill Last?
When considering how long an acrylic fill can be expected to last, there are two primary factors to take into account: the rate of standard nail growth, and whether your nails grow faster or slower than average.
With Standard Nail Growth
For most people, fingernails grow at a rate of 3 to 4 millimeters per month. This means that for a typical fill, you can expect the acrylic to last around 3 to 5 weeks before your natural nails begin growing out and a new fill is needed.
During this timeframe, the enhanced nails should maintain their appearance and strength.
If You Have Faster-Growing Nails
If you are in the category of a fast nail grower, your nails may increase by 5 mm or more per month. For these folks, an acrylic fill may only endure 2 to 3 weeks before a refill is required. Rapid growing nails quickly outpace the acrylic product.
Getting fills more frequently can help manage the growth and protect the natural nails underneath.
No matter if you have average or fast nail growth, keeping up with regular acrylic refills is key. This helps avoid cracking or damage as your natural nails grow out. Getting fills every 2-5 weeks will help the manicure last and allow the nails to grow healthily.
Filling vs Soaking Off
Comparing Time and Cost
When it comes to dip powder nails, you have two options for maintenance – filing down the grown out section and filling in the new growth with more dip powder, or soaking off the entire set and starting fresh. Both have their pros and cons when it comes to time and cost.
Filling takes less time, usually 30-45 minutes depending on how much new growth there is. It also costs less, with most salons charging around $20-30 for a fill. The main drawback is that you can only fill 2-3 times before needing to soak off and start over.
This prevents the nails from getting too thick and bulky.
Soaking off and reapplying a whole new set takes more time, usually 1-1.5 hours. It also costs more, with a full set ranging from $40-60. The pro is that you get a fresh start with thin, lightweight nails. Over time, filled in nails tend to get heavier and thicker.
So in terms of time and cost, filing is cheaper and faster but can only be done a few times before needing to start over. Soaking off takes longer and costs more but gives you a fresh set each time.
When to Fill and When to Soak
As a general rule, you can fill dip powder nails 2-3 times before needing to soak off and reapply a new set. Here are some signs it’s time for a fill vs a soak off:
- Fill when:
- There is 1-2mm of new growth at the base
- The color remains vibrant and fresh
- The nails still feel thin and lightweight
- You want a quick maintenance session
- Soak off when:
- There is 2mm+ of new growth
- The color looks dull, uneven, or discolored
- The nails feel thick, heavy, or bulky
- You want a fresh set with thin, natural looking nails
- You’ve already filled 2-3 times
Paying attention to these signs can help you decide whether a fill or soak off is best at your maintenance appointment.
Effects on Nail Health Long Term
When done properly, both filling and soaking off dip powder nails are safe for your natural nails long term. Here are some tips for healthy nails with either method:
- For filling:
- Don’t overfill – stick to 2-3 fills before soaking off
- File gently to prevent damage
- Use thin layers of dip powder
- Give nails a break between sets
- For soaking off:
- Soak in acetone for 10-15 minutes to dissolve dip powder, don’t peel off
- Gently push off product with wooden stick, don’t scrape
- File remaining residue lightly, don’t overfile surface
- Let nails recover naked for a few days
The key is to not overfill natural nails with too many layers of product, and to soak off and reapply gentle and carefully to avoid damage. Listening to your nails’ needs and giving them breaks between sets is also important.
Done properly, both filling and soaking off allow for long lasting dip powder nails while maintaining natural nail health.
Acrylic Dipping Powder FAQs
Why Won’t Acrylic Adhere to My Dip Powder?
There are a few reasons why acrylic may not adhere properly to dip powder nails:
- Not roughing up the surface – The surface of the dip powder needs to be lightly filed to create texture for the acrylic to grip onto. Skipping this step can result in peeling.
- Too much oil on nails – Oils from lotions or nail prep can create a barrier that acrylic can’t stick to. Be sure to cleanse nails thoroughly before applying acrylic.
- Old or expired products – Acrylic and activator need to be fresh for optimal bonding. Old products won’t cure properly.
- Incorrect application – Applying too little acrylic, not sealing the edges, or improper curing technique can all prevent proper bonding.
Following best practices for acrylic application and using fresh products should allow for great adhesion to dip powder nails.
What If the Acrylic Peels Off?
If you notice the acrylic peeling off your dip powder nails, don’t panic. Here are some tips:
- Avoid picking at the lifted acrylic, as this can damage the natural nail underneath. Use a file to gently buff away any lifted edges.
- Go back and seal the free edge with a thin layer of acrylic. This helps prevent moisture from getting in and lifting the acrylic.
- Roughen surfaces lightly before reapplying acrylic over lifted areas. This helps it grip better.
- Apply nail primer before adding new acrylic. Primer enhances adhesion.
- Avoid heavy scrubbing or picking which can worsen lifting. Handle nails gently after reapplying acrylic to allow full curing.
Getting occasional lifting is normal, but frequent or excessive peeling may indicate an issue with product quality, preparation, or technique.
How Do I Avoid Damaging My Nails?
Here are some tips to keep natural nails healthy and strong while wearing dip powder:
- Use a gentle nail prep – Avoid over-scrubbing cuticles or cuticle remover as these can dry out nails.
- Keep nails hydrated – Massage cuticle oil into nails and cuticles daily to maintain flexibility.
- Avoid excessive filing – Light filing is ok but over-filing the nail plate can lead to weakness and breaks.
- Watch removal technique – Soak off dip powder gently and avoid scraping or pulling it off forcefully.
- Take occasional breaks – Give nails a breather every few sets by removing enhancements briefly.
- Protect free edge – Always apply acrylic over the free edge to prevent moisture entering and causing lifting.
- Use nourishing products – Look for nail strengtheners and growth serums with vitamins to keep nails healthy.
Following a diligent nail care routine and avoiding damage from over-filing, picking, and improper removal is key to keeping natural nails in great shape with dip powders!
Conclusion
As you can see, filling in your dip powder manicure with acrylic is completely doable with the right techniques. Taking the time to properly rough up and seal the dip powders allows the acrylic to bond securely.
Following best practices for prep work, application, and removal will help the acrylic last 2-3 weeks on average.
While soak-off manicures tend to be longer-lasting overall, strategic acrylic fills let you extend your manicure, avoiding multiple removals that could damage nails over time. Pay attention to how your nails respond, and don’t hesitate to ask your nail technician for advice.
With the right care, you can keep your nails looking fabulous with dip and acrylic combinations.