Can You Dry Gel Nail Polish With A Hair Dryer? Everything You Need To Know
If you just got a fresh gel manicure and are wondering if you can speed up the drying process with a hair dryer, you’ve come to the right place. Getting that perfect, long-lasting manicure takes time and patience through each step – especially when it comes to drying and curing the gel polish.
The quick answer is: using a hair dryer can help dry gel polish faster in some cases, but it’s not recommended as the primary drying method. Instead, use the hair dryer judiciously at the end for any final tacky spots. Rely mainly on the LED or UV nail lamp as instructed by your nail technician.
Read on as we dive into the details, best practices, and methods for safely and effectively drying your fresh gel mani.
Can You Use a Hair Dryer to Dry Gel Nails?
Using a hair dryer to hasten the drying process of gel nail polish may seem like a quick fix, but should be done cautiously. While heat can help gel manicures dry faster, excessive temperatures can actually damage the nails and polish.
Yes, But With Caution
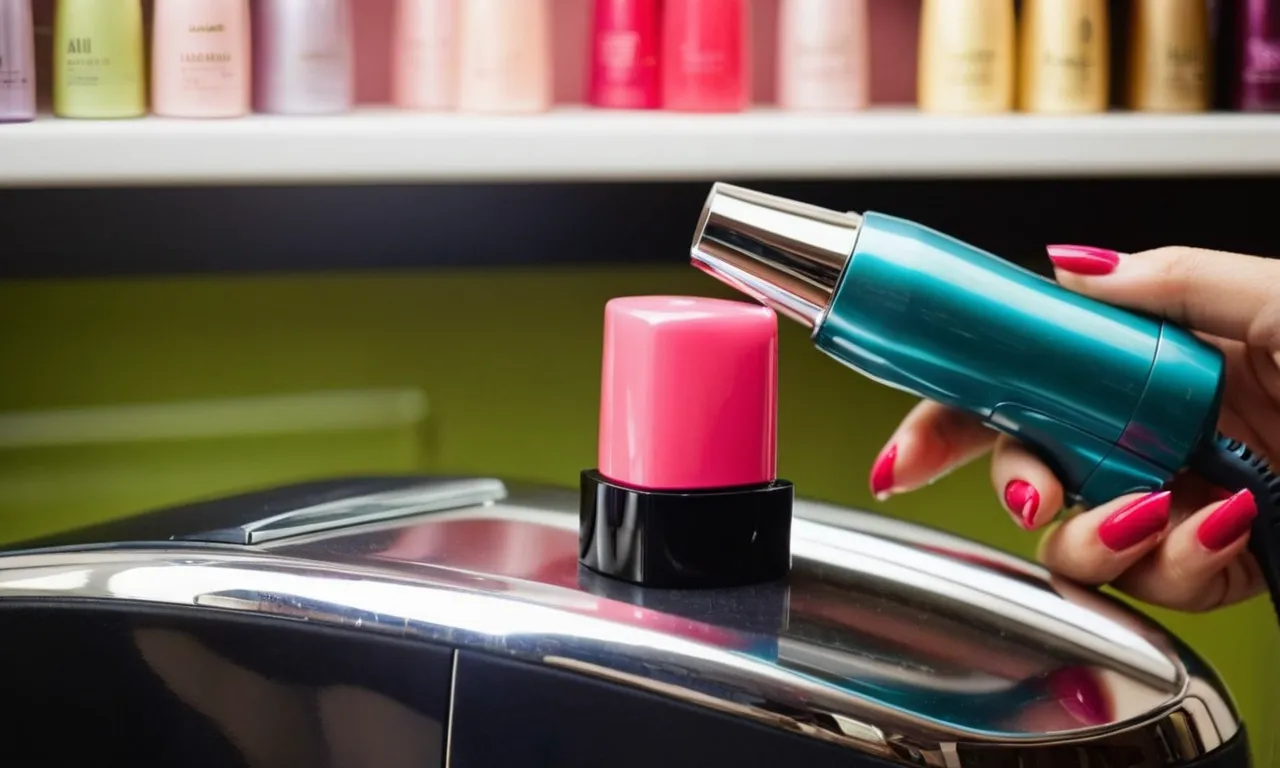
It is technically possible to use a blow dryer to dry gel polish, as the heat helps speed up the curing process. However, nail technicians warn that you need to be very careful, keep the dryer on a low, cool setting, and hold it at least 6 inches from the nails.
Getting the hair dryer too close or using high heat settings can over-cure the gel polish so it gets thick and bubbly. The intense heat can also burn or damage the natural nails. It’s best to just use short, gentle blasts, checking often to prevent overheating.
The Curing Process is Important
Gel manicures require UV light to fully cure the polish. Using some heat can help, but does not replace the LED lamps used in salons. The lamps emit ultraviolet A radiation to initiate curing and harden the gel resin.
According to NAILS Magazine, most gel polishes need 2 full minutes under UV light to cure properly. Rushing this process with too much heat can leave the polish under-cured and prone to chipping.
Go Easy With Heat to Avoid Damage
It can be tempting to blast gel manicures with hot air to make them dry instantly. However, beauty experts strongly advise going gentle. The ideal is to lightly warm the nails to avoid over-curing, not sear them with hot air which can cook the gel unevenly or over-harden the nails.
Salon owners also warn against using hot air too close to the cuticles or side walls as it can burn the surrounding skin. Avoid any discomfort or sensitivity while blow drying polish. If the nails feel extremely hot, turn down the dryer temperature to prevent cracking or brittling.
Tips for Drying Gel Nails
Cure in the Lamp as Directed
The first step to properly drying gel nails is to cure them under the LED or UV lamp as directed by the manufacturer. This initial curing sets and hardens the gel polish so it is ready for the next steps.
Rushing this step or not curing for long enough can lead to tacky, goopy nails that never fully set.
Wipe Away the Tacky Layer
After curing, many gel polishes leave behind a sticky, tacky layer on the surface of the nails. This is normal! Use a lint-free wipe or pad soaked in nail cleanser to gently wipe away this tacky residue. Removing this layer helps the remaining gel polish fully set and dry.
Use Cool Setting on Hair Dryer
You can speed up the drying process by blowing cool air from a hair dryer over the nails for 30 seconds to 1 minute. The cool setting works best – hot air can cause bubbles or other issues with the gel polish. Hold the dryer 6-10 inches from the nails and keep it moving to evenly dry all nails.
Target stubborn spots
Sometimes thicker areas of gel polish or certain nails may take a bit longer to dry than others. Use the cool air from the hair dryer to target these stubborn sticky spots for an extra few seconds until dry. Avoid holding the dryer in one spot too long.
Don’t Overdo It
While a hair dryer can speed up the drying process, don’t over-dry the nails. 30 seconds to 1 minute per hand is usually sufficient. Over-drying with hot air or for too long can cause the gel polish to become dull or develop a matte finish.
Let the gel polish fully cure and harden on its own after a brief blast of air.
Why Relying Solely on a Hair Dryer is Risky
Heat Can Damage the Gel
Using a hair dryer to cure gel polish can be risky business. The high heat from the dryer can actually damage the gel and prevent it from curing properly. Gel polish is designed to cure under UV or LED lamps at a specific temperature. Exposing gel to temperatures above this can cause issues.
The extreme heat from a hairdryer, which can reach temperatures upwards of 200°F or more, can cause the gel to overheat and bubble or burn. This can lead to shrinking, cracking, and peeling. It essentially “fries” the gel, preventing the ingredients from bonding and curing as intended.
So while a quick blast of warm air may help, prolonged high heat can ruin the manicure.
Won’t Fully Cure the Polish
Another problem with relying solely on a hair dryer to cure gel polish is that it simply won’t get the gel as hard and durable as it needs to be. Gel polish requires being cured under UV or LED light for a certain amount of time to fully set.
The light triggers a chemical reaction that allows the gel to bond and harden. A hair dryer does not provide the same curing results. The heat may help dry the outer layers of gel slightly faster, but it does not cure the full thickness of the polish or create the tight cross-linking required for long wear.
Using only a hair dryer will leave the gel polish soft, prone to dents and scratches, and susceptible to peeling or lifting off the nail. For a long-lasting manicure, the gel needs to be fully cured under lamps as instructed by the brand.
Can Cause Bubbling and Shrinkage
Applying too much heat to gel polish before it is cured can also lead to bubbling of the product. When overheated, air pockets and bubbles can form within the gel. This gives the polish a bumpy, uneven look. If severe enough, it can even cause the gel to lose adhesion and peel off the nail.
Excessive heat can also cause the gel to shrink as it dries too quickly. This leads to pulling and shrinking at the free edges of the nails, which allows for cracks and breaks. It essentially shocks and dehydrates the gel before it has a chance to set.
This can ruin all the hard work put into sculpting and perfecting the shape of the manicure.
While a hair dryer can help gel polish dry marginally faster, it is not a replacement for proper LED or UV lamp curing. Relying solely on heat to set gel risks damage to the product and an inferior, short-lived manicure. Always follow manufacturer instructions for curing times under lamps.
A quick warm blast from a dryer is optional for touch-ups or drying out tacky layers, but never use it as the sole curing method.
The Curing Science Behind Gel Manicures
UV/LED Lamps
Gel manicures use UV or LED lamps to cure the polish and seal it to the natural nail. After applying gel polish, the nails are placed under the lamp for a set period of time, usually 30-60 seconds. The UV or LED light triggers a chemical reaction in the gel polish that hardens it into a durable, glossy finish that can last up to 3 weeks without chipping or smudging.
Gel polish contains photoinitiators that absorb the UV/LED light and convert it into energy to bind the monomers and oligomers in the formula together into a tough plastic that adheres to the nail plate.
How the Chemistry Works
Here’s a quick breakdown of how the chemistry of gel manicures works:
- Gel polish contains monomers – small molecule units that can link together to form polymers.
- It also contains oligomers – short polymer chains made up of a few monomers.
- Photoinitiators are added to absorb UV/LED light and provide energy to power the reaction.
- When exposed to UV/LED light, the photoinitiators generate free radicals that trigger the monomers to link together into long polymer chains, binding everything into a hard glossy plastic.
This process is known as photopolymerization. In simple terms, the UV/LED light cures the gel polish into a durable plastic coating on the nails. The key is getting the exposure time just right – too little, and the polish won’t cure properly; too much can cause overheating and damage the nails.
Importance of Following Manufacturer Instructions
Each gel polish brand is formulated with a specific cure time in mind. Most use 30-60 seconds per coat under the light. It’s crucial to follow the manufacturer’s instructions precisely to get an effective cure and avoid tacky, half-cured polish.
Using the recommended lamp wattage and cure times allows thorough polymerization without overexposing the natural nails to excessive UV radiation, which can cause weakness, brittleness, and increased infection risk if done repeatedly over time.
Properly applied gel manicures polymerize into a durable surface that stays chip-free for up to 3 weeks. But the science only works effectively and safely when done according to the product directions. So closely follow the brand guidelines for ideal gelling, curing, and longevity!
Tips for Overall Gel Manicure Success
Prep Your Nails Properly
Prepping your nails is a crucial first step for a long-lasting gel manicure. Start by using a buffer to gently remove shine from the nails. This helps the gel polish adhere better. Next, use a dehydrator like Sally Hansen Airbrush Leg Makeup to clean the nail plate and remove oils.
You can also use an acid-free nail prep that balances pH. Avoid skipping this step, as it helps prevent chipping and peeling.
Let Each Layer Cure Fully
Patience is key for properly curing gel polish. After applying each layer—base coat, color coats, top coat—be sure to cure under the LED or UV lamp for the full recommended time. Under-cured gel can weaken quickly.
An easy way to test if gel layers are set: Touch the nail gently—it shouldn’t dent or feel sticky. Allowing proper curing ensures a smooth, resilient manicure.
Use Thin Coats of Polish
When painting on gel polish, apply in 2-3 thin, even coats rather than 1 thick coat. Thinner layers cure more evenly under the lamp. If a coat is too thick, the outside may dry but the inside remains wet, which causes cracking and peeling. Let each thin coat cure fully before adding the next.
The result is a smooth, durable, salon-quality finish that lasts.
Cap the Free Edge
“Capping the free edge” seals the tip of the nail for extra protection. After applying color, run the brush horizontally across the free edge—the part of the nail that extends just past the fingertip. Seal the tip with a thin coat of polish.
This helps prevent chipping which often starts at the free edge and discourages water from getting underneath the polish. It’s a simple step that makes a big difference.
Moisturize Your Skin
Polish adheres best to hydrated nails and skin. To prevent overexposure of nails to polish removers and dehydrating alcohol preps, be diligent about moisturizing. Apply a rich cuticle cream daily focusing on the nail folds and cuticles.
Also massage hand cream into the skin around and under free edges. Keeping these areas conditioned improves adhesion and prevents cracking for your most flawless gel manicure yet.
Conclusion
While it may be tempting to speed up the gel polish drying process with a quick blast from your hair dryer, take care to use heating tools minimally. Trust the UV/LED lamps to properly cure each layer of your manicure, only relying on gentle heat at the very end if needed.
With some patience you’ll have a super shiny, long-lasting gel manicure that will look fabulous for weeks.