Can You Do Gel Nails At Home?
Dreaming of perfect, long-lasting nail art you can do in the comfort of your home? With some practice, the right supplies, and these step-by-step instructions, you can totally do gel nails at home.
If you’re short on time, here’s a quick answer: Yes, you can absolutely do gel nails safely and beautifully at home with the right supplies and techniques.
In this comprehensive guide, you’ll learn everything you need to know to successfully do gel manicures yourself, including:
An overview of gel nail technology and benefits
Essential tools and products for safe, easy DIY gel application
Tips from the pros for long-lasting at-home gel mani/pedi results
Step-by-step photo instructions guiding you through the gel process from start to finish
What Are Gel Nails and What Are the Benefits of Gel Manicures?
Gel manicures have become an extremely popular salon service in recent years. But what exactly are gel nails, and why do people love them so much? Here’s a breakdown of what makes gel manicures different than regular polish.
Gel polish technology and how it differs from regular polish
Gel polish is made with different chemicals and polymers than regular nail polish. It goes on thick and needs to be cured under a special LED or UV lamp in order to set. This curing process is what makes gel manicures much more durable than regular polish.
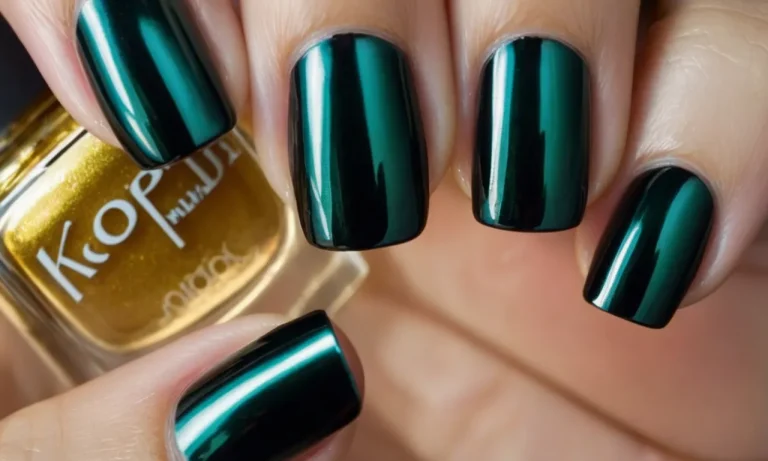
Durability and long wear – gels last 2-3 weeks chip free!
One of the biggest appeals of a gel manicure is that it lasts 2-3 weeks or more without chipping or fading. Regular polish typically lasts around 4-7 days before it starts to chip. With gels, your manicure stays flawless for weeks at a time with no touch-ups needed.
Drying/curing process leaves a glossy, chip resistant finish
The LED or UV curing process not only sets the gel polish so it adheres to the nail better, but it also leaves you with an incredibly glossy and smooth finish. It’s essentially the same end-result you would get from a salon top coat, only much more long-lasting.
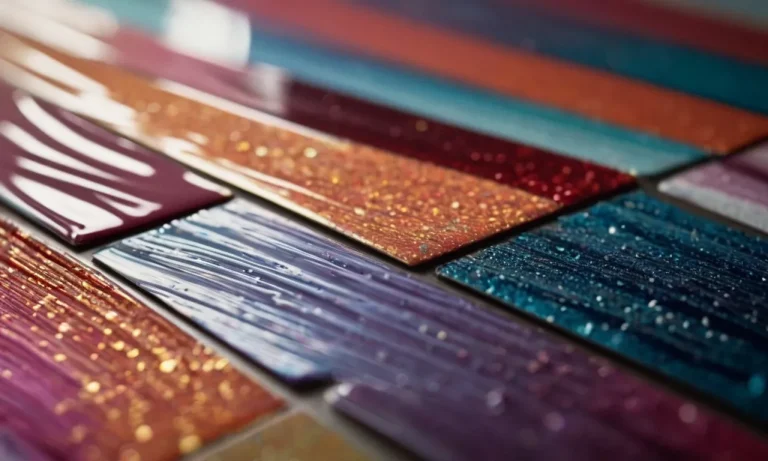
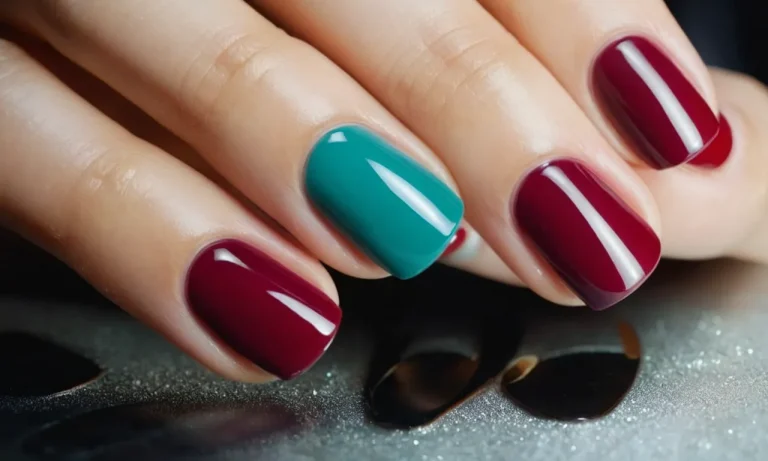
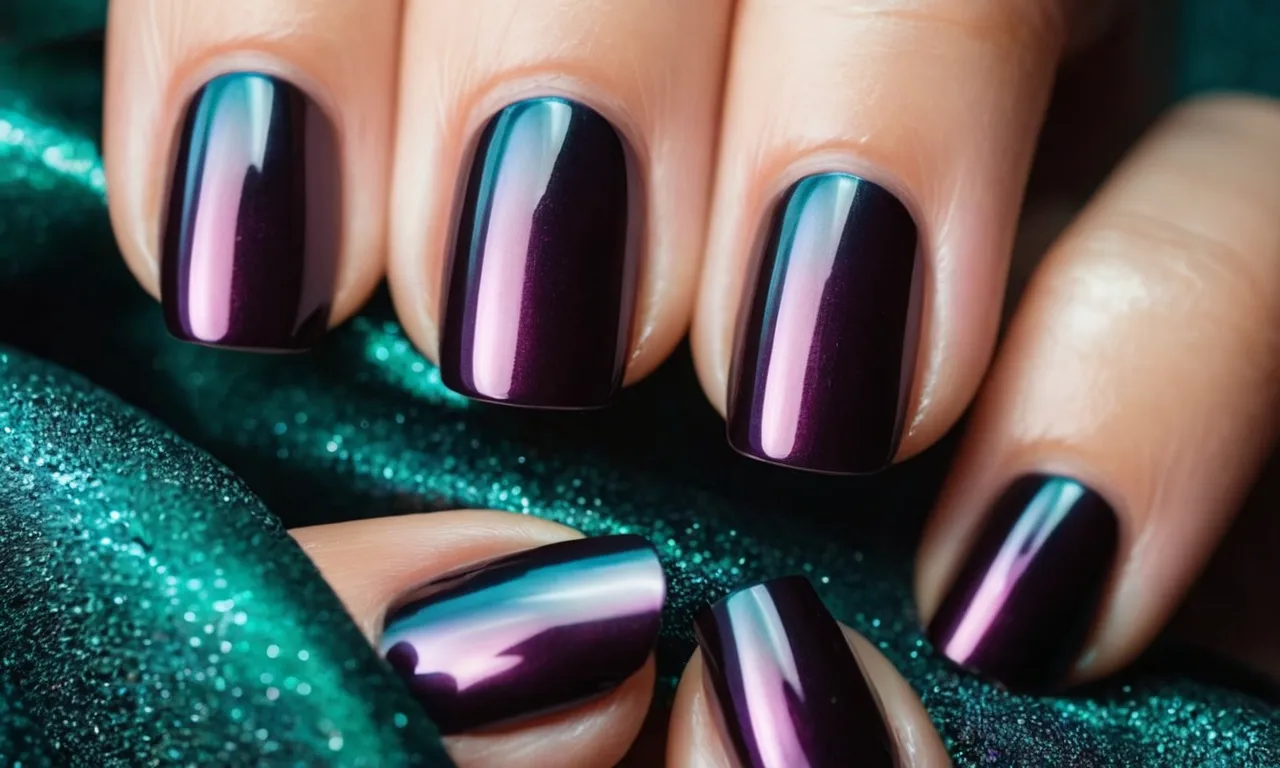
Wide variety of gel polish colors and effects available
From classic colors to trendy nail art effects, gels give you tons of options to choose from. Brands like OPI, Essie and more have extensive gel polish collections. You can get glitter gels, color changing gels, and even chrome powder gels for a mirror-like metallic finish.
Gel manicures do not damage nails when removed properly
A common misconception is that gels and acrylics ruin your nails. This isn’t inherently true – the damage comes when gels are removed improperly. As long as the gel manicure is soaked off gently with acetone, there is no damage to the natural nail.
Gather the Proper Gel Nail Supplies for At-Home Use
UV/LED lamp
One of the most essential gel nail supplies is a UV or LED lamp. This allows you to cure each layer of gel polish so it hardens on the nail. Choose a lamp that offers at least 36 watts of power for the best results. Most quality models run $30-$70.
Gel nail polish colors
Pick 2-3 gel polish colors for a basic starter kit. Darker shades like black, red, and navy tend to last longer without chipping. Sheer glitters and light pinks look pretty but may not have as much longevity. Buy gel polish from reputable brands like OPI, Gelish, and Shellac.
Base and top coat
The base coat prepares the nail and helps the color adhere better. The top coat is applied last to seal everything in and add shine. Be sure to use products that are formulated for gel manicures, not regular nail polish.
100% acetone nail polish remover
To remove gel polish, you’ll need 100% acetone remover. This is stronger than regular nail polish remover. Most brands sell small 2-4 oz bottles for less than $5.
Nail primer
Primer is lightly brushed on before base coat to prep the nails. It removes oils and creates a tacky surface so gels bond better. Using a primer can help extend the life of your manicure.
Disposable nail forms and brushes
To sculpt nail tips or make other structural changes, you’ll need nail forms. They fit around the finger, allowing you to build the shape you want. Disposable applicator brushes make application neater.
Nail prep solutions (dehydrator, pH bonder, etc)
Nail prep solutions like dehydrators and pH bonder help adhere gel polish to the nails. They also prevent lifting, peeling, and other damage. Using them ensures your DIY gel manicure lasts as long as possible.
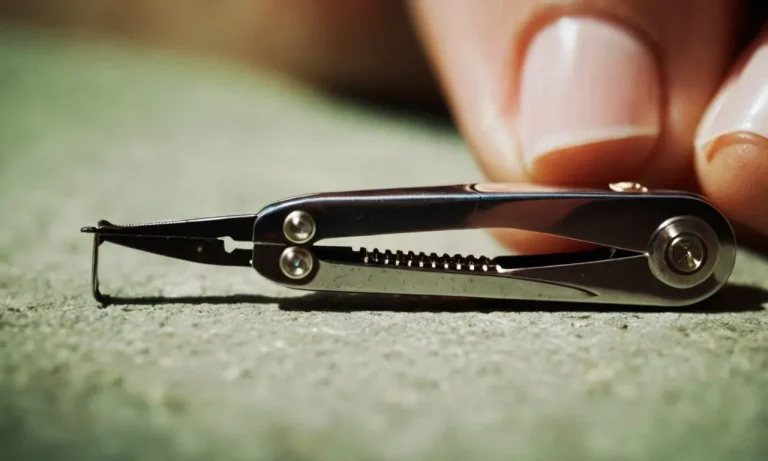
Nail file, buffer block, cuticle pusher
Use a nail file to shape nails and remove shine before gels. A buffer block evens out ridges for a smooth finish. A cuticle pusher neatly tidies the skin around the nails.
Step-By-Step: How to Apply Gel Nail Polish at Home
Thoroughly prep and shape nails
The first step is to prep your natural nails by trimming and filing them into the desired shape. Use a nail file to gently buff off any shine for better gel adhesion. It’s crucial to push back and trim your cuticles, as gel can adhere to skin and cause lifting or peeling.
Finish prepping with a nail dehydrator to remove any oils.
Apply nail dehydrator and primer
After shaping your nails, apply a nail dehydrator to remove any moisture or oil from your nail plate. This allows the gel polish to properly bond. Next, use a gel primer so the gel has something to grip onto. Let both the dehydrator and primer completely dry before moving onto the next step.
Optional – Use nail forms for extension
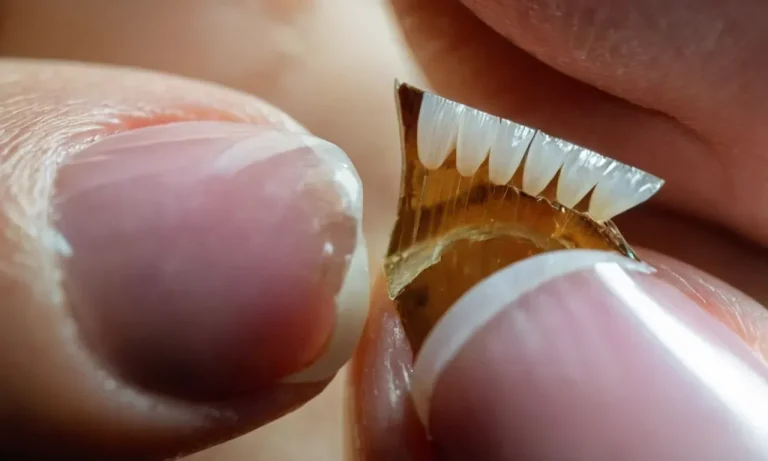
If you want to extend your nails using gel, now is the time to apply nail forms. These thin pieces of plastic adhere underneath the free edge of your nail to act as a guide for extending with gel. Make sure they fit snugly against your natural nail before applying gel.
Apply gel base coat and cure
Paint a thin layer of gel base coat on each nail and cure in an LED lamp for 30-60 seconds, depending on the product instructions. The base coat helps the color gel adhere properly. Be sure to cap the free edge so the gel wraps around the tip of your nail.
Apply 2 coats color gel and cure after each
Apply a thin first layer of gel nail polish color, cure, and follow up with a second layer to ensure an opaque, even finish. Remember to cap the free edge each time. Cure for 30-60 seconds after each layer.
Apply thinner coats and cure more frequently to help avoid heat spikes that can damage the natural nails.
Finish with gel top coat, cure and wipe
Protect your color with a layer of gel top coat, cure, and wipe the sticky dispersion layer with isopropyl alcohol. The top coat helps seal in color and provides a glossy shine. Be sure to cap the free edge again. After wiping, apply cuticle oil to hydrate the skin.
Shape and buff to perfection
Once fully cured, use a nail file to shape and smooth your nail tips and edges. Buff gently with a shine buffer block to remove any surface tackiness and achieve a flawless, professional gel manicure. You can reuse gel polish several times with proper application and removal.
Removing Gel Nails Properly at Home
Never peel off gels – can damage nails!
When it’s time for a gel manicure removal, it can be super tempting to just peel those hardened layers right off. Resist the urge! Peeling gel polish can actually rip layers of your natural nail off too, leaving your nails thin, weak and prone to splitting and breaking. Not good!
Buffer off gel shine layer then soak in pure acetone
Start by gently buffing the shiny topcoat layer off your gels using a nail file. This helps the acetone soak in better. Then soak cotton balls in 100% pure acetone (no additives!) and place them on top of each fingernail.
Wrap your fingers in foil or reusable nail polish remover clips to hold the acetone-soaked cotton in place for 10-15 minutes until the gel layers soften.
Gently scrape off any remaining residue after ~15 mins
Once the gel is softened from the acetone, you should be able to gently scrape off the color layers with an orangewood stick or plastic cuticle pusher tool. Take your time and be gentle. Repeat with fresh acetone-soaked cotton balls if any bits are still sticking.
Don’t file the bare natural nails – this can cause damage.
Re-hydrate nails and cuticles with oil or cream afterwards
After removing gel manicures, nails and cuticles tend to be dry and dehydrated. Apply a nourishing nail and cuticle oil or thick, hydrating cream to condition them back to health. Jojoba, vitamin E, and essential oils like lavender are great. Massage into nails and cuticles for 5 mins.
Rinse hands in lukewarm water and pat dry.
With the right tools and a little patience, you can safely remove gel manis at home without damaging your natural nails. Just say no to peeling and focus on gently buffing, acetone-soaking and moisturizing for happy, healthy nails! 💅
Tips from the Pros: Achieving Salon-Quality Gel Manicures at Home
Work on a clean, clutter free surface
Having a tidy, sanitized workspace is key for a professional at-home manicure. Clear off a table or desk and make sure the surface has been cleaned with a disinfecting spray like Barbicide (https://www.barbicide.com/). Keep all your nail tools and polishes organized to avoid any messy spills or sticky drips on your work surface.
Carefully prep nails to maximize gel adherence
Properly shaping and buffing your natural nails is essential for gel to bond correctly. Use a 180/240 grit nail file to gently shape your nails and remove any shine or oils from the nail plate. Push back and trim any overgrown cuticles with cuticle nippers.
Then use a nail buffer block to smooth everything out – this opens up microscopic ridges in the nail surface so gel can grab on tight.
Do not skip this step or gel may eventually peel or pop off!
Apply products sparingly starting in center of nail
A neat, thin application is best for avoiding runs, bumps or pooling with gel polish. Only use as much product as needed. Apply a gel base coat first, then color coat, always starting in the middle of the nail and brushing out towards the sides.
Each coat should be about 2/3 of the nail length to help prevent chipping.
Once done with polish application, inspect closely for any missed spots and use a small detail brush dipped in gel to fill in if needed.
Cap free edges for added protection and longevity
Fighting cracks and breaks starts with capping off the free edge – the very tip of your nail that extends just past the finger. Brush a thin layer of top coat gel vertically over the edge and just under to reinforce this vulnerable area.
The extra sealant layers create a stronger barrier to keep nails protected as they grow out.
| Without capping: | With capping: |
| Chipping and cracks happen easier | Nail tip stays reinforced and protected |
| Manicures peel and lift faster | Polish wears better with growth for 2+ weeks |
Invest in a high quality LED lamp for easy curing
Skip the frustrating dry times with traditional UV lamps, and upgrade to an LED model for faster gel setting. Quality LEDs provide a more convenient curing process that won’t require holding fingers at awkward angles for 10+ minutes. That means no smudges or drips!
Look for key features like 30 second timers, auto shut-off, and built-in fans when investing in your at-home curing device.
Take your time and don’t skip important prep steps!
Rushing through application is often how mistakes happen, so don’t feel pressured for speed. Expect the full process to take 45 mins to an hour for shaping, cleansing nails correctly, applying gel polish carefully in thin coats, and allowing proper cure time between layers.
Remember, skipping fundamentals like buffing and oil removal or applying too thick of product can ruin the life and look of your manicure quickly. Patience and precision are vital!
Conclusion
While professional gel manicures produce stunning results, you can absolutely recreate salon quality nails safely at home with some patience and the right guidance.
Equipped with these step-by-step instructions, pro tips, and product recommendations, you’ll be well on your way to beautiful, long-lasting gel nails minus the steep salon price tag.
Just be sure to follow all safety precautions, never rush the process, invest in quality products, and enjoy your fancy new DIY manicure!