Can You Cut Acrylic Nails? A Detailed Guide
If you have long acrylic nails and are wondering if you can cut them at home, you’ve come to the right place. Cutting acrylic nails is possible with the right tools and techniques for a safe and easy DIY trim.
If you’re short on time, here’s a quick answer: Yes, you can cut acrylic nails at home as long as you use proper nail clippers and file the edges smooth afterwards to prevent cracks and breaks.
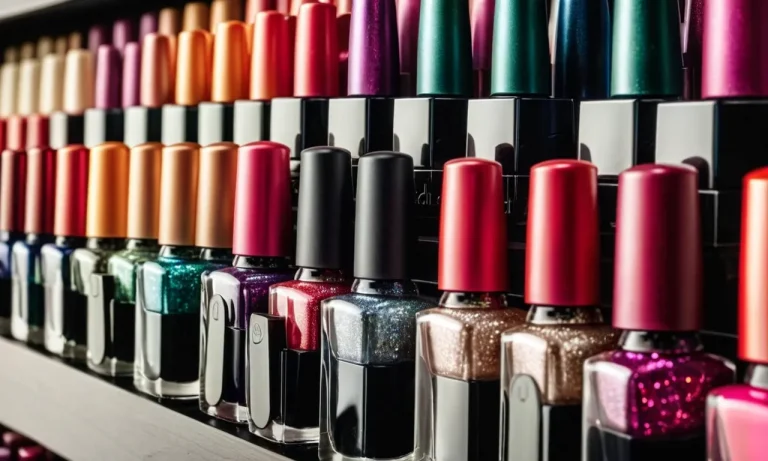
What Type of Nail Clippers to Use
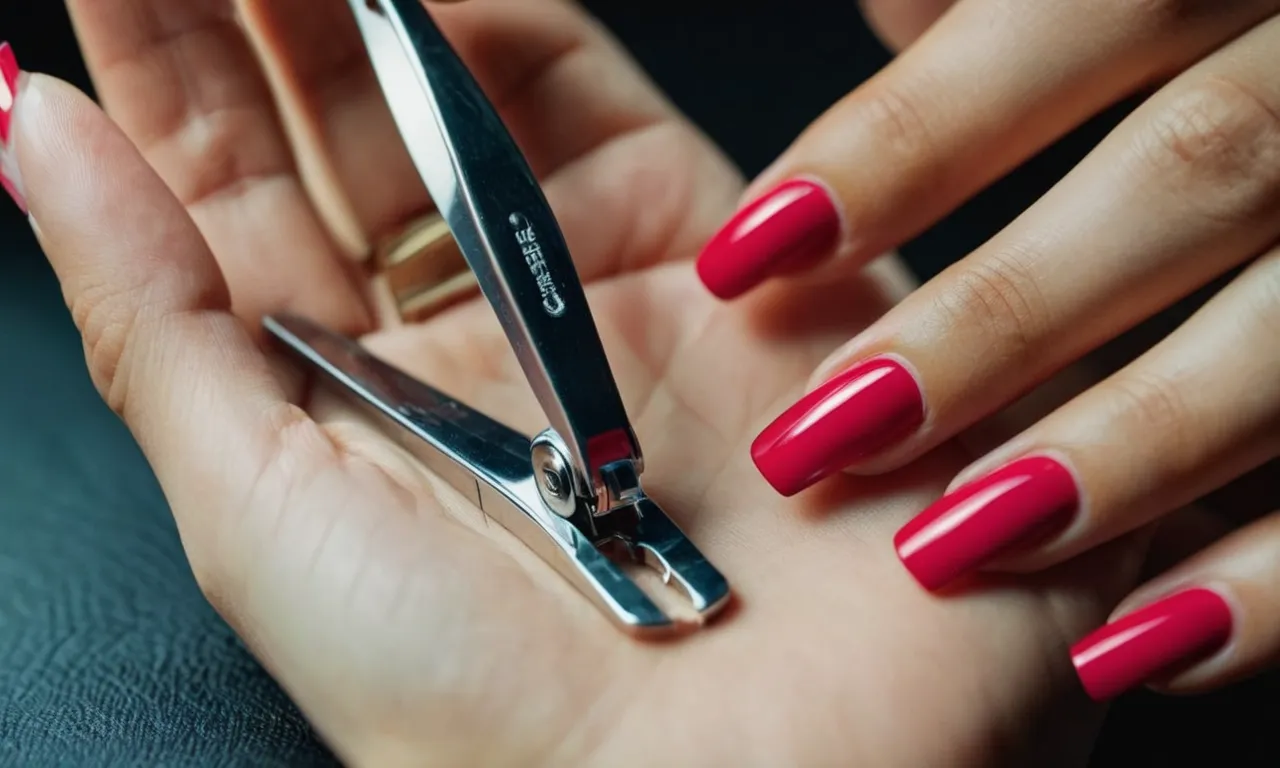
Standard nail clippers
Standard nail clippers are the most common and versatile type for trimming acrylic nails. They typically have an oval-shaped head with straight edges and a spring-loaded lever for easy clipping. Here are some tips for using standard clippers:
- Look for clippers made of high-quality stainless steel. This will keep the blades sharp for precise cutting.
- Opt for a clipper with a wider jaw span. This gives you better control and visibility when clipping acrylics.
- Avoid nail clippers with a too-small jaw span as they can crack or split natural nails underneath.
- Use short, straight strokes when clipping. Don’t cut too much at once to avoid cracking or splitting.
- Always keep the clippers perpendicular to the nail. Cutting at an angle risks tearing acrylics.
The affordability and availability of standard clippers make them a practical choice. Just take care not to cut too deeply into enhancement or natural nails when using them.
Heavy-duty nail clippers
Heavy-duty or large nail clippers are specially designed for cutting thick, hardened acrylic nails. They have ultra-sharp blades made of stainless steel and a wide jaw span to snip through enhancement with ease. Here’s how to use them:
- Look for heavy-duty clippers with a jaw span over 1 inch wide. This provides power and control.
- Cut a small amount at a time, working from the outer edge in. Don’t try to cut the entire nail at once.
- Apply gentle, even pressure when clipping to avoid cracking or splitting.
- Disinfect the blades after each use with rubbing alcohol to keep them clean and sharp.
- Replace clippers once the blades become dull, usually after 6-12 months of regular use.
While pricier than standard nail clippers, these industrial-strength tools make quick work of trimming thick acrylics safely.
Toenail clippers
Surprisingly, many people use toenail clippers to trim enhanced fingernails. The key advantages are:
- Extra-wide jaw span and sharp blades cut through acrylics with ease.
- Curved head matches the shape of most nail beds for smooth clipping.
- Available at any pharmacy or drugstore for only a few dollars.
However, toenail clippers do have some drawbacks to consider:
- The large size makes them unwieldy for delicate fingernail trimming.
- It’s harder to see what you’re cutting due to the shape and size.
- The blades dull faster than professional nail or cuticle clippers.
While toenail clippers will work in a pinch, nail care experts recommend using proper fingernail clippers for the safest, most precise acrylic cut.
Proper Technique for Cutting Acrylic Nails
Trimming overgrown acrylic nails requires care and precision. Following proper technique helps avoid cracking, chipping, or otherwise damaging the artificial nails. Here are essential tips for safely cutting acrylics at home.
Soak Nails Before Cutting
Soaking the nails for 5-10 minutes softens the acrylic, allowing for a smoother, cleaner cut. The warm water also helps lift any dirt or debris from underneath the edge of the nail. Simply fill a small bowl with warm water and submerge the fingertips until the acrylic feels more pliable.
Cut Nails Straight Across
The proper cutting technique is to keep the nail clippers or nippers perpendicular to the nail. Cut straight across rather than at an angle or along the sides. This helps prevent weak spots or cracks from developing at the corners of the trimmed nail.
Position the tool about 2 millimeters away from the cuticle, avoiding cutting the skin. Open and close the clippers in one quick, fluid motion for a precise trim.filing any jagged edges afterward creates an evenly smooth edge.
Avoid Cutting Too Short
While excess length should be removed, take care not to trim too close to the nail bed. Overly short acrylics become weak and prone to cracking or peeling off entirely. As a general rule, aim to keep free edges around one-quarter inch long after clipping.
This allows enough room for the artificial nail to safely adhere without risking damage.
Additionally, leaving some free margin creates a nicer aesthetic look. Extremely cropped nails appear awkward and uneven compared to ones with a subtle tip.
| Recommended Free Edge Length | 1/4 inch (6 millimeters) |
| Excessively Short Free Edge Length | Risk of cracks, lifting and other damage |
Salons typically replace fills every 2-3 weeks to maintain the ideal length and shape. While trimming at home avoids the hassle, visiting a professional nail technician regularly helps keep acrylics looking fresh.
With 91% of nail salon customers being female, techs skillfully shape and contour acrylics for balance and beauty (source). Still, simple at-home upkeep between appointments is certainly possible with proper tools and technique.
How to Smooth and Shape the Nails
After cutting and filing acrylic nails, it’s important to smooth and shape them so they look polished and professional. Here are some tips for finishing off your DIY acrylic manicure:
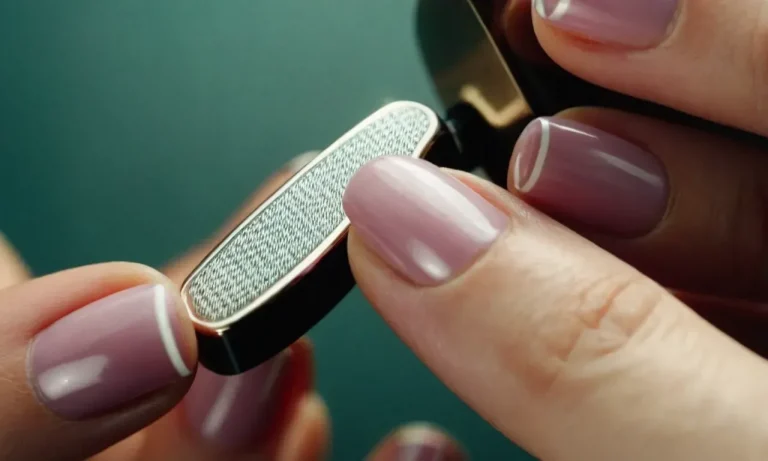
Use a nail file to smooth edges
Filing helps refine the shape of the nails and also smooths down any rough or sharp edges left from clipping. Use a medium grit nail file and gently file back and forth along the sides and tip of each nail. Be sure to file in one direction to avoid damaging the nail surface.
Filing in a downward motion helps thin and taper the free edge for a shapely look.
Shape nails with file
The nail file is also great for sculpting the perfect nail shape. Oval and squoval shapes are versatile and flattering on most hands. Use the file to create a gradual curve on the sides and a soft point at the tip. Avoid over-filing the tips too thin or they can become brittle and prone to breaking.
If you want a square shape, carefully file the sides straight across and the tip flat. Square acrylic nails look very polished and elegant.
Buff shine back into nails
After all that filing, the surface of the acrylic may look dull and scratched. Use a buffing block or nail buffing file to restore shine and smoothness. Buffing evens out small imperfections for a glassy finish. Work in one direction using very light pressure.
Be careful not to over-buff or you could make the nails too thin. Finish with a soft bristle nail brush to dust away any buffing dust for squeaky clean nails!
Taking the time to properly shape and buff your DIY acrylics will make them look like a professional salon job. Just be patient and pay attention to the details. With practice, you’ll be able to perfect the acrylic application and nail shaping process.
Your beautiful, long-lasting manicures will be well worth the effort!
Aftercare Tips
Moisturize cuticles
After removing acrylic nails, it’s crucial to moisturize and hydrate your cuticles. The acrylic application and removal process can leave cuticles dry and damaged. Massage a nourishing cuticle oil or thick hand cream into cuticles and nails daily. This helps soften cuticles and improve nail growth.
Great options include vitamin E oil, coconut oil, and shea butter. Regular moisturizing keeps cuticles healthy and nails strong.
Avoid using hands roughly
Freshly exposed natural nails need some TLC after acrylics are removed. Avoid using your hands roughly or exposing nails to chemicals for a few days. That means going easy on household chores involving harsh cleaners and laying off the gym for a bit.
Also, try to avoid picking or biting nails, which can damage the exposed nail bed. Being gentle with your hands helps nails recover and restore their strength.
Get fill-ins when needed
Getting acrylic nails filled helps avoid breakage and damage. As your natural nails grow out, the gap between the acrylic and cuticle increases. This can lead to lifting or cracking. Fill-ins every 2-3 weeks will fill these gaps and reinforce the acrylic.
Regular fills keep acrylics looking fresh and preventrowth annoyed snagging on clothes or hair. Proper upkeep allows you to maintain the length and shape you love.
When to See a Professional
If severe cracking occurs
Cracking of acrylic nails is common over time as the nail enhancement grows away from the natural nail. Minor cracking can be easily patched up at home. However, if the cracking is severe and extensive, it’s best to see a professional nail technician for repair or removal.
They have the proper tools, skills and products to assess the problem and determine the best solution. Attempting to fix severe cracking on your own may worsen the damage.
For a major reshaping
Acrylic nails allow for shaping and lengthening your natural nails, but major changes are best left to the professionals. If you want an extreme new length or shape that requires heavy filing and reshaping, it’s wise to visit your nail salon.
Drastically altering the shape on your own risks weakening the acrylic structure, which can lead to cracking and breakage down the line. The techs are trained on how to expertly shape the nails while keeping them strong.
If you feel unsure doing it yourself
Working with acrylic nails requires skill and practice to avoid damaging the natural nail underneath. If you don’t feel completely confident in your abilities to trim, file or fix cracks and breaks, it’s perfectly fine to seek professional help.
There’s no shame in admitting you need assistance from someone more experienced. Visiting the salon can give you peace of mind knowing the job will be done properly. Over time, request tips from your tech so you can learn proper technique and gain confidence for basic at-home care.
Conclusion
Cutting your own acrylic nails is easy with the proper tools and technique. Be sure to file the edges smooth, shape as needed, and care for nails and cuticles afterwards. It’s safe for DIY maintenance trims in between salon visits, but see a pro if major repairs are needed.