Can Nail Polish Remover Remove Sharpie? A Detailed Guide
Permanent marker stains happen to the best of us. You accidentally make a mark on your table or counter with a Sharpie and need to remove it quickly. Can nail polish remover get rid of Sharpie marks? Let’s find out.
If you’re short on time, here’s a quick answer: Yes, nail polish remover containing acetone can help remove Sharpie stains. It works by breaking down the alcohol-based ink.
In this comprehensive guide, we’ll cover everything you need to know about using nail polish remover to remove Sharpie stains from various surfaces.
How Nail Polish Remover Removes Sharpie
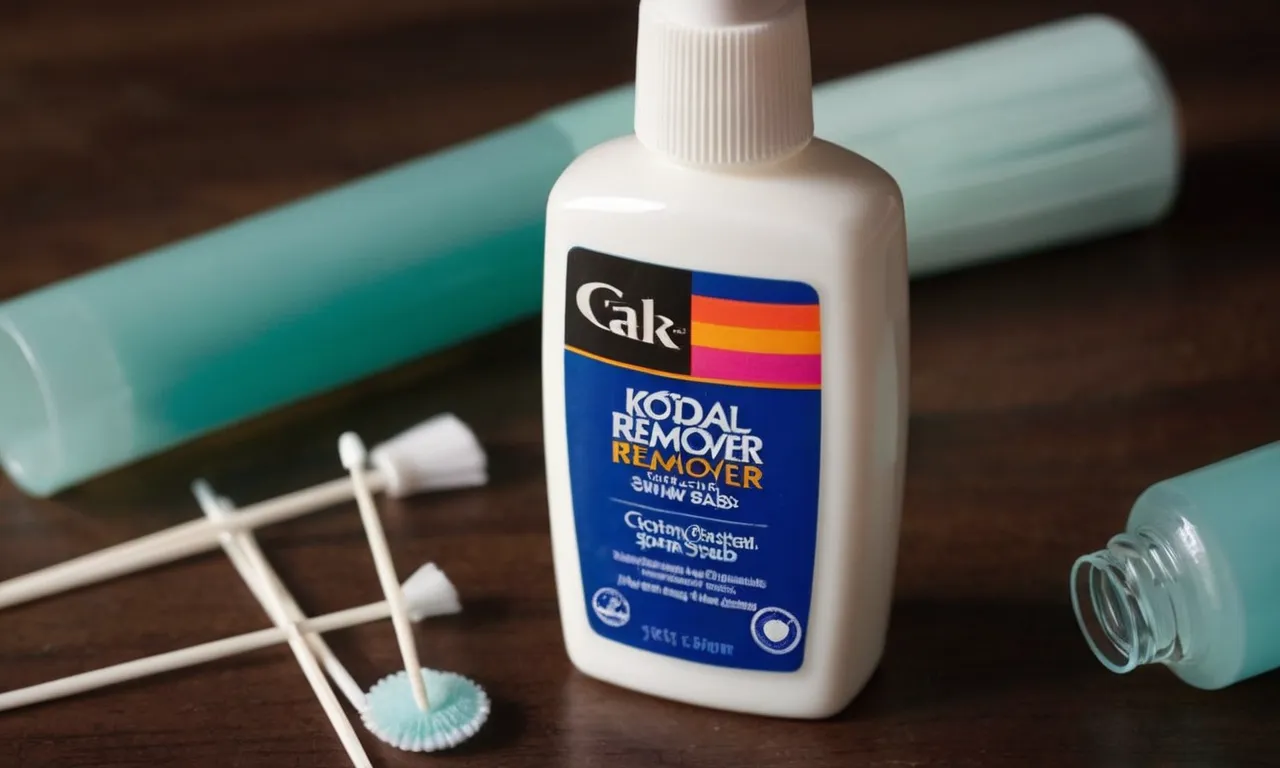
Nail polish remover, particularly formulas containing acetone, can be an effective method for removing Sharpie marks. Acetone is a harsh solvent capable of breaking down the permanent ink molecules in Sharpie markers. However, results can vary depending on the surface the Sharpie is on.
Acetone breaks down ink
The active ingredient in most nail polish removers is acetone, an effective solvent known for its ability to break down substances. When acetone comes into contact with the permanent ink molecules in a Sharpie marker, it causes the ink pigments to separate and lose their adhesion to the surface underneath.
Essentially, the acetone breaks the strong bonds that give Sharpie ink its stubborn lasting power. This allows the ink to be lifted and wiped away more easily. However, acetone can be damaging to some surfaces, so it is important to test on a small, inconspicuous area first.
Works on some surfaces better than others
Using nail polish remover to erase Sharpie marks works best on non-porous surfaces like glass, metals, sealed ceramics, and finished wood. The ink has trouble soaking in and binding to these types of materials.
So when acetone breaks down the ink molecules, they can be easily lifted off the top layer.
On the other hand, acetone does not work as well on porous surfaces like unfinished wood, drywall, concrete, and fabrics. Since the ink sinks below the top layer, acetone may only partially lift it. Trying to remove heavy Sharpie staining on porous materials often leads to damage or discoloration.
For best results, apply a small amount of nail polish remover to a clean cloth or cotton ball. Gently rub the Sharpie marks until you see the ink transferring onto the cloth. Avoid excessive scrubbing as this can wear down surfaces.
Work incrementally and allow the acetone-based remover time to break up the permanent bonds in the ink.
| Surface Type | Effectiveness |
|---|---|
| Glass | Highly Effective |
| Metals | Highly Effective |
| Sealed ceramics | Highly Effective |
| Finished wood | Moderately Effective |
| Unfinished wood | Barely Effective |
| Drywall | Barely Effective |
| Concrete | Not Effective |
| Fabrics | Not Effective |
As the table shows, acetone nail polish remover works with varying effectiveness depending on the surface. Non-porous materials like glass and metal offer the highest success rates for complete Sharpie removal.
Porous surfaces like unfinished wood or concrete make it nearly impossible to fully erase Sharpie’s stubborn markings.
When in doubt, test nail polish remover on a small, inconspicuous portion of the surface first. Check for any damage to the underlying material and ease of ink removal. This can give you an idea of its potential effectiveness before attempting to treat larger areas.
For more information, visit websites like SAFETYDATA and the manufacturer sites for guidance on chemical reactions.
What Type of Nail Polish Remover to Use
When it comes to removing stubborn Sharpie stains from surfaces, not all nail polish removers are created equal. For best results, you’ll want to use an acetone-based formula. Here’s what you need to know about choosing the right nail polish remover to erase those marker stains.
100% acetone formula is best
Acetone is the active ingredient in nail polish remover that breaks down the pigments and chemicals in polishes and markers. For removing tough permanent marker stains, you want the highest concentration acetone formula you can find – 100% acetone is ideal.
An 100% acetone nail polish remover will be the strongest at dissolving and stripping away Sharpie. It works faster and more effectively than diluted formulas. This concentrated acetone is often found in professional nail salon products and marketed as an “Acetone Nail Polish Remover”.
Some popular high acetone remover options include:
- Cutex 100% Acetone Nail Polish Remover
- Onyx Professional 100% Acetone Nail Polish Remover
- ClearChoice 100% Pure Acetone Nail Polish Remover
While regular nail polish removers may contain acetone too, they often max out at around 90% acetone or less. Stick with the 100% acetone removers for reliably erasing Sharpie.
Avoid nail polish removers with added moisturizers and colors
When shopping for an acetone based nail polish remover, avoid formulas with added moisturizers, vitamins, and colors. These extra ingredients only dilute the acetone concentration which reduces its strength and effectiveness at removing permanent marker.
For example, popular removers like ORLY Polish Remover and Ella+Mila Soy Nail Polish Remover are gentle, hydrating formulas made to protect nails and skin. But their moisturizing properties stem from plant oils and extracts that also make them less ideal for heavy duty Sharpie removal.
Go for a remover that is clear and has a short, simple ingredient list of just acetone. No frills or fancy add-ins – just pure, powerful acetone for dissolving that vivid Sharpie ink on contact.
How to Apply Nail Polish Remover to Remove Sharpie
Test on a small area first
When trying to remove Sharpie from a surface, it’s always best to do a spot test first. Take a cotton ball or paper towel soaked in nail polish remover and gently rub it on a small, inconspicuous area.
This will allow you to see if the remover is effective without potentially damaging the entire surface. If you don’t see any color transfer or fading after 30-60 seconds of gentle rubbing, try a different removal method.
Use a cotton ball or paper towel
For the best results, use a cotton ball or paper towel rather than your fingers to apply the nail polish remover. The cotton or paper allows for gentle abrasion to help lift the Sharpie stain without being too harsh on the surface.
Pour a small amount of remover onto the cotton/paper until it’s damp but not dripping. Too much liquid could damage the surface.
Gently rub the stain
Use light, circular motions to gently rub the nail polish remover into the Sharpie stain. Don’t scrub aggressively, since this can actually push the ink further into the material. The ingredients in nail polish remover will work to break down and dissolve the Sharpie over time with gentle agitation.
Be patient and keep rubbing for 30-60 seconds before checking progress.
Reapply as needed
If the Sharpie stain hasn’t fully come out, don’t keep rubbing the same spot with a used cotton ball. The ball will likely just be pushing the ink around instead of lifting it. Apply fresh nail polish remover to a clean section of the cotton/paper and repeat the gentle rubbing process.
The stain will gradually fade with each application. Avoid over-saturating the area with remover to prevent damage.
What Surfaces Can Be Cleaned with Nail Polish Remover
Works well on hard, nonporous surfaces
Nail polish remover works great for removing Sharpie and other permanent markers from surfaces that are hard and nonporous. Examples of surfaces where nail polish remover can safely remove Sharpie include:
- Glass – Window panes, mirrors, drinking glasses
- Metals – Stainless steel, aluminum, chrome
- Tile – Ceramic, porcelain, granite
- Finished wood – Sealed and lacquered surfaces
- Laminate
- Sealed concrete
The key is that these materials have a hard, shiny surface that resists absorbing the pigments and dyes found in Sharpie ink. This allows the nail polish remover to break down the marks and wipe them away without damaging the underlying surface.
More difficult on porous or delicate materials
Sharpie is much more difficult to remove from porous, absorbent surfaces that allow the ink to soak in. Materials like unfinished wood, drywall, wallpaper, and fabric are likely to show stains even after cleaning attempts. Using nail polish remover on these soft surfaces risks damaging the material.
Some examples where nail polish remover may spread and set in Sharpie stains include:
- Unsealed wood – Natural wood surfaces
- Paper – Construction paper, cardstock
- Unpainted drywall
- Acoustic ceiling tiles
- Upholstery fabrics
- Clothing and carpet
Plastics can also be tricky depending on whether they have a glossy or matte finish. Glossy plastics like PVC pipes or laminated countertops allow Sharpie removal while porous plastics like rubber welcome staining.
Test out of sight first
If you’re unsure whether a surface will stand up to nail polish remover, it’s always best to test a small inconspicuous area first and allow it to dry. This will let you determine if the remover is safe to use or risks damaging the material.
Porous surfaces in particular may require alternate cleaning methods to avoid ruining the surface while removing Sharpie stains.
Other Tips and Tricks
Try other solvents like rubbing alcohol
If nail polish remover doesn’t get the job done, don’t give up hope! There are a few other handy household products that can help remove Sharpie stains. Rubbing alcohol is often effective at breaking down permanent marker.
Simply soak a cotton ball in some 70% isopropyl alcohol and gently rub the stained area. The alcohol helps dissolve the Sharpie ink. You may need to reapply a few times and let it sit for a minute before scrubbing.
Test first in an inconspicuous area since alcohol could potentially dull or discolor some surfaces. But it’s generally safe on most materials.
Magic eraser can help lift stain
Magic erasers like Mr. Clean Magic Eraser are amazing for removing all kinds of tough stains. The melamine foam helps lift off permanent marker without damaging the surface underneath. Just get the eraser slightly wet, wring out excess water, then gently rub the stained spot.
The abrasiveness of the eraser scrubs away the stain little by little. You may need to rinse the eraser and reapply a few times for tough stains. Magic erasers work well on hard surfaces like walls, tile, countertops, floors, and even some fabrics.
Prevent stains by using Sharpie oil-based paint pens
The best way to avoid stains from permanent markers is to use the right tool for the job. Sharpie oil-based paint pens are great for temporarily labeling and marking non-porous surfaces where you’ll later need to remove the ink.
Since they contain an oil-based paint ink instead of a permanent dye, the marks wipe away much more easily without leaving stains behind. So when labeling things like plastic storage bins, metal cans, windows, ceramics, electronics, and more – grab an oil-based paint pen instead of a regular Sharpie to make your life easier down the road.
Just remember oil-based ink takes a little longer to dry compared to regular Sharpies. But the easy clean-up is worth it!
Conclusion
Sharpie stains can be tricky to remove, but using pure acetone nail polish remover is an effective trick to lift and break down the ink on many hard surfaces. Just be careful using acetone remover on more delicate materials.
With some patience and elbow grease, you can likely get rid of any accidental Sharpie marks. But it’s always best to test products on a small, inconspicuous area first to ensure no damage is done.

