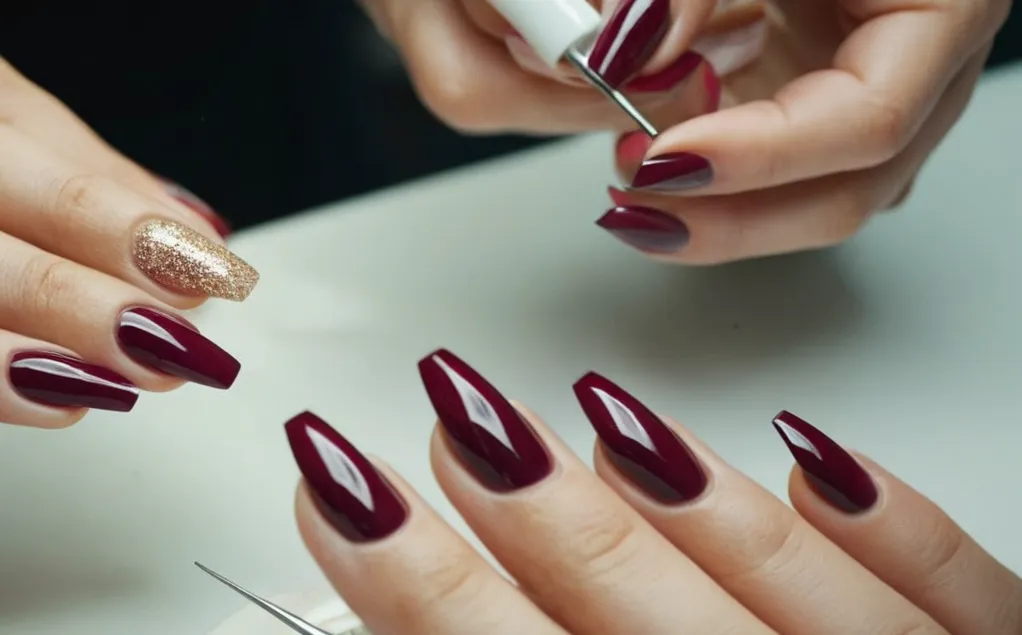
Can A Nail Salon Fix A Broken Natural Nail?
Dealing with a broken nail can be painful and frustrating. If your natural nail breaks, you may be wondering if visiting your local nail salon is the best way to repair the damage or if you should try fixing it at home.
If you’re short on time, here’s a quick answer: Visiting a nail salon is usually the best option for repairing a broken natural nail. The technicians have the right tools, products, and expertise to properly mend and strengthen a damaged nail.
Assessing the Damage
Examining the Break
When a natural nail breaks, the first step is to thoroughly examine the nail to determine the extent of damage. Look carefully at factors like how deep and wide the break is, if it’s cracked down to the nail bed, if the nail has partially come off the nail bed, or if the break has caused pain or bleeding.
A small stress line or crack in the nail plate may be repairable, while a full break down to the nail bed can be more complex to fix. Using magnification like an eye loupe can ensure a detailed inspection. Note if the break is straight across or jagged and irregular.
A smooth, straight break means the nail cleanly snapped, while uneven breaks indicate possible damage of the nail matrix.
Check to see if the free edge or tip of the nail has broken off and how far down toward the cuticle and nail fold the break extends. Breaks closer to the nail matrix at the base require more care and treatment than breaks only affecting the end of the nail.
Considering the Location and Severity
Factor both the location on the nail and severity of damage when assessing a broken natural nail. Breaks along the side edges of the nail often occur from catching or snagging and may be simpler to repair. Complete breaks across the entire nail that have separated the nail plate are more severe.
A split down the middle of the nail can signify an underlying health issue weakening nail structure. However, trauma like hitting the nail directly on a hard surface tends to cause breaks horizontally across rather than vertically down.
If the nail is lifting from the nail bed, rapid action helps prevent intensifying of the injury.
Consider when and how the break occurred. If the nail cleanly broke from a known cause like closing it in a door, the event likely fully explains the reason for damage. However, if the break seemed spontaneous or has no clear origin, there could be complicating health, nail care, or environmental factors present.
Communicate key specifics to your nail technician including if the break causes any pain or discomfort. Ultimately, a professional assessment when you arrive for your nail appointment determines the best repair plan.
| Mild Breaks | Severe Breaks |
| – Surface cracks | – Complete tear of nail plate |
| – Small chips at tip of nail | – Partial separation from nail bed |
| – Split less than halfway down nail | – Break extends far down nail towards cuticle |
According to statistics from NAILS Magazine in 2021, up to 45% of those who get professional manicures experience occasional nail breaks, splits, cracks or damage. Assessing factors of the specific break lays the groundwork for determining appropriate repair methods.
The Benefits of Going to a Nail Salon
Proper Tools and Products
Nail salons have an array of professional grade tools and products that can properly fix a broken natural nail (1). Things like acrylic powder, primer, activator liquid, nail files, buffers, nail bond, and nail glue are specifically designed to adhere to the natural nail and support regrowth (2).
DIY attempts often fall short due lacking the proper supplies. The right products applied by a professional make a big difference in getting that natural nail back to health. For example, CND Shellac by Creative Nail Design is a popular gel polish system that protects natural nails while looking fabulous (3).
According to nail care statistics from the Nail Polish Council, over 50% of women say they primarily get manicures and pedicures at nail salons rather than DIY (4). The tools and products at nail salons lead to longer-lasting results.
An at-home manicure may chip after 3 days, while a salon manicure can go 2 weeks with perfect polish. That durability prevents further damage. Salons also have professional sanitation practices to prevent infection, which is important when there is a crack in the nail bed.
Expertise and Experience
Nail technicians go through extensive training and licensing to become experts at natural nail care and enhancement services. Their job is to assess each client’s nails and recommend the best service for their unique needs.
So if your natural nail breaks, a technician can properly evaluate the situation and take steps to fix it.
For example, the education website MiladyPro offers nail technology programs where students learn about anatomy, physiology, disorders, diseases, sterilization procedures, and advanced enhancement techniques over 600 hours (5). Graduates can then obtain a nail technician license by passing an exam.
Rather than watching a YouTube tutorial and trying to fix it yourself, go to a salon and have the job done right by someone highly qualified.
| Nail Salons | DIY at Home |
| – Professional grade tools and products | – Basic drugstore supplies |
| – Extensive training and licensing | – YouTube tutorials |
| – Customized service based on unique needs | – Generic one-size-fits-all approach |
With the expertise that comes from education and experience, nail techs can properly assess the situation and take the best approach to fix your broken nail. So next time you face this pesky nail issue, head to your local nail salon for assistance!
The Repair Process Step-By-Step
Cleaning and Disinfecting
The first step when repairing a broken natural nail is to properly clean and disinfect the area. Start by filing down any jagged edges on the nail using a fine grit nail file. Then wash your hands thoroughly with soap and water.
Mix together a disinfecting solution of 1 part water and 1 part hydrogen peroxide in a small bowl. Using a cotton ball, gently apply the solution over the broken nail and surrounding skin. Let it sit for 2-3 minutes before rinsing off. This helps kill any bacteria and preps the nail for repair.
Shaping and Filing
After disinfecting, it’s time to shape and file the nail into the desired shape. Use the nail file to smooth out the free edge of the nail and get rid of any remaining roughness. File the sides of the nail vertically to prevent further cracking or splitting.
Don’t file too aggressively, as you don’t want to overly thin out the natural nail. The goal is to taper and slim the free edge for a balanced look. Use a nail buffer to refine the surface afterwards. Proper shaping and filing helps stabilize the nail and sets the foundation for a seamless repair.
Applying the Adhesive
Before reconstructing the broken section, an adhesive needs to be applied to bond the natural nail and the artificial tip. Using a nail dehydrator, wipe over the natural nail plate to remove any surface oils and ensure proper adhesion. Let the nail completely dry.
Next, brush on a thin layer of nail glue or acrylic bonding agent over the natural nail, avoiding the surrounding skin. Wait 30 seconds for the adhesive to get slightly tacky before proceeding. The right adhesive is key for a long-lasting nail repair.
Cyanoacrylate glue works best for minor breaks, while acrylic bonding agent is better for more extensive damage.
Reconstructing the Nail
Here comes the actual reconstruction and mending of the broken nail. There are a few options when it comes to the right material – silk or fiberglass wraps, acrylic powder and liquid, UV gel, or press on nails.
For small cracks and splits, opt for thin fiberglass or silk wraps saturated with nail glue or acrylic. Press it firmly over the cracked area, molding it into shape. Trim off any excess material with small nail scissors once dry.
For larger breaks, apply acrylic powder and liquid or UV gel over the nail and shape it with a brush. Let it fully cure before filing into the desired look. Pre-shaped press on nail tips can also be applied over the broken area with adhesive and blended into the natural nail.
Polishing and Finishing
The final step is polishing and finishing to blend the repair seamlessly into the natural nail. Use a fine grit file to gently shape and smooth the reconstrued area, being careful not to file the natural nail too thin. Buff the surface of the nail to remove any excess dust or material.
Apply a base coat, followed by 2-3 thin coats of regular polish in the desired color. Let it dry completely. Finish with a clear top coat to seal in the color and add shine. Consider using a nail strengthener polish for added durability and protection.
Proper finishing ensures the nail repair blends in and lasts long term. Avoid heavy scrubbing or picking at the nail during the healing process. With the right technique, a broken nail can be fixed and look beautiful again!
Caring for the Repaired Nail
Keeping It Clean and Dry
After getting a natural nail repaired at the salon, it’s crucial to keep the area clean and dry while it heals. Water and debris can easily get caught under the repaired nail, leading to infection or lifting.
Gently wash your hands with soap and water once a day, avoiding submerging the nails in water. Thoroughly dry your hands, gently patting the nails dry with a towel. You can use a Q-tip dipped in hydrogen peroxide or soap and water to gently clean under the nail if needed.
Let your nails breathe as much as possible in the first few days after the repair by avoiding nail polish. An uncomplicated repair should stay intact for 2-3 weeks as the natural nail grows out.According to nail care experts, keeping repairs dry and clean gives the best chance for proper healing.
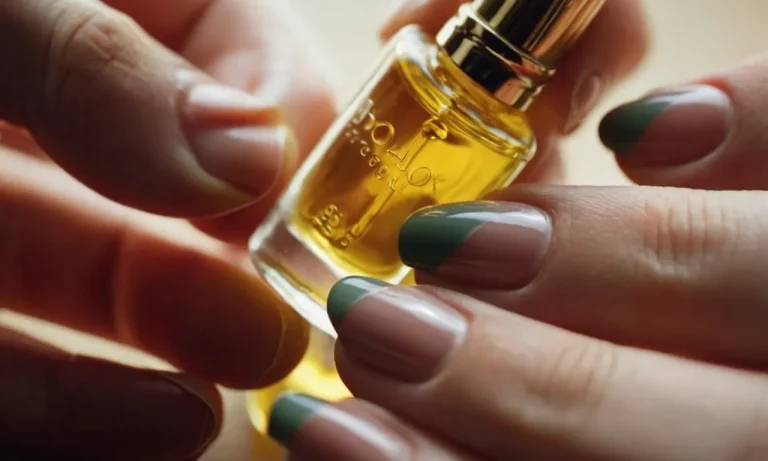
Using Cuticle Oil and Moisturizer
It’s crucial to keep the nail and surrounding skin properly hydrated while a natural nail repair heals. The salon likely applied nail glue to bond the artificial tip or silk/fiber wrap to your natural nail. This glue can cause dryness and irritation if the nail and skin aren’t moisturized.
Apply cuticle oil 2-3 times per day, gently massaging into the nail plate and surrounding skin. Opt for a nourishing oil like jojoba, vitamin E or almond. You can also use a rich hand cream or lotion on the skin around the nails, avoiding getting it on the nail plate.
The moisture boost will help prevent cracking and peeling of the skin and nail during the healing period. Proper hydration supports strong, healthy new nail growth.Daily cuticle oil and hand moisturizer provides moisture critical for proper healing of a natural nail repair.
Avoiding Damage
While a natural nail repair mends, it’s vital to avoid trauma to the nail. The new bond between your natural nail and the artificial tip or wrap is fragile. Heavy activity involving the hands or nails can cause the repair to crack, peel or lift.
Avoid opening packages, gardening, sports and heavy cleaning. Protect the nails by wearing gloves for necessary household chores. Resist the urge to pick at the nails or remove any raised edges – this can pull off the repair prematurely.
If you feel snagging or catching on anything, cover the nail with a small bandage. Let the salon remove any loose edges at your follow-up appointment to avoid trauma. Avoid hard blows to the nails as well.
Babying the nails and avoiding damage allows the natural nail and repair to integrate properly for a lasting fix.
Natural nail repairs require some TLC as they mend but are worth the effort for damaged nails to regrow strong. Keeping the area clean, hydrated and protected from trauma gives the best chance for the salon repair to adhere as your natural nail grows out.
With proper care and avoidance of water, chemical exposure and damage, a repaired nail can get back to optimal health.
Considering Other Options
Trying a DIY Fix at Home
Before resorting to more intensive solutions, you may want to try some do-it-yourself home remedies first to fix a broken natural nail. Some options include:
- Filing the break smooth – Use an emery board or nail file to gently file down any rough edges around the break to help prevent further splitting or catching.
- Applying tea bag and nail glue – Soak a tea bag in warm water, cut a small piece of the wet tea bag, place it over the break and apply clear nail glue over it. The tannins in the tea can help strengthen nails.
- Using silk wraps – These small pieces of silk or fiberglass can be glued over the break to reinforce the nail and help it grow out. DIY silk/fiberglass wrap kits are available.
- Trying strengthening polishes – Look for polishes containing fortifying ingredients like calcium, vitamins, and proteins, which can help protect nails.
If properly done, natural home remedies may fix chips or minor breaks. But they likely won’t hold up long-term compared to professional solutions. And they may not work well for severe nail breaks.
Using Nail Glue
Applying layers of clear nail glue over a broken nail is one of the quickest DIY fixes. The glue forms an artificial barrier over the break, keeping moisture out and holding the nail together as it grows out. Most drugstores and beauty supply shops sell nail glue.
However, nail glue itself tends to be rigid and inflexible. So glued nails may eventually re-crack with bending and daily use, requiring re-gluing. Thus nail glue works better for small breaks rather than large cracks. And multiple re-applications can damage the nail bed over time.
Getting Acrylics or a Nail Enhancement
For severe natural nail breaks, fractures, or cracks that run deep into the nail bed, glue likely won’t be enough. More reinforcement is needed. So visiting a professional nail salon for an enhancement is often the best solution.
Options like acrylic nails, hard gels, or fiberglass wraps bond materials directly to the natural nail surface to reinforce and protect it while growing out. This allows the nail to mend itself under the artificial overlay. Most enhancements can last 2-4 weeks between fills if properly maintained.
According to nail care brand OPI, over 90% of nail technicians said enhancements are the most effective fix for broken nails, significantly outperforming glue or other home remedies.
| Acrylic Nails | Hard Gel/Builder Gel | Silk/Fiberglass Wraps |
| Applied as a liquid + powder mixture that hardens when combined over nail. | UV or LED curable gel formulas that fully harden under lamps. | Thin fibers/fabrics glued directly over the natural nail. |
| Thick, durable, but can damage nails if improperly removed. | Very strong yet flexible. Easier to remove than acrylics. | Sheer and natural looking. But still hard to remove. |
So while trying do-it-yourself fixes may work temporarily, visiting a professional nail salon for acrylics, gels, or wraps is often best for reinforcing and mending severe natural nail breaks, cracks, and injuries as the nail grows out fully.
Be sure to see an experienced nail tech and follow proper maintenance and removal guidelines to prevent further damage.
Conclusion
Getting your broken natural nail professionally repaired at a salon is usually the best way to fix the damage and prevent further cracking or tearing. With the right tools, techniques, and care, your nail can be mended to look and feel good as new.
Visiting an experienced nail technician provides the expertise needed to properly realign, fuse, and fortify your fractured nail. Just be sure to care for the repaired nail to keep it strong and healthy.