Everything You Need To Know About Brush On Gel Nail Kits
With so many nail products on the market, it can be tough to decide which is best for achieving a perfect manicure that lasts. Brush on gel nail kits have become increasingly popular for their durability, ease of application, and professional-looking results.
If you’re short on time, here’s a quick answer: brush on gel nail kits provide a durable, long-lasting manicure that you can easily apply at home without needing a UV or LED lamp for setting. They come with everything you need for flawless nails.
In this comprehensive guide, we’ll cover what exactly brush on gel nail kits are, their key benefits over other nail products, what to look for when shopping for a kit, step-by-step application and removal directions, upkeep and maintenance tips, and recommendations for some of the best brush on gel polishes and kits you can buy.
What Are Brush On Gel Nail Kits?
Gel-Like Shine and Durability Without a Lamp
Brush on gel nail kits provide the glossy, salon-quality shine of gel manicures without the need for a UV or LED lamp. The innovative gel-like formula applies like regular nail polish but hardens to a durable, chip-resistant finish that can last up to 2 weeks.
Swapping the lamp for a simple air-dry system makes this an easy at-home DIY alternative to traditional gel manis.
Convenience of At-Home Application
Unlike traditional gel polishes that require curing under a special lamp, brush on gel formulas air dry naturally. This means you can achieve a sturdy gel manicure from the comfort of your own home without any special equipment.
Simply prep your nails, apply base and color coats, and seal with a glossy top coat. The color will set and harden within minutes for an ultra-shiny mani that resists chips and lasts.
DIY Alternative to Salon Gel Manicures
Getting gel manicures at a salon can be time consuming and expensive over time. Brush on gel polish kits provide an affordable at-home alternative to replicate the look and longevity of a professional gel mani. No appointment, dry time or removal hassle required. Prep, paint and go!
With an array of trendy colors and effects to choose from, you can change your polish as often as you like. An easy DIY system for fashionable nails on a budget.
Benefits of Using Brush on Gel Nail Kits
Long-Lasting Wear
One of the best perks of using brush on gel polishes is their incredible durability. The colored gel formula and top coat create a resilient, flexibile layer of color that can last up to 3 weeks without chipping or fading. This enables you to go longer between manicures.
Salon brand gels like OPI GelColor and Essie Gel Couture offer salon-quality wear at home.
Chip and Smudge Resistant
The flexible layers of color lock together to resist cracks, chips and smudges. No need to worry about ruining your perfect manicure with daily activities and chores. The top coat creates a smooth, even finish that holds up well. This makes brush on gel polishes a great choice for active lifestyles.
Quick Drying
Brush on gel polishes set and harden quickly under an LED or UV nail lamp. It only takes about 30-60 seconds to set each coat. This enables you to complete a full gel manicure in under 10 minutes. The quick drying time gets you back to regular activities fast compared to traditional nail polish which can take over an hour to dry effectively.
Easy to Apply and Remove
Brush on gel polishes apply smoothly and evenly with the custom nail brush. The brush adapts to the nail shape for quick, flawless application. At-home soaking removal breaks down the gels in 10-20 minutes for easy removal with no drilling.
This makes the process simple enough for beginners compared to salon gel or acrylics.
Healthier Alternative to Acrylics or UV/LED Gels
Brush on gel polishes help protect natural nails underneath and don’t require heavy filing or shaping. The formulas are less damaging compared to acrylics or traditional UV/LED gels. This makes them a safer choice for maintaining strong, healthy nails inbetween manicures.
The results are more natural looking as well.
What to Look for When Buying a Brush on Gel Kit
Type of Gel Formula
When shopping for a brush on gel nail kit, pay attention to the type of gel formula included. Most kits contain either UV gel or LED gel. UV gel cures under UV lamps, while LED gel cures under LED lamps. LED gel tends to have a thinner, more natural consistency and cures faster under LED lights.
Make sure the lamp matches the type of gel formula.
Number of Coats Needed
Look for a gel formula that provides full coverage in 2-3 thin coats. Thicker gels require fewer coats but can look bulky on nails. A good gel should go on smooth and evenly with just a few sheer layers. Always follow the directions on the number of coats recommended.
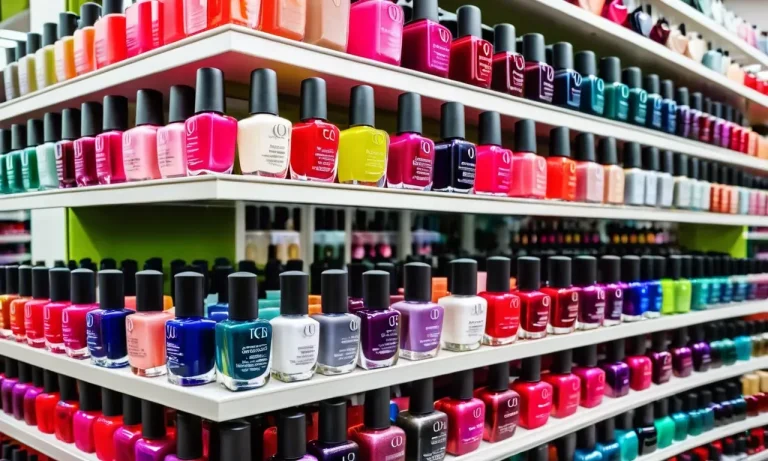
Color Selection
Many brush on gel kits come with a limited color selection, such as neutral pink and white gels only. Look for a kit with at least 5 different color choices so you can mix and match. A wider variety of colors allows you to get more creative with nail art and designs.
Base and Top Coat Included
A base coat and top coat are essential for proper gel application and a long lasting manicure. Ensure the kit includes a pH bonding base coat to help the gel adhere to your nails. The top coat seals and protects the design. A no-wipe top coat saves you time and hassle.
Extra Tools and Supplies
Along with gels, the kit should contain nail brushes, a UV or LED lamp, nail cleanser, cuticle stick, and nail files. These tools help with proper gel prep and application. Make sure the lamp is compatible with the gel formula and provides enough wattage for curing.
Also look for kits with an instruction guide.
When shopping for a brush on gel manicure system, keep these key factors in mind. Look for gels that apply smoothly with a few coats, offer varied color choices, and come with essential supplies for stunning, long lasting nails at home. With the right gel kit, you can skip the salon and DIY beautiful gel manicures!
How to Apply Brush on Gel Nail Polish
Applying brush on gel nail polish can seem intimidating at first, but with some practice it is easy to master and achieve a beautiful, long-lasting manicure right at home. Here are the basic steps for properly applying brush on gel polish:
Prep Your Nails
Start by filing and shaping your nails into your desired length and shape. Use a nail file to gently buff the surface of your nails to remove any shine and create a slightly rough texture for better adhesion.
Push back and trim any cuticles, then thoroughly cleanse nails with a nail prep solution or acetone. Make sure there is no oil or moisture left on the nails before applying the gel polish.
Apply Base Coat
After prepping, apply a thin layer of gel base coat on all nails. Let the base coat dry partially, but not fully harden, usually 30 seconds to 1 minute. The base creates a foundation for the gel polish to bond to the nail.
Brush On Color Coats
Next, use quick, even strokes to apply a thin first layer of gel polish color. Make sure to cap the free edge of the nail for maximum wear. Let the first coat dry slightly, then follow with a second coat for full rich color, again capping the tips. Avoid thick globs of polish.
Two thin, smooth coats are best. Allow the second coat to dry partially.
Finish with Top Coat
Finish with a layer of gel top coat to seal and protect the manicure, using smooth strokes over the entire nail. Let the top coat dry partially before curing under an LED or UV nail lamp according to manufacturer’s directions, usually 30-60 seconds.
The top coat will leave an ultra glossy, chip resistant finish.
Let Fully Dry
After removing from the lamp, allow the gel manicure to set and fully harden for at least 10 minutes before using hands for anything. The cured gel should feel dry to the touch. Avoid contact with water or moisture for 1-2 hours after application.
Proper drying prevents the gel polish from premature peeling or chipping.
With the right prep and techniques, brush on gel manicures can look professionally done and last up to 2-3 weeks with minimal chipping or wear. Take the time to properly apply each layer and cure the gel polish thoroughly for best results.
Gel manicures are dried instantly under the lamp, saving time and hassle compared to traditional polish. Achieve salon-worthy nails from the comfort of your home with all that brush on gel kits have to offer!
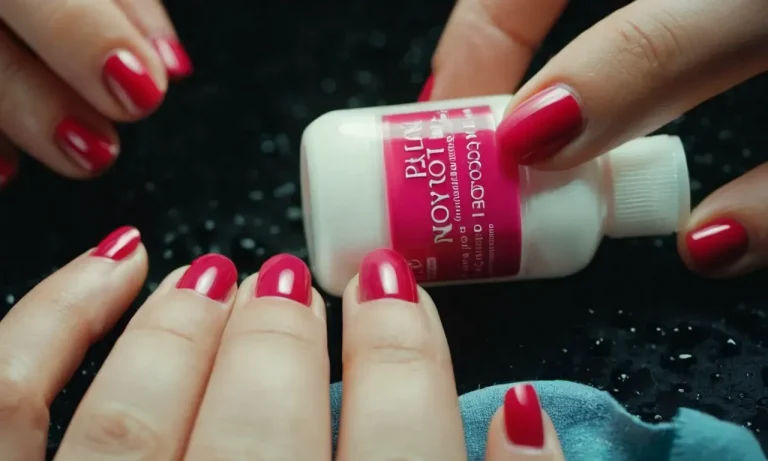
Removing Brush on Gel Nails
Use Gel Nail Polish Remover
The best and safest way to remove brush on gel nails is with a pure gel nail polish remover. Look for acetone-free removers made specifically for soaking off gel manicures. Gel removers are much gentler on the natural nail bed.
Soak cotton balls or pads in the remover and place them directly onto each nail, wrapping the tip with foil to lock in moisture. Let the remover sit for 10-15 minutes before gently scraping off the gel with an orangewood stick.
Avoid using metal nail files or tools, as they can damage the natural nail.
File Off Gel Residue If Needed
After soaking off the bulk of the gel polish, there may still be a thin, sticky layer left behind. Gently filing with a 100/180 grit file can remove any remaining residue. Just a few light passes should do the trick. Be very careful not to file too aggressively or you could thin out the natural nail.
Filing should expose a clean, gel-free nail surface. Follow up with a nail buffer to smooth everything out.
Avoid Picking or Peeling Gel Off
While it may be tempting to peel off lifting gel, this can rip layers of your natural nail off with it, leading to peeling and damage. Picking at the gel can also create small tears in the nail bed, allowing moisture to get trapped underneath and potentially cause infection.
The safest route is using the foil and remover soak-off method. With a little time and patience, the gel will lift right off, leaving nails healthy and ready for a new manicure!
Caring for Your Brush on Gel Manicure
Use Cuticle Oil Daily
Keeping your cuticles moisturized is key for a long-lasting manicure. Apply cuticle oil around your nails at least once daily to prevent hangnails and peeling. Look for oils enriched with vitamin E or jojoba oil for extra hydration. Gently push back overgrown cuticles after applying oil.
This simple routine keeps your nails looking neat and healthy.
File Down Growth
Filing down new nail growth is essential for a smooth, even look. Use a fine grit nail file every 2-3 days to gently buff away growth at the tip and sides. File in one direction to avoid weakening nails. Don’t file too aggressively or you could thin out the gel layer.
Frequent light filing prevents lifting and chips.
Fill in Chips When Needed
Tiny chips in your gel manicure are inevitable, but thankfully easy to fix. At the first sign of a chip, just use a nail file to gently smooth and shape the damaged area. Then dab on a small amount of gel polish in a matching color and cure under a LED light. Voila – your mani is as good as new!
Taking care of chips as soon as they happen will allow your manicure to continue looking fab.
Give Nails an Occasional Break
While gel manicures are gentler on nails than acrylics, it’s still a good idea to give them an occasional rest. Plan to take a break from gels every 2-3 months. Remove the gel polish and let your natural nails breathe for 1-2 weeks. You can keep them polished with a nourishing nail strengthener.
The short gel polish break allows your nails to recover from product and light exposure. Your nails will be healthy and ready for your next fabulous gel mani!
The Best Brush on Gel Nail Kits You Can Buy
Modelones Gel Nail Polish Kit
The Modelones gel nail polish kit is one of the top choices for DIY gel manicures at home. This complete kit comes with everything you need to achieve a professional quality gel mani, including a UV LED lamp, top and base coat, and an array of stunning gel polish colors.
Reviewers love the wide color selection and say the polishes are easy to apply and cure into a super glossy, chip-resistant finish. The polishes remove easily with foil wraps instead of harsh acetone too. At under $40, this is an amazing value kit for gel newbies.
beetles Gel Nail Polish Set
For a basic starter gel kit with premium quality polishes, check out the beetles gel nail polish set. This comes with a UV LED lamp, top and base gel coats, nail cleanser, and remover wraps. You get six stunning and easy to apply gel polish colors.
beetles is one of the most popular gel brands available on Amazon with nearly 50,000 reviews. Users love the extensive color choices, salon-quality results, and how the finishes last over two weeks without chipping. It’s an affordable way to try gel manicures at home.
Makartt Polygel Nail Kit
Polygel nail kits take gel manicures to the next level by allowing you to sculpt and extend your natural nails at home. The Makartt polygel nail kit is an all-in-one system perfect for beginners looking to try this nail extension method.
It comes with polygel in natural nude shades, dual forms, prep and bond agents, gel topcoat, an LED lamp, and tools like a nail file and cuticle pusher. Reviewers say the polygel is easy to shape and the results rival expensive salon sets.
Definitely a great option to experiment with polygel application!
Elite99 Gel Nail Polish and Kit
For a budget-friendly starter gel kit, look no further than the Elite99 gel nail polish set. This comes with a UV LED lamp, base and top coat, nail file, cuticle pusher, and six exciting gel polish shades. Users love the variety of glitter, shimmer, and cream shades.
The polishes go on smooth and cure into a super shiny, long-lasting manicure that resists chips for up to three weeks. Considering the low price point, the quality exceeds expectations which makes this an amazing intro gel kit.
Fairywill Gel Nail Polish Set
Lastly, the Fairywill gel nail polish set is ideal for beginners wanting to try an affordable at-home gel system. This comes with a UV LED lamp, base and top coats, nail cleanser, cuticle oil, and an array of chic gel polish colors.
Reviewers mention how easy it is to achieve a salon-quality manicure at a fraction of the cost. They also note how evenly the opaque polishes apply and how they last over two weeks without any chips or smudges. For less than $30, it’s a steal!
Conclusion
With the right brush on gel nail kit, you can easily achieve a beautiful, long-lasting manicure from the comfort of your own home. Brush on gel formulas offer a durable, chip-resistant alternative to regular polish with a glossy finish that rivals salon gels.
Just remember to properly prep and care for your nails, and your DIY gel mani can stay fresh for up to 2-3 weeks!
We hope this guide has helped you better understand what sets quality brush on gel kits apart so you can decide if trying this nail trend is right for you. Get ready to flaunt your fabulous fingers!