Everything You Need To Know About Acrylic Nails At Home Kits
Acrylic nails have become a popular at-home DIY beauty trend, allowing you to get salon-quality nails without leaving your house. If you’ve been wondering whether acrylic nails are something you can really do yourself at home, you’ve come to the right place.
Here’s a quick answer: with the right supplies, patience, and practice, you can definitely achieve beautiful acrylic nails at home that rival what you’d get at a professional salon. The key is having a quality acrylic nails kit and following step-by-step application techniques.
In this comprehensive guide, we’ll cover everything you need to know about doing acrylic nails yourself at home. You’ll learn about the supplies you need, the step-by-step process, tips and tricks for application and shaping, how to avoid common mistakes, how to remove acrylics safely, and much more.
Acrylic Nails at Home Supplies
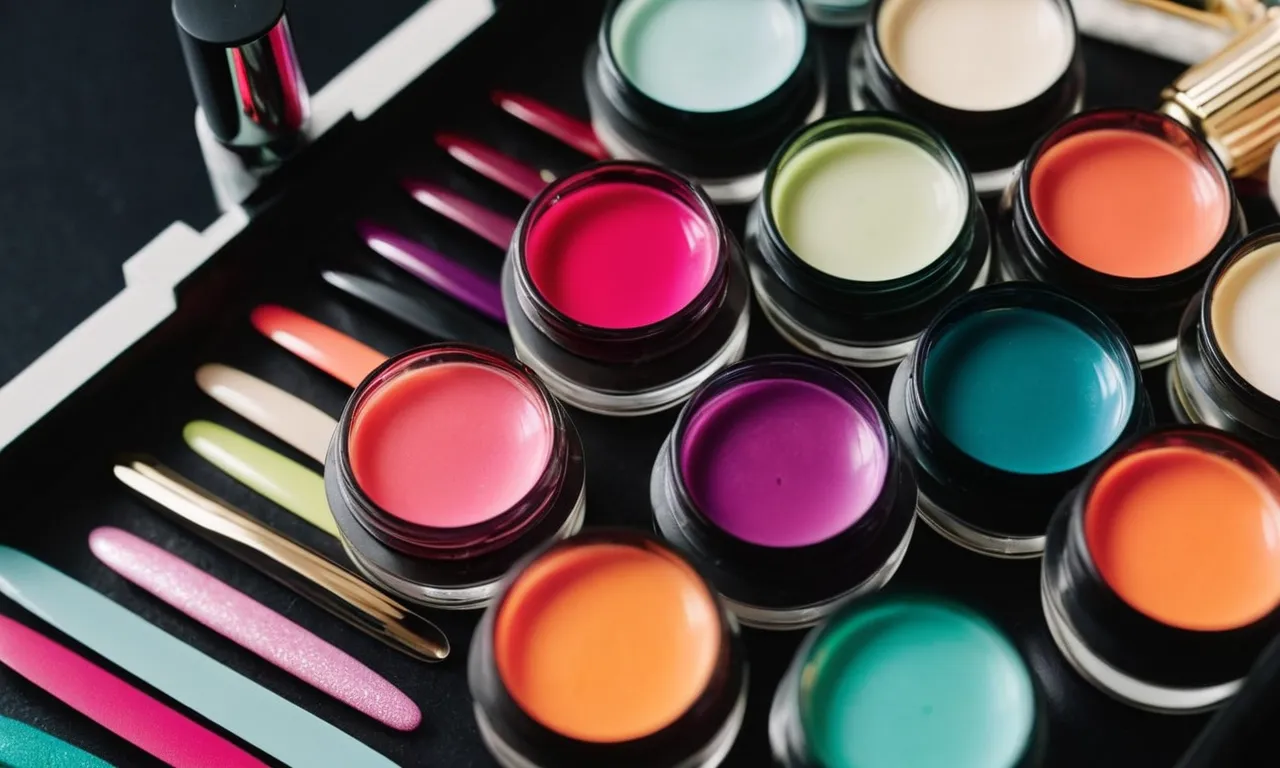
Giving yourself a professional acrylic manicure at home is totally possible with the right supplies. Here’s an overview of everything you’ll need to get salon-quality acrylic nails without leaving your house.
Acrylic powder and liquid
The core ingredients for acrylic nails are the powder and liquid. The powder contains a polymer powder while the liquid is a monomer liquid. When combined, the two form hardened acrylic plastic for building nail extensions. Choose a brand like Kiss or Makartt for quality results.
Nail primer
A nail primer is essential for preparing the natural nail and allowing the acrylic powder and liquid to adhere properly. Primers containing methacrylic acid (MMA) tend to work best.
Nail forms
You’ll need nail forms to shape and build the acrylic extensions on each nail. Look for sturdy, high-quality forms that won’t bend or crease easily during application. Having multiple sizes on hand is useful for accommodating different nail beds.
Nail tips
Acrylic is easier to apply when you use nail tips as a foundation. Nail tips are plastic plates that adhere to the edge of your natural nail to create a base. This helps the acrylic grip better and creates a smooth application surface.
Acrylic nail brushes
Specialized brushes are essential for properly sculpting acrylic nails. Kolinsky hair brushes are best because the tightly packed bristles allow for detailed application and shaping. Have a few different sizes for versatility.
Nail clippers and filers
You’ll need professional nail clippers and filers to trim and shape your acrylic extensions. Look for high-quality stainless steel tools. Having multiple grits of nail files is useful for filing and buffing.
Cuticle pusher
A cuticle pusher gently lifts the cuticles around the nail bed to ensure the acrylic can be applied smoothly and cleanly. Choose a cuticle pusher made of stainless steel or aluminum for durability.
Nail dehydrator
A nail dehydrator is a liquid solution that’s brushed onto the natural nails before applying acrylic. It removes oils and residue so the acrylic powder liquid adheres properly for maximum staying power.
Acetone remover
100% pure acetone is necessary for soaking off acrylic nails safely. Be sure to only use acetone formulated for nails. Acetone from the hardware store contains additives that can damage nails.
With this essential lineup of supplies, you’ll have everything you need to sculpt strong, beautiful acrylic nails right from your own home. Just be sure to follow safety precautions and proper application techniques for best results.
Step-by-Step Acrylic Nail Application
Prepare nails
Proper nail prep is crucial for achieving long-lasting acrylic nails. Start by trimming and shaping your natural nails with clippers and a file into your desired length and shape. Use a dehydrator or acetone to remove any oils from the nail plate.
Then gently push back and trim your cuticles with a cuticle pusher and nipper. Finish prepping by lightly buffing the surface of your nails to create texture for better acrylic adhesion. The nail surface should look clean and matte.
Apply primer
After prepping, apply a thin layer of acrylic primer or bond to each nail and let it dry. The primer creates a tacky surface that helps the acrylic powder adhere to your natural nails. Using a primer can reduce lifting and enhance longevity.
Popular professional-use primers include Young Nails Protein Bond and ORLY Bonder Rubberized Basecoat.
Apply nail forms/tips
Now it’s time to customize the shape you want with either forms or tips. Nail forms are thin, curved plastic sheets that fit over your natural nails to extend length and shape. Nail tips are pre-shaped artificial extensions that get adhered to your natural nail tip before applying acrylic.
Choose forms for a seamless look or tips for an overlay style. Gently press them on, making sure your natural nail sits flush against the back. Trim and file any excess length or shape if needed.
Apply acrylic powder and liquid
Here is when you’ll use an acrylic powder (polymer) and liquid monomer to create the acrylic mixture and build the extensions. Dip your acrylic brush into the monomer liquid, then swirl it into a small bead of powder.
Transfer it onto the nail and use the belly of the brush to pat and form it from cuticle to free edge. Continue layering the acrylic, allowing it to self-level, until you achieve your desired thickness and apex shape. Avoid over-filing the surface between layers.
Let the acrylic harden and set completely before moving on.
Shape and file nails
Once cured, you can begin perfecting the shape and length. Use a coarse nail file in downward strokes to thin down the sides and smooth the surface. Refine the tip into your desired curve or point. Buffer shine the nails and use a nail drill for detailed shaping if needed.
Be cautious not to over-file, which can cause cracks in the acrylic. Cleanse nails to remove dust before polishing.
Finish with top coat
Finish off your new acrylic nails with a good top coat for shine and protection. Regular polish tends to chip off acrylics quickly, so use a long-wearing top coat instead. Seal the very edge of the acrylic and wrap it over the tip.
Popular salon top coats include Seche Vite Dry Fast Top Coat and Essie Good To Go. Reapply every few days to keep them in top condition. That’s it – you now have a beautiful set of acrylic nails done at home!
Acrylic Nail Shape and Design Tips
Choosing a Nail Shape
When doing your own acrylic nails at home, choosing the right nail shape is key to achieving the look you want. Some popular nail shapes to consider include:
- Round: A rounded edge that follows your natural nail shape. This versatile look complements all nail lengths.
- Squoval: A square shape with slightly rounded edges, squoval nails are stylish and strengthen the tip of your nail.
- Almond: An elegant tapered shape that flatters most hand shapes. Perfect for longer nail lengths.
The nail shape you pick should flatter your hand and finger proportions. Those with shorter nail beds may want to try rounded or squoval shapes. Longer nail beds can pull off an edgy stiletto or sleek almond style with ease. Don’t be afraid to experiment!
Applying Nail Art and Embellishments
One of the best parts of DIY acrylics is that you can customize them however you want. From glossy solids to eye-catching nail art, anything is possible with the right technique and tools.
Some popular acrylic nail art styles include:
- Glitter acrylic: Mix glitter flakes or powder into your acrylic base for sparkling, shimmering tips.
- Marble acrylic: Use two acrylic powders blended together with a swirling tool to create a “marble” look.
- Airbrushing: Use an airbrush machine with custom colors to spray on seamless acrylic nail designs.
You can also apply nail polish, stickers, charms, rhinestones, and more over top of your acrylic nails to add pops of color and texture.
Using Gel Polish over Acrylics
Many people choose to apply a bright gel polish over their natural-looking acrylic tips. Gel polish offers a durable, glossy finish that dries quickly under an LED or UV lamp.
Key advantages of using gel polish over acrylic nails include:
- Wide range of colors and effects
- Two week long wear without chipping
- Quick application and drying time
- Protects and enhances acrylic nails underneath
Use a base coat first to ensure the gel polish adheres properly to acrylics. Apply about 2 thin coats of color, curing each coat for 30 seconds under your lamp before adding another layer. Finish with a shiny top coat to lock in your polished perfection!
Mistakes to Avoid
Applying too much product
When using acrylic nails kits at home, it’s important not to apply too much product. According to nail care website My Bliss Kiss, using excessive amounts of acrylic or glue can lead to lifting near the cuticles as it shrinks and pulls away from the nail plate over time.
Applying acrylic too thickly can also increase the risk of cracks or breaks. The optimal amount is just enough to create the nail shape and extension you desire.
Not prepping nails properly
Failing to properly prep natural nails is a common DIY acrylic application error. As explained on beauty website Beauty High, you must thoroughly buff the nails to create texture and remove shine so the acrylic adheres well. It’s also essential to use dehydrator and primer before application.
Skipping these vital prep steps often causes the acrylics to pop off prematurely.
Filing too aggressively
Being overzealous when shaping and filing acrylics is an easily avoidable mistake. As manicurist website Nail Care HQ cautions, filing the acrylic layers too thin can significantly weaken them and make them prone to cracks and breaks. Gently shape the nail using light, smooth motions.
Don’t file too close to the cuticle area as this can cause lifting. Be patient and take care not to remove too much product or depth.
Skipping top coat
While it may seem like an optional final step, applying a quality top coat is essential for getting the most wear from DIY acrylic manicures. As tips from The Nail Hub explain, top coat creates a protective layer over the design and color that smooths the surface to prevent chipping and cracking.
It also helps lock in moisture and prevents fading. So don’t skip this vital finishing touch if you want your homemade acrylics to last.
Removing Acrylics Safely
Soak cotton balls in pure acetone
The best and safest way to remove acrylic nails is by soaking them in pure acetone. This gentle chemical slowly dissolves the acrylic polymer bonds. Saturate cotton balls or pads with acetone and place them on top of each nail. Seal the fingers with foil or plastic wraps to prevent evaporation.
After 10-15 minutes, gently push back the cuticles and the acrylics should start lifting off. Continue soaking and gently scraping away the acrylic with an orangewood stick until it’s all removed. Acetone effectively removes acrylics without damaging the natural nails underneath.
Avoid peeling or picking acrylics off
Never peel, pull, or pick acrylic nails off. This can rip off layers of the natural nail plate, causing pain, tearing, and permanent damage. Acrylics have a strong chemical bond with the natural nail; forcing them off leads to trauma. Instead, be patient and allow pure acetone to do the work.
The soaking method takes more time but prevents harming the natural nails.
Use foil wraps for quicker removal
For faster acrylic removal, cover each finger with foil or plastic wrap after applying acetone-soaked cotton balls. The wraps prevent acetone from evaporating, allowing it to penetrate better. The sealed environment speeds up the breakdown of acrylic.
Check under the foils every 5 minutes – once the acrylic starts lifting near the cuticle, use an orangewood stick to gently push it off. Avoid scraping too hard on the natural nail.
Moisturize after taking acrylics off
Once all traces of acrylic are removed, wash and thoroughly dry your hands. Apply a thick moisturizing cream to condition the nails and cuticles. Acetone can dry out the nail bed. A nourishing cream replaces moisture, preventing peeling and brittleness.
Look for moisturizers with nourishing oils like olive, coconut or argan. Massage the cream into the nails and cuticles. For added conditioning, apply a layer of oil over the cream. Pamper your natural nails after acrylic removal.
Conclusion
With the right supplies and techniques, you can absolutely achieve gorgeous, long-lasting acrylic nails in the comfort of your own home. Just be sure to invest in a quality acrylic kit, thoroughly prep and prime nails, apply product correctly, and shape/file carefully for the best results.
Avoid common mistakes like over-application and aggressive filing that can weaken nails. When done properly, DIY acrylic manicures are fun, affordable, and can rival high-end salon nails. So go ahead and try out acrylics yourself – your new fab nails are just a few steps away!