How To Make Your Own Nail Polish: A Step-By-Step Guide
Do you love experimenting with unique nail polish colors and textures? Look no further because learning how to make your own nail polish at home is easier than you think. Whether you want to create a color that matches your new dress perfectly or whip up a textured glitter topcoat, homemade nail polish allows you to customize your manicure.
If you’re short on time, here’s a quick answer to your question: Making your own nail polish requires a few key ingredients like nail polish base, pigments, and solvents that can be easily found online or at craft stores.
After mixing up your polish and allowing it to dry thoroughly, you’ll have a vibrant new shade ready to paint on nails.
Gather Your Nail Polish Making Supplies
Nail polish base
The base for homemade nail polish typically consists of nitrocellulose lacquer dissolved in a solvent. Nitrocellulose lacquer can be purchased from specialty cosmetic supply stores, either online or in person. Choose a high-quality lacquer intended specifically for use in nail products.
The nitrocellulose provides shine and adhesion when painted onto nails.
Common solvents used to dissolve the nitrocellulose powder include butyl acetate, ethyl acetate and isopropyl alcohol. These help create a thinner, easy to apply nail polish texture. Butyl acetate also helps the polish dry quickly once applied to nails. Be sure to use cosmetic-grade solvents only.
Pigments and glitters
Adding pigments and glitters to your homemade nail polish allows you to create fun, unique colors and styles. Mica powder pigments provide rich, vibrant hues ranging from primary colors to neons. Pearl pigments add shimmer and sheen.
You can find cosmetic-grade mica powders and pigments at online stores like TKB Trading and Mad Micas. Go for fine powders that easily dissolve into the nail polish base. Metallic flakes and glitters ranging from micro-fine to chunky textures allow you to create dazzling nail polish effects.
Solvents
In addition to dissolving the nitrocellulose lacquer powder, solvents thin out the polish mixture into an easy to apply paint-like consistency. They also allow the polish to dry smoothly onto nails. Some common solvents used are:
- Butyl acetate – helps polish dry quickly
- Ethyl acetate
- Isopropyl alcohol
- Acetone – improves flow and application
Be sure to only use cosmetic-grade solvents with no impurities that could be harmful if absorbed through the nails. Solvents can be purchased from online specialty stores like Making Cosmetics.
Mixing containers and utensils
Glass beakers and containers make ideal mixing vessels when creating homemade nail polish. Glass allows you to easily see the color and consistency of your polish while mixing. Plastic containers can also work well and tend to be less breakable.
Use mixing utensils made of glass, stainless steel or wood rather than plastic which could scratch and introduce debris into the polish mixture. Some options include glass rods, stainless steel mixing spatulas and popsicle sticks.
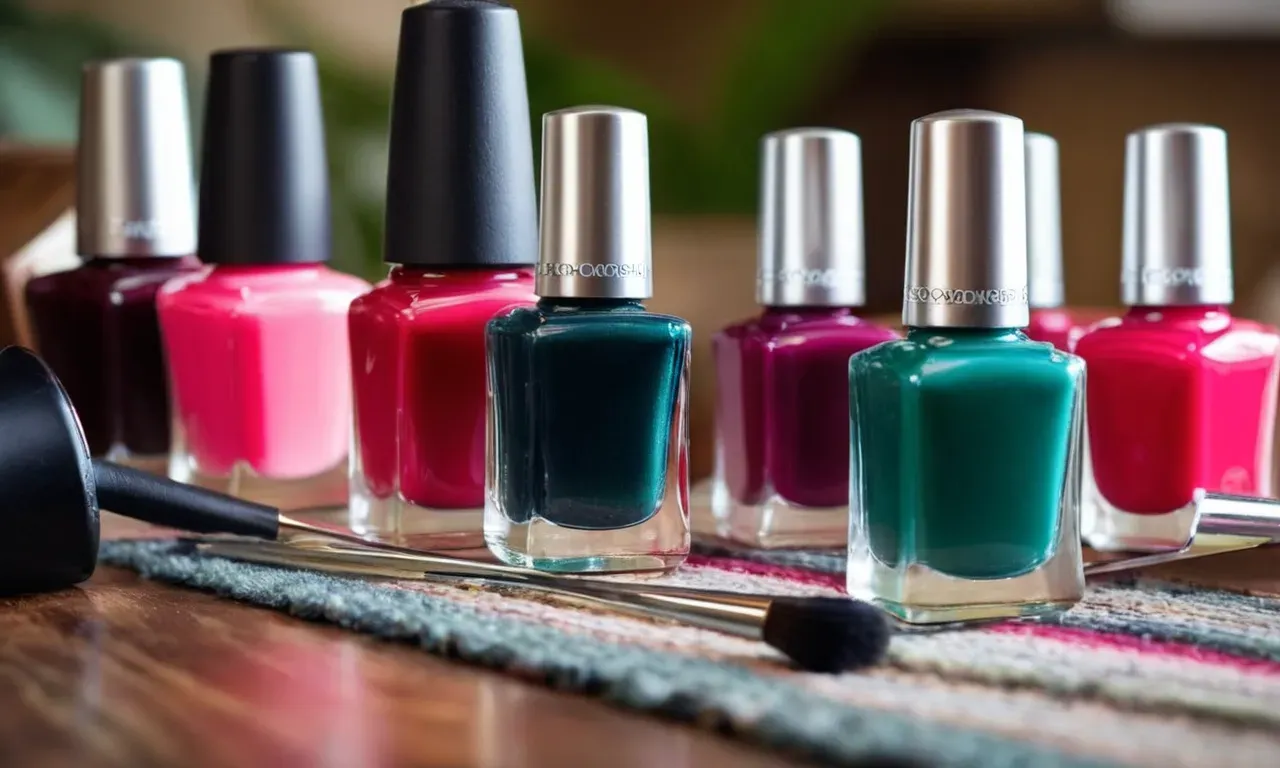
Bottles and brushes
You’ll need empty nail polish bottles, caps and applicator brushes to contain your finished homemade polishes. Look for bottles between 10ml to 15ml size with tapered shapes and flat bases so they stand upright easily.
| Brush Type | Features |
|---|---|
| Nylon bristle | Softer, flexible bristles |
| Taklon bristle | Smoother polish application |
Tapered brush shapes help neatly polish the nail. TKB Trading and Elements Bath & Body offer high-quality nail polish bottles, lids and brushes well-suited for homemade polish.
Choose Your Nail Polish Formula
Opaque creme polish
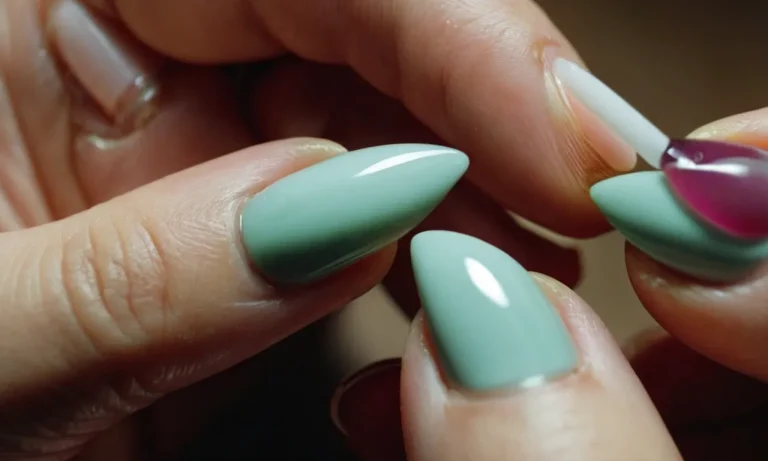
The most common and versatile nail polish formula is opaque creme. This type of lacquer has a creamy consistency and provides full coverage with just one or two coats. Opaque cremes come in every color imaginable and work well on their own or as a base for nail art.
When creating your own opaque polish, you’ll want to use a thickening agent like benzyl alcohol to get that creamy, paint-like texture. Add plenty of pigments or micas for rich, vibrant color. Glitter particles can also be incorporated for a sparkly creme finish.
Sheer/jelly polish
For a sheer, translucent look, try formulating a jelly nail polish. These polishes have a jelly-like appearance and show a hint of the natural nail underneath. Just a touch of color pigment or mica is needed to tint the polish.
Reduce the amount of thickening agent as well so the formula glides on smoothly.
Jelly polishes layer beautifully over other colors and create fun dimensional effects. They’re especially nice over black or white base polishes. Add iridescent pigments to give your jelly an eye-catching shift.
Glitter polish
What better way to make a statement than with loads of glitter? For maximum sparkle, use coarse glitter particles in your choice of shape – hexes, circles, squares, bars, etc. Fine glitters can be used too for a shimmery look.
Suspend the glitters in a clear base made with nail polish solvents. Use a suspending agent like hydroxypropyl cellulose to evenly distribute the particles and prevent settling. Allow ample drying time between coats to avoid clumping.
Caviar polish
Caviar manicures have tiny colored beads or 3D decorations layered on top of an existing manicure. You can recreate this expensive salon look at home by making your own caviar polish.
Simply mix clear nail glue with microbeads in any color and store in a bottle with a fine tip applicator. Paint over dry nail polish and lightly press on the 3D embellishments. Top off with a layer of quick-dry top coat to set.
Chrome polish
Get a mirror-like chrome effect by using special chameleon pigments. These change color based on the viewing angle. Popular choices are blue to purple, green to gold, and rainbow.
A separating base is needed to allow the chameleon pigments to reflect light. Try mixing clear nail polish with isopropyl alcohol as your base. Add several coats for maximum intensity. Finish with a glossy top coat.
Mix Up Your Nail Polish
Add base and pigments
Once you have chosen your base and pigments, it’s time to start mixing. Carefully measure out the correct ratios of base and pigments according to your recipe. A good starting point is 2 parts base to 1 part pigment. Pour the base into a mixing container first, then slowly incorporate the pigments.
Mix thoroughly after each addition to fully disperse the pigments. Go slowly and add just a little at a time until you achieve your desired shade. Too much pigment can make the polish thick and difficult to apply.
Stir thoroughly
Use a disposable stir stick to mix everything together. Stir slowly and scrape the sides and bottom of the container periodically. You want to mix for at least 5 minutes to ensure the pigments are fully incorporated. Insufficient mixing can lead to uneven color distribution when you apply the polish.
Make sure there are no pigment clumps or streaks left before moving on.
Check consistency and make adjustments
After mixing, check the consistency of the nail polish. Dip the stir stick into the polish and pull it out. The polish should slowly drip off the stick, like a thick syrup. If it’s too thick, carefully add more base a few drops at a time until you reach the desired consistency.
If it’s too thin, keep mixing as some pigments thicken up with stirring. You can also add a thickening agent like bentonite clay if needed. The perfect polish consistency is not too thick or thin.
Allow polish to dry
Once your polish is mixed, transfer it into a clean polish bottle. Let it sit undisturbed for at least 4 hours before using to allow any bubbles to rise to the top. You may see a small separation of color, this is normal. Give the bottle a gentle roll to re-mix before use.
If the polish is still too thin after drying, you can add more thickening agent. Your homemade nail polish is now ready to use! Apply 1-2 thin coats and seal with a quality top coat for a perfect manicure.
Bottle and Store Your Creation
Funnel polish into bottles
Now comes the fun part – pouring your homemade nail polish into pretty bottles! Make sure to work over newspaper or paper towels in case of spills. Use a funnel to carefully transfer the nail polish from the mixing container into each bottle.
Fill each bottle 3/4 full to leave room at the top for the brush wand. Be patient during this step to avoid bubbles in the polish. Let the bottles sit open for at least 2 hours so any small bubbles can rise to the top and pop.
For a professional touch, clean the rim and outside of each bottle with a paper towel and nail polish remover after filling. This removes any drips or smudges. Having nicely presented homemade nail polish makes for an amazing DIY gift idea or addition to your own polish collection!
Cap tightly and label
Once the nail polish has had time to settle, place the brush wand tightly into each bottle and cap securely. Make sure the caps are on tight to prevent leaking or thickening of the polish. Use a permanent marker to label each bottle with the shade name on the top.
Get creative with fun shade names based on the color or inspiration behind your custom nail polish. Cute labels will make your homemade nail polish look store-bought!
Store in a cool, dry place
It’s important to store homemade nail polish properly to maintain its quality and extend its shelf life. Keep it in a cool, dry place away from extreme light or heat. A bedroom closet or bathroom cupboard works perfectly.
Homemade nail polish can last over a year when stored properly. If it becomes thick or separated over time, try adding 1-2 drops of nail polish thinner and shaking vigorously to revive it. With proper care, your custom nail polishes will remain gorgeous for many manicures to come!
Conclusion
Whipping up DIY nail polish is an enjoyable afternoon project that allows you to expand your nail art options. With some simple ingredients and tools, you can create an endless array of colors, finishes, and effects.
Always be sure to properly mix and dry your polish before using to get the best results. So grab your favorite pigments and start stirring up some fabulous homemade lacquer – your nails will love it!