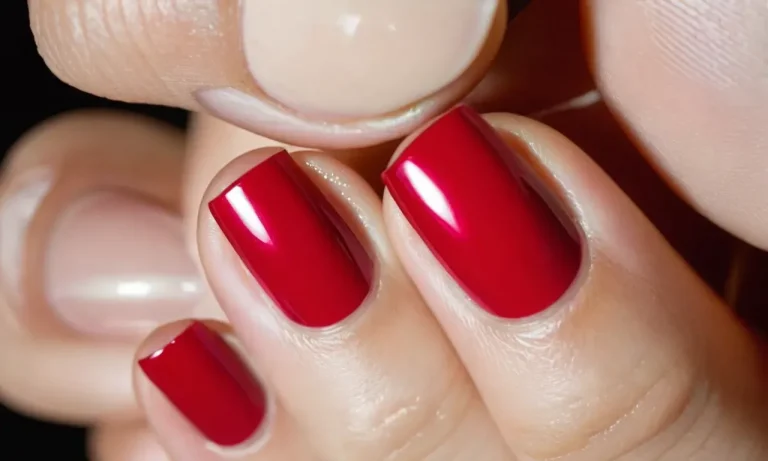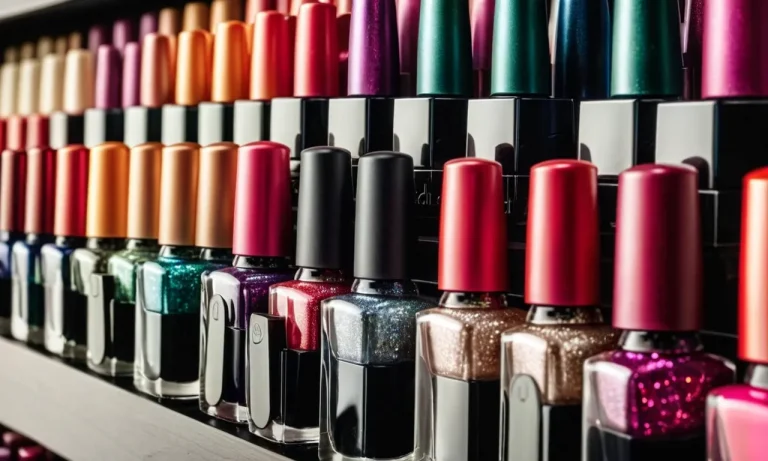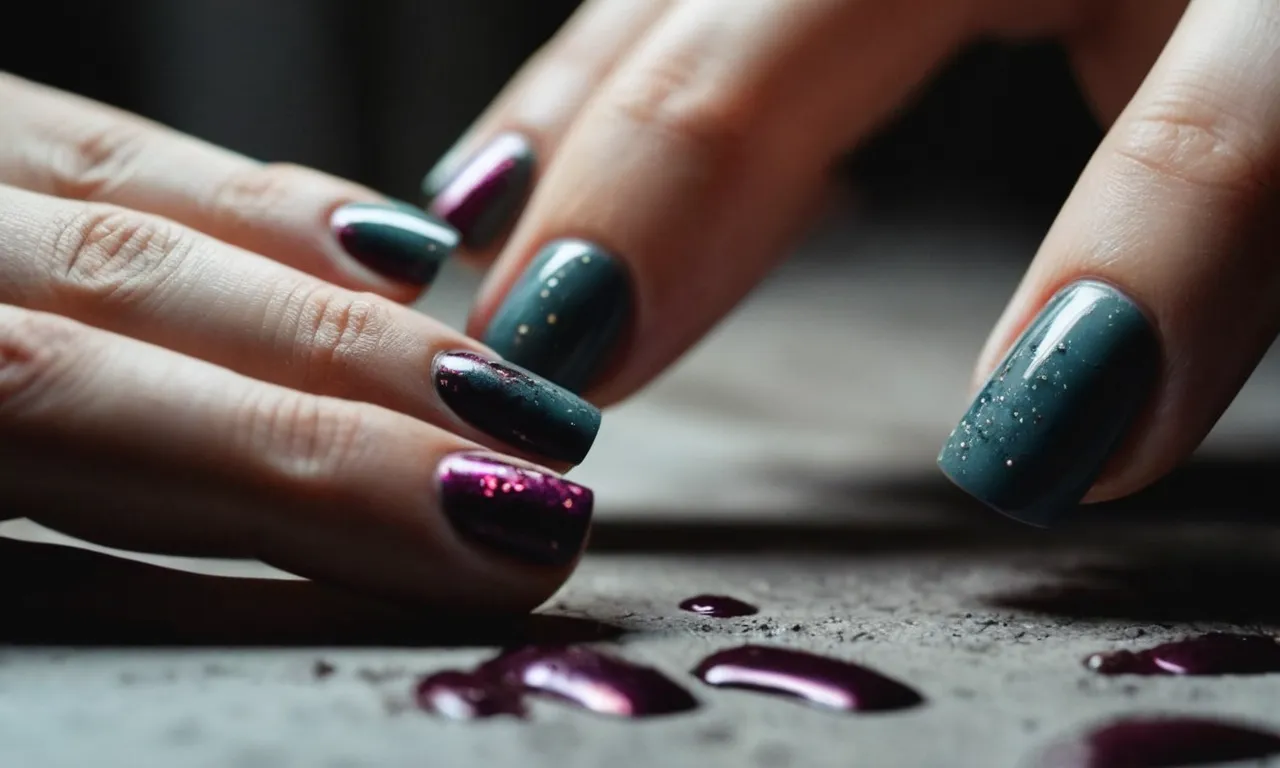
Why Does My Nail Polish Smudge Hours Later?
If you’ve just painted your nails only to have the polish smudge later in the day, it can be incredibly frustrating. A pristine manicure takes time and care to perfect, so seeing your efforts ruined is disheartening.
If you’re short on time, here’s a quick answer to your question: Your nail polish is likely smudging due to applying products before the polish dries fully, using too many layers of polish, having naturally oily nails, or improper nail prep and polish application.
In this comprehensive guide, we’ll explore all the reasons your nail polish may be smudging, peeling, or chipping hours after application. You’ll learn about how the ingredients in nail products interact, get tips on proper manicure techniques, and find solutions to help your polish last longer without smudges.
Using Products Too Soon After Painting
Primers and Top Coats
Applying primer or top coat too soon after painting nails can cause major smudging. Most regular nail polishes take around 15-20 minutes to dry completely. However, using a primer or fast-drying top coat immediately after painting can disrupt the natural drying process.
The nail polish underneath won’t have fully hardened, so the layers will drag against each other and cause smearing. For best results, wait at least 60 minutes after the final coat of color before applying any primer or top coat. This gives each layer plenty of time to cure properly.
Lotions and Creams
Lathering on hand cream or body lotion too soon is another rookie nail polish mistake. The oils and emollients in these moisturizers can break down nail lacquer and make it transfer easily. Give your mani some time to harden first – ideally 60-90 minutes if using regular nail polish.
Fast-drying formulas may only need 15-30 minutes. Also, avoid getting lotion or cream near the nail tips where it can seep underneath and wreck your hard work. Massage products into the backs of hands and cuticle area instead.
Cuticle Oils
Delicate nail polish needs ample drying time before cuticle oils come into play. Generously oiling around nails immediately after a fresh manicure is a recipe for smudging. Like hand creams, cuticle oils contain moisturizing properties that can undermine newly painted nails.
Let each coat dry thoroughly first, then apply oil to hydrate the cuticles and nourish the nail beds. Using jojoba, vitamin E or coconut oil 2-3 times per week promotes healthy, flexible cuticles without damaging your mani.
Washing Dishes and Chores
Diving into household chores or submerging hands in water too soon after a manicure can ruin the finish. Most regular nail polishes take around two hours to fully cure. Any contact with water or cleaning agents prematurely can cause bubbling, chipping and transfer issues.
Give your nails some TLC time first to properly harden. Avoid wetting hands for at least 60-90 minutes if possible. Wearing gloves for washing dishes or cleaning is another smart trick to shield a fresh mani.
With a little extra patience after painting nails, you can prevent hours of hard work from going down the drain. Let each layer dry thoroughly before adding products or doing tasks that can disturb the polish. Follow proper manicure etiquette and those dreaded smudges will be a thing of the past!
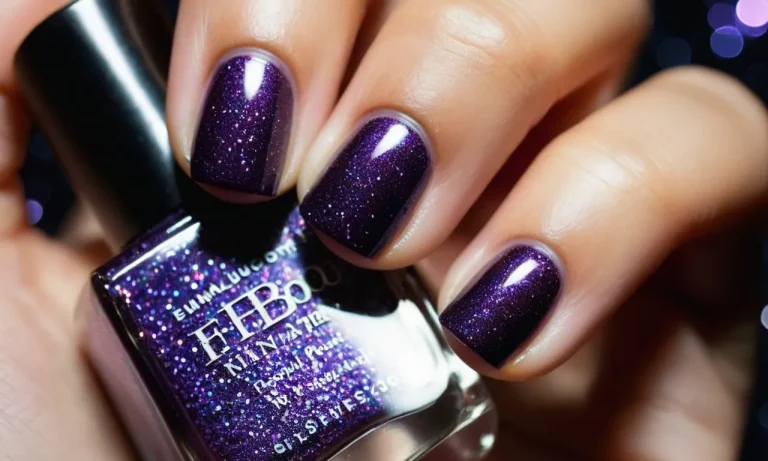
Applying Too Many Layers of Polish
We all love a good, glossy manicure that lasts for days without a single chip or smudge. However, while multiple coats create a thicker, more durable barrier on the nail, going overboard can actually cause polish to peel and flake prematurely.
Most nail experts recommend keeping it to 2-3 thin layers for the perfect mani. Any more than that causes issues like:
- The layers take too long to dry between coats, resulting in a gummy, tacky mess that’s prone to dents and smudges for hours.
- Too-thick polish has trouble flexing with the natural movements of your nail, causing cracks that expose the nail underneath.
- The added layers create internal weaknesses and tension within the polish that lead to peeling and chips.
The key is thin, even layers allowed to dry properly between each coat. Rushing through the steps can undermine an otherwise perfect polish job. Most standard polishes suggest allowing 2-3 minutes between applications.
Quick-dry top coats can shorten this a bit, but err on the longer side for best results.
There are exceptions, of course. Glitter polishes often require 3-4 passes to smooth and evenly distribute sparkly bits. Just take care that the overall thickness doesn’t get excessive. And certain gel polish systems are formulated to bond in multiple layers with a final cure under LED light.
But for traditional lacquers, remember that less is often more when it comes to long-lasting, chip-resistant nails. Let your polish fully dry between thin coats and don’t overdo it, no matter how tempting an ultra-glossy finish may be.
Having Naturally Oily Nails
If you find that your nail polish always seems to get messed up just hours after painting your nails, the culprit may be oily nail beds. Here’s what you need to know about having naturally oily nails and how to prevent smudged polish.
What Causes Oily Nails?
Oily nail beds occur when there is an excess production of sebum around the nail cuticles and underside of the nails. Sebum is an oily substance secreted by our sebaceous glands to lubricate and waterproof the skin and nails. Some people simply produce more sebum than others.
Genetics plays a big role in determining sebum production, so oily nails can run in families. Hormones, diet, medication side effects, and medical conditions like diabetes and thyroid dysfunction may also increase sebum output and lead to oilier nails.
Signs You Have Oily Nail Beds
How can you tell if your nails are oilier than normal? Here are some common signs:
- Nail polish chips and peels off in just hours
- Polish glides off the tips of nails when painting
- Cuticles look moist or saturated with oil
- Nails have a slick, greasy feel to them
- You need to wash hands with soap often to remove oil
If several of these sound familiar, oily nail beds may be the reason for your polish troubles.
Fixes for Oily Nails
While you can’t change your genetics, there are things you can do to combat oily nail beds for longer-lasting manicures:
- Use a dehydrator base coat – This helps remove traces of oil so polish adheres better
- Apply thinner polish coats – Thick globs slide off easier
- Try long-wear gel polish – More durable for oily nails
- Use a primer and top coat – Creates a protective barrier against oil
- Clean nails with remover – Gets rid of extra oil before painting
You may also need to touch up the polish more often. But taking a few extra steps helps ward off the dreaded oil slick!
Improper Nail Prep and Polish Application
Dehydrated Nails
One of the most common reasons nail polish smudges and chips is because of dehydrated nails. When nails are dry and lacking moisture, nail polish has a hard time adhering properly. Using a hydrating base coat or nail oil like jojoba or vitamin E before polish can help prevent smudging by conditioning the nails and cuticles.
Rough or Peeling Nails
If you have rough, peeling nails with ridges or hangnails, polish is more likely to chip and peel off prematurely. Using a buffer to gently smooth nails before polish application can help the polish grip better. Regularly moisturizing cuticles and nails with oil will also improve texture over time.
Skipping Base Coat
One of the biggest nail painting mistakes is skipping the base coat. Base coat acts as a primer, helping polish adhere to the nail surface and preventing staining. Make sure to apply a thin, even layer of base coat to all nails before adding color.
This simple step can greatly extend the wear time of your manicure.
Applying Polish Too Thickly
It’s easy to get polish overload in hopes of an opaque, long-lasting manicure. But multiple thick coats of polish leads to cracking and peeling. Keep coats thin and do multiple layers if needed. Let each coat dry completely before adding the next.
Too-thick polish prevents proper drying and causes chips and smudges.
Not Capping The Free Edge
Failing to seal the very tip of the nail with polish leaves the free edge exposed and vulnerable to chips and peeling. Make sure to run the brush off the tip of each nail when applying color and top coat.
This “caps” the free edge and reinforces nail polish adherence at the end of nails to prevent smudging hours later.
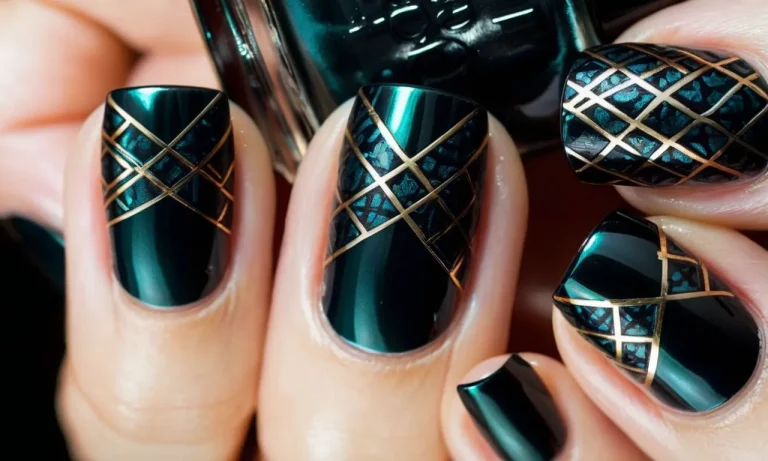
Solutions for Stopping Smudges and Increasing Wear
Use Quick-Dry Top Coats
Using a quick-dry top coat is one of the best ways to prevent nail polish from smudging. Top coats that dry fast – usually within a minute or less – help to seal in the underlying polish and prevent it from getting messed up (1).
Some great options for fast drying top coats include Seche Vite Dry Fast Top Coat, Essie Speed Setter Top Coat, and Sally Hansen Insta-Dri Top Coat.
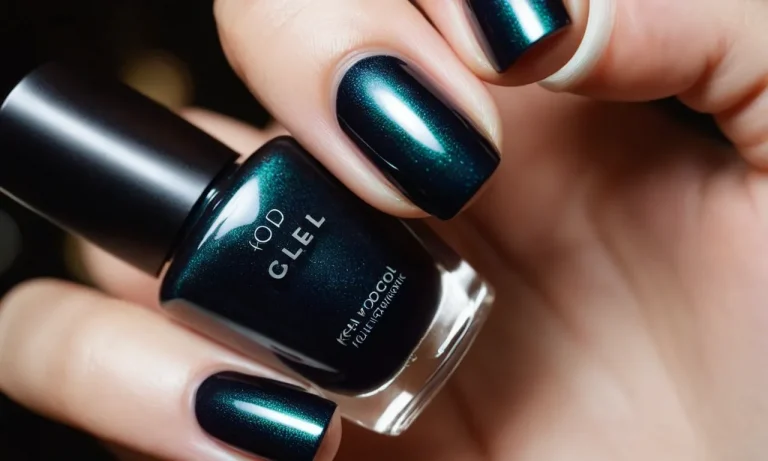
Try Gel Polish
Gel polish is amazing for avoiding smudges and chips. It’s formulated to cure under an LED or UV lamp, resulting in an extra hard, glossy finish. According to nail care brand OPI, gel manicures can last up to three weeks with no touch-ups required (2)!
Just be aware that removing gel polish requires soaking cotton pads in pure acetone. An at-home gel mani isn’t too tricky with the right supplies.
Use Nail Dehydrator Before Base Coat
Prepping nails properly can make a big difference in how long your manicure lasts. After cleaning nails, apply a dehydrator or primer containing isopropyl alcohol. This helps remove traces of oil and moisture so the base coat and polish adhere better.
Let the dehydrator dry, then apply your base coat as usual.
Apply Thin Layers of Polish
Applying too-thick coats of nail polish often leads to smudging and dents. Multiple thin, even layers are best. Let each coat dry for a minute or two before adding another. Two to three thin layers give you vibrant color without the high risk of ruining the mani. Patience is key!
Wrap Nails Completely
Polish should coat the entire nail, including just slightly wrapping over the tips and edges. This helps prevent chips and peeling. When top coating, take the time to smooth it over the tips too. Completely sealing the polish on all surfaces keeps it looking flawless longer.
Avoid Excessive Hand Washing and Water Exposure
Frequent hand washing and exposure to water are nail polish’s worst enemies! Even when you use long-wear and quick-dry formulas, it still helps to minimize contact with moisture. Wear gloves when washing dishes, cleaning or gardening.
You could even apply a protective base coat like Nailtiques Formula 2 just before exposing hands to water temporarily.
Conclusion
A long-lasting, chip-free manicure may seem out of reach if your polish always smudges, but with some tweaks to your technique and products, pristine nails that last for days is possible. Now that you know the likely culprits behind early smudging and peeling, you can troubleshoot your manicure routine and enjoy nail lacquer that goes the distance without mess.