How To Repair A Broken Nail
Has your nail broken off and you’re not sure if you can glue it back together? A broken nail can be unsightly and painful, but with the right techniques and supplies, you may be able to fix it at home.
In this comprehensive guide, we’ll provide tips on how to properly glue a broken nail back together so it looks natural again.
Assessing the Break
Determine how much of the nail has broken off
When a nail breaks, the first step is to assess how severe the break is. Take a close look at your nail and determine if just the tip has cracked off or if the break extends down halfway or more. You’ll need to act fast if it’s mostly attached or hanging by a thread – the sooner you reattach or trim the nail, the better.
But no need to panic! Even large breaks can often heal well if properly cared for.
Check if the nail bed is damaged
After checking out the nail itself, you’ll want to peek underneath to see if the nail bed is damaged. Gently clean under and around the nail to get a better view. Look for any bleeding or exposed skin which would indicate injury to the nail matrix or bed.
This type of trauma requires prompt medical care to prevent infection and allow proper healing. If you just see intact skin, you likely just have a surface-level break you can treat at home.
Disinfect the nail and clean the area
Before attempting any at-home repair, it’s vital to clean and disinfect the nail area to prevent introduction of dirt or germs. Carefully wash the nail and surrounding skin with antibacterial soap and warm water, being gentle around any tender areas. Rinse thoroughly.
Then apply a disinfectant such as hydrogen peroxide or rubbing alcohol with a clean cotton pad or ball. Let it sit for 2-3 minutes before patting dry with a clean towel. This helps prevent infection which could impede healing and cause permanent nail damage or loss.
For less hassle, look for convenient disinfectant wipes stocked with first aid supplies.
Preparing the Nail
Trim any jagged edges
Before repairing a broken nail, it’s important to tidy up the edges. Use a nail clipper or file to carefully trim off any ragged bits, making the edge as smooth as possible. This helps create a nicer-looking repair and reduces the chance of the nail snagging and breaking again.
Be very gentle during the trimming process to avoid further damaging the nail bed underneath.
Roughen up the surface for better adhesion
Lightly buffing the surface of the nail can create micro-abrasions that allow the adhesive to grip better. Use a fine-grit nail file or buffer block and gently go back and forth over the entire nail tip surface. Don’t buff too vigorously though, as this could weaken the nail.
Just a light scuffing is all that’s needed.
Apply a dehydrator or nail prep solution
Before gluing on any false nails or nail repair products, it’s essential to dehydrate the nail plate. Nails have oils on their surface that can prevent good adhesion. A dehydrator (typically just rubbing alcohol) helps remove the oils.
Alternatively, you can buy special nail prep solutions made specifically for removing oil and conditioning the nail for ideal gluing.
Apply the dehydrator/prep with a lint-free pad or cotton swab. Let it evaporate completely before proceeding with the nail repair. This helps ensure the strongest bond possible. Taking this small prep step makes a big difference in how long your nail repair lasts.
Choosing the Right Glue
Cyanoacrylate glue vs. nail glue
When it comes to repairing a broken nail, you have two main options for glues – cyanoacrylate glue (aka super glue) and professional nail glue. Both can work well, but they have some key differences:
- Cyanoacrylate dries quickly, forming a strong bond in seconds. However, it can be messy to apply and the fumes can irritate skin.
- Nail glue is specially formulated for use on nails. It dries slower, allowing more time to properly position the nail. It’s less irritating than super glue.
- Nail glue creates a more flexible bond that moves with the nail. Super glue is rigid and can lead to further cracking.
Consider glue viscosity
When shopping for nail glue, you’ll find options with different viscosities – thick, medium, and thin. Thinner glue seeps into cracks better and dries a bit stronger. But thick glue stays put along the seam of a nail repair better. Medium viscosity glues provide a balance of both properties.
For most at-home nail repairs, a medium viscosity glue will work well. Thick glues are best for salon professionals doing sculpted tips. Thin glue can be useful for minor cracks and breaks.
Opt for professional nail glue
Look for nail glues designed specifically for salon use, as these provide strong holding power. Some top brands include:
- KDS – A popular salon brand known for their durable nail glues.
- Nailene – Offers nail glues in multiple viscosities for different needs.
- EMA – Used widely among professional nail techs for its reliable bond.
Avoid craft glues or school glues which are not formulated for nails. For best results, buy from a beauty supply retailer to ensure you’re getting a high-quality nail glue.
With the right glue and proper application technique, you can repair a cracked or broken nail seamlessly. Just avoid picking at the nail and let the repaired section grow out. Your nail will look good as new in no time!
Gluing the Nail Back On
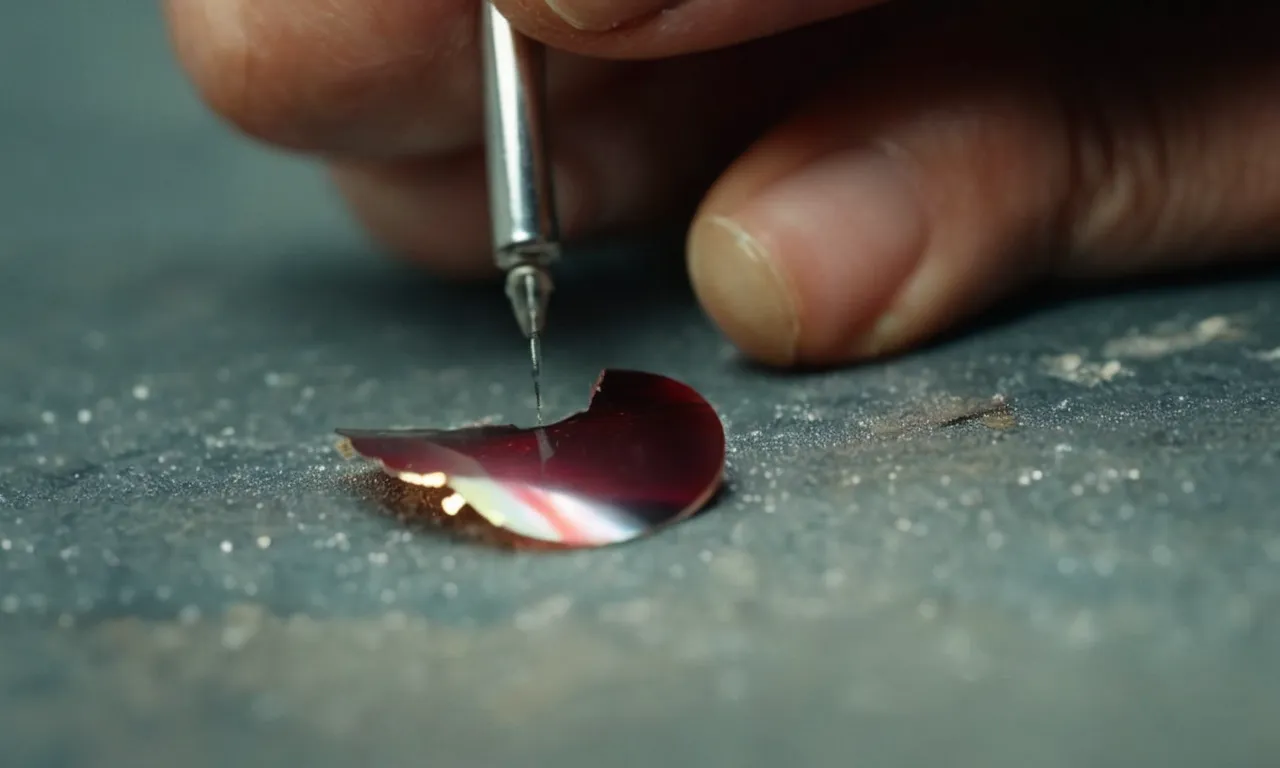
Mending a cracked or broken nail can be as simple as reaching for the super glue. When applied correctly, cyanoacrylate adhesives like Super Glue form strong bonds between surfaces, allowing you to painlessly repair minor nail damage. Follow these tips for properly gluing a broken nail back together.
Apply glue sparingly to both surfaces
Start by wiping both the detached nail piece and remaining nail bed with alcohol to remove any oil or debris. Use a toothpick or small brush to lightly coat the broken edges of the nail and detach piece with a thin layer of super glue. Too much glue can cause oozing and bonding with skin.
Align and press the broken piece into place
Carefully rejoin the broken fragment with the nail bed, ensuring proper alignment along the break line. You’ll likely only have about 5-10 seconds to slide the pieces into position before the glue starts setting.
Then, gently press the nail fragment into place with tweezers or finger, holding for 60+ seconds until fully bonded.
Hold firmly for at least 60 seconds
Keeping steady pressure is key for strong bonding during the glue’s drying time. Wait at least one full minute before releasing your grip to allow sufficient curing. The tighter and longer you can hold the nail piece in place, the more likely your DIY manicure repair will withstand normal wear without re-cracking.
Wipe away any excess glue
After the nail has bonded, carefully slide a toothpick around the nail’s edge to catch any oozed glue before it dries. Removing the excess helps prevent gumming and peeling. You can also buff gently around the nail edges with an emery board.
Let it fully cure before stressing the nail
It takes cyanoacrylates 24-48 hours to reach maximum strength. Avoid heavy cleaning, typing, or other activities that could cause shearing while the glue completes curing. Also, skip nail polish until the repair has set.
With careful gluing technique, your fixed nail can look and function naturally again!
Smoothing and Shaping
Gently file to blend in the break
When you have a broken nail, using a nail file to gently smooth the edges is crucial for preventing further splitting or cracks from forming. Start by using a medium grit emery board and gently running it along the edges of the break in one direction only – avoid sawing back and forth.
Apply light pressure and gradually work your way from the corners of the break towards the center until the edges are rounded and smooth. This helps blend the broken area into the rest of the nail for a natural look.
You can continue to refine the edges with a fine grit buffer block or file if needed.
Shape the free edge
Once the break is smoothed and blended, the next step is to shape the free edge of your nail so it follows your natural nail shape. Use curved nail clippers to trim any jagged areas of the nail first. Then, take your file and starting at the outer corners, file the nail tip from the center towards the sides at a 45 degree angle to form your desired shape – either rounded or squared off.
Avoid leaving any sharp corners or edges. If you want an oval nail tip, hold the file horizontally and gently round off the free edge. Check that both hands match for symmetry. Be careful not to file too thin or too short, which weakens nails.
File lightly and smooth until you achieve the length and shape you want.
Buff for a natural finish
The final step is to buff over the entire nail with a 4-way nail buffer for a flawless, healthy, natural shine. Hold the buffer securely and buff lightly in one direction – applying too much pressure can damage thin nails.
Rotate the buffer to gently polish all 4 grit surfaces evenly over the nail, blending the transition between old nail and new so the layers fuse together seamlessly. Smooth buffing removes surface imperfections and evens surface ridges to help damaged nails recuperate faster.
Finish with a swipe of natural oil like jojoba, vitamin E, or coconut oil over the entire nail to condition and improve flexibility of the free edge. This prevents future breaks or splits by keeping nails nourished.
With some careful filing, shaping and buffing, your broken nail can look and feel as good as new!
For more tips, check out sites like WikiHow’s nail care guides or tutorials from nail care experts like Nail Care HQ.
Caring for the Repaired Nail
Avoid water exposure initially
After getting your nail repaired, it’s important to avoid exposing it to water for the first 24-48 hours. This allows the glue or acrylic to fully harden and bond to your natural nail. Wetting the repaired nail too soon can cause the artificial nail to lift or peel off prematurely.
An easy tip is to wrap your finger in plastic wrap or a finger cot when showering or washing dishes during the initial healing period. This protects the fragile bond while your nail strengthens.
Use nail strengtheners
Using a nail strengthener or hardener can help improve the durability of a repaired nail. These products work by forming an extra layer over the natural nail plate to protect it from splitting and cracking. Look for strengtheners containing ingredients like calcium, keratin, and silk fibers.
Apply a thin coat over the entire nail surface and let it fully dry. Using a strengthener 2-3 times per week helps reinforce the nail and prevent future breaks. This is especially important for those prone to brittle, peeling nails.
Get professional help for severe breaks
For cracks, chips or breaks that expose the nail bed or affect most of the nail plate, visiting a professional nail technician is best. They can properly shape and build up the nail using forms, tips, and acrylic. This provides a smooth, even finish that won’t snag or catch on things.
Trying to self-repair severe breaks often leads to uneven, thick areas that end up cracking again. The products and tools professionals use allow for a natural looking, durable repair that blends with your surrounding nails.
Getting professional repairs can also help prevent infection if the break exposes the nail bed to bacteria.
Salons take extra precautions against COVID-19 to keep clients safe. Many require staff and clients to wear masks, sanitize tools between uses, and follow social distancing guidelines. Call ahead to ask what extra steps your chosen salon is taking.
For very severe nail trauma, visiting a dermatologist may be needed for medical treatment before any nail repair can be done.
Conclusion
Gluing a broken nail back together takes some technique, but can be done successfully at home. With the right glue choice and method, you can repair unsightly nail breaks for a natural look. Be sure to care properly for the repaired nail while it fully mends.
Seek professional assistance if the break is severe or you have ongoing issues with weak nails. With some preparation and TLC, you can have beautiful, strong nails again after a mishap.