The Complete Guide To Gel Nail Kits For Beginners
Looking to give yourself a perfect at-home manicure using gel nail polish? Getting started with gel nails can be intimidating for beginners. But have no fear, with the right gel nail kit and some practice, you can give yourself a gorgeous, long-lasting manicure from the comfort of your home.
If you’re short on time, here’s a quick answer: Invest in a quality LED or UV gel nail lamp, base and top coat, gel nail polishes, a nail file and buffer set, cuticle pusher, nail wipes, and 100% acetone for easy soak-off removal.
Follow all safety and usage directions and watch video tutorials to perfect your technique.
In this comprehensive guide, we’ll go over everything you need to know as a beginner looking to dip your toes into at-home gel manicures. You’ll learn about choosing the right gel nail kit, essential tools and supplies, how to prep your nails, apply gel polish properly in layers, and safely remove it without damaging your nails.
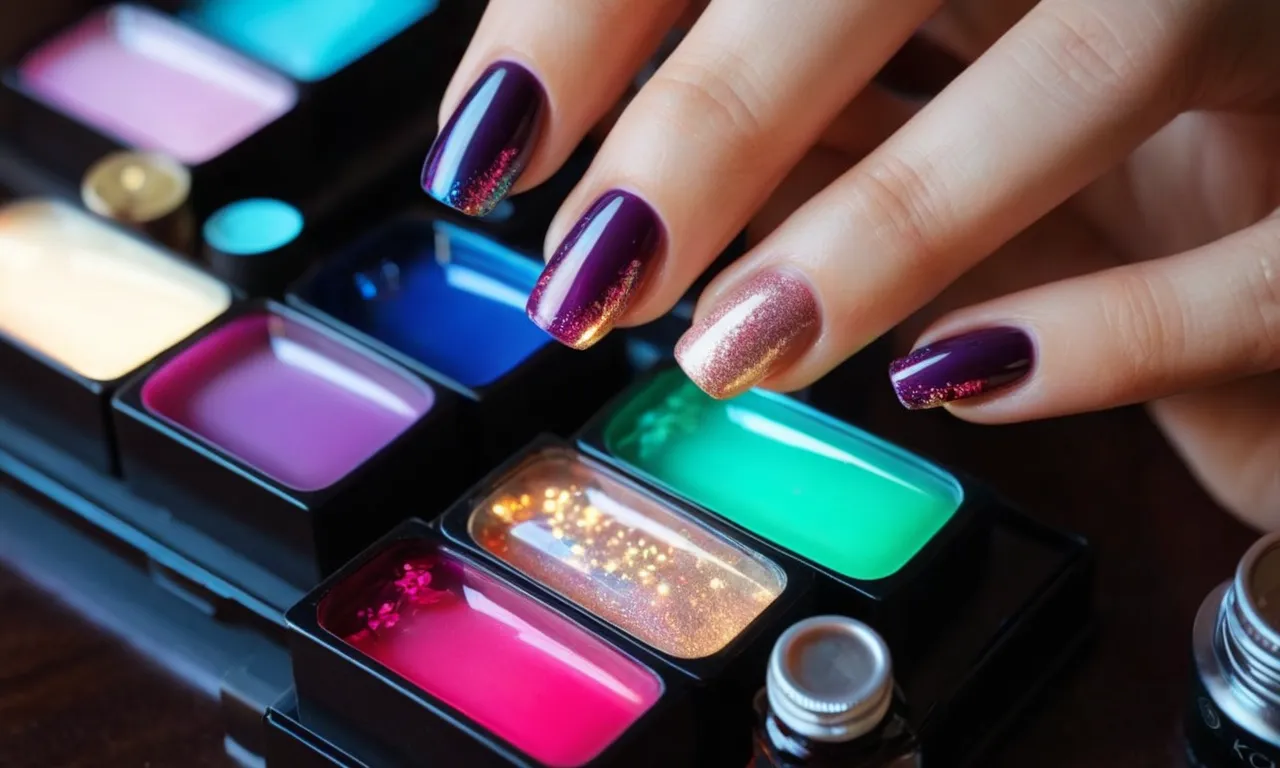
Choosing the Right Gel Nail Kit
Essential Components
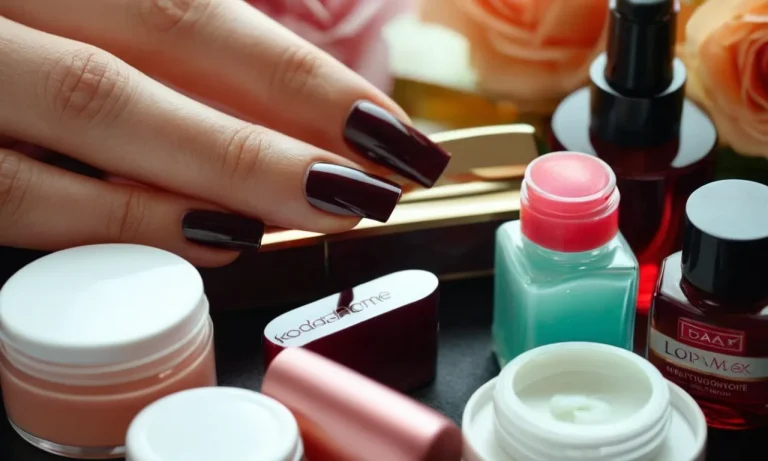
When selecting a gel nail kit, it’s important to choose one that contains all the essential components for achieving a professional gel manicure at home. Here are the key items your kit should include:
- LED or UV lamp – This is used to cure or harden the gel polish. UV lamps tend to be cheaper but LED lamps cure gel polish faster.
- Base and top coat – The base coat preps the nail and helps the color adhere. The top coat seals in the color and provides shine.
- Gel polish colors – Most kits include 2-6 gel polish colors so you can mix and match. Make sure to choose fashionable and versatile shades.
- Nail cleanser and dehydrator – Used to prep nails before applying gel.
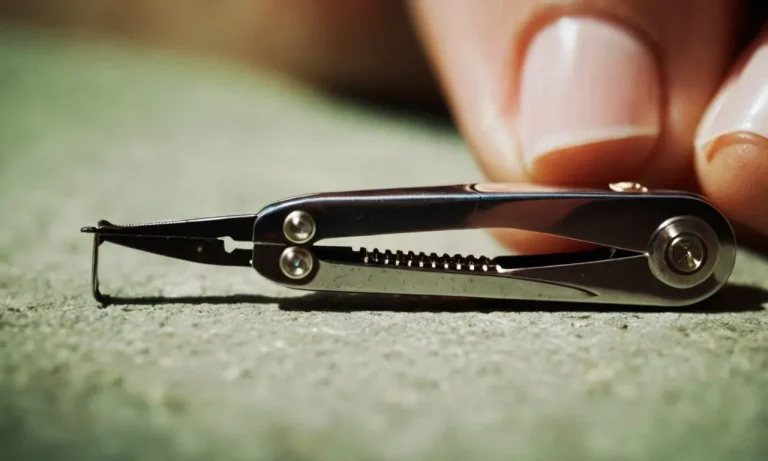
- Cuticle pusher – To gently push back cuticles before applying gel.
- Nail file and buffer – For shaping nails before gel application.
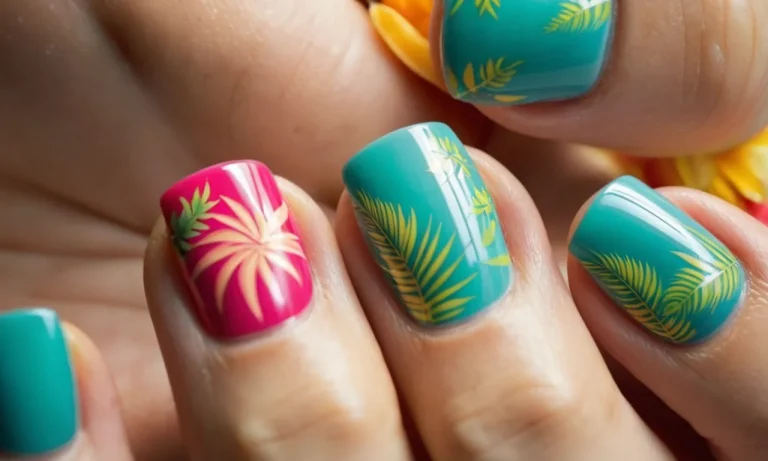
Some kits also come with extras like nail art brushes, rhinestones, striping tape and more. While not essential, these can come in handy for creating fun nail designs!
LED vs UV Lamp
When shopping for a gel manicure kit, one of the biggest decisions is whether to get a LED or UV lamp. Here’s an overview of the key differences:
| LED Lamp | UV Lamp |
|---|---|
|
|
While LED lamps tend to cost more upfront, their speed and longevity make them a smart long-term investment for frequent gel manicures.
Additional Tools You’ll Need
While a complete gel manicure kit will contain nearly everything you need to apply gel polish at home, there are a few additional tools that can come in handy:
- Nail primer – Helps gel polish adhere to nails. Recommended for oilier nail beds.
- Foil glue – If you’ll be doing foil nail art, this adhesive will keep foils secured.
- Dotting tools – For intricate nail art like polka dots and stripes.
- Cotton pads – For wiping away excess gel and polish.
- Nail forms – If you need tips for length or repairs.
- Gel remover – Safely removes gel polish without damaging nails.
You may also require an electric nail file/drill for precise shaping, removing product from the cuticles, and more. While not essential for beginners, they allow you to perfect your technique over time.
Prepping Your Nails for Gel Polish
Remove Old Nail Polish
Before applying gel polish, it’s crucial to remove any existing nail polish or residue to allow the gel polish to properly adhere to the natural nail surface. Start by clipping or filing off old chipped nail polish.
Next, use pure acetone nail polish remover and cotton pads to thoroughly remove residue. Gently scrub the nail surface in a back and forth motion until no traces of color remain. Removing all traces of old polish allows for maximum gel polish adhesion and longevity (1).
Shape Your Nails
Shaping your nails prior to gel polish application creates a smooth, even foundation for polish application. Use a nail file to shape nails to your desired length and shape. File in one direction starting from the outside corner of the nail towards the center to prevent weakened nails.
Smooth any rough edges to prevent future snags and breaks. Shaping nails before gel polish allows the polish to glide on smoothly and evenly.
Push Back and Clean Cuticles
Pushing back and clearing cuticles is an essential gel polish prep step for neat, professional results. Start by gently pushing back cuticles with a cuticle pusher tool. Avoid cutting cuticles, as this can lead to infection (2).
Then use a cuticle remover solution to loosen and dissolve any excess cuticle residue before lightly scraping with a cuticle cleaner tool. Clean cuticles allow gel polish to adhere properly near the nail base while preventing a messy overlapping appearance.
Use a Nail Dehydrator
Applying a nail dehydrator is crucial before gel polish to remove trace moisture and oils from the nail plate surface. Nail dehydrators usually contain alcohol which helps break nail surface tension. This allows gel polish to penetrate further into the nail plate for strong adhesion that resists cracking, chipping and peeling.
Using a nail dehydrator also prevents bubbling issues under gel polish. Apply nail dehydrator with a brush and allow to dry for 30 seconds before applying gel primer. Popular professional nail dehydrator options include CND Super Shiney and Young Nails Protein Bond (3).
Apply the Nail Primer
The final gel polish prep step involves applying a nail primer immediately after nail dehydration. Gel primers create an adhesion layer between the natural nail and gel polish. They usually contain methacrylic monomers that penetrate and fuse gel polish layers with the nail plate.
Using a primer improves gel polish bonding, longevity and durability. Apply a thin primer layer to each nail and avoid flooding cuticles. Allow primer to cure per manufacturer instructions before applying gel polish base layers.
Some top nail primer choices include Gelish Foundation and OPI BondAid (4).
Applying Gel Nail Polish
Base Coat Application
Applying a base coat is a crucial first step when doing a gel manicure. The base coat helps the color gel polish adhere to the natural nail properly. It creates a tacky surface for the polish to “grip” onto. Using a base coat also helps prevent staining of the natural nail from pigmented polish.
An effective base coat will help the manicure last longer without chipping or peeling up.
When applying the base gel, use thin and even strokes to cover the entire natural nail from cuticle to tip. Cap the free edge just slightly to further reinforce adhesion. Cure the base coat in an LED or UV lamp for the full recommended time, usually 30-60 seconds.
Properly curing each layer is vital for getting the full wear time from gels. Insufficient curing can lead to a gummy finish that chips and peels quickly. The base coat should leave a smooth, dry surface ready for polish application.
Color Coats
When working with gel polishes, most colors require 2-3 thin coats for an evenly opaque finish. Shake gel polish bottles well before each use. Apply the first coat using thin, even strokes. Make sure to cap the free edge. Cure the first coat for a full 30-60 seconds.
Apply the second coat in the same manner, covering any sparse areas from the first coat. Cure again. Add a third layer if needed for full coverage. Avoid applying overly thick coats of polish as this can cause bubbling or lead to a soft uncured layer underneath.
It is important to wipe the inhibition layer off between coats using a lint-free pad and nail cleanser. This layer can prevent proper curing if not removed. Always cap the free edge with each layer for maximum durability. Proper application techniques help create a smooth, professional finish.
Patiently applying thin layers and allowing for full curing between coats is key.
Top Coat Finish
The final step is applying a glossy top coat to seal and protect the manicure. Use thin, even strokes to apply gel top coat over the entire nail from cuticle to tip. Cap the edge for a finished look. Cure the top coat layer fully. An LED lamp will require 30-60 seconds to set.
The top coat helps seal in the color polish and provides an ultra glossy, smooth finish. It helps prevent chipping, scratching, and fading.
Avoid wiping off the inhibition layer prior to top coat application. This layer is essential for the top coat to adhere properly. Applying top coat helps lock everything in place. Always use a dedicated top coat rather than trying to layer additional coats of color polish.
The right top coat provides an impermeable seal for long-lasting wear.
Patience is essential when perfecting the gel polish application process. Allowing adequate curing time for each layer and using thin coats helps achieve a professional, flawless manicure that can last up to 2-3 weeks without chipping or peeling.
Starting with properly prepped nails and ending with a protective top coat seals the deal.
Curing Gel Polish Under the Lamp
Cure Times per Layer
When using gel nail polish, it is crucial to cure each layer properly under the LED or UV nail lamp. Insufficient curing can lead to the gel being sticky or peeling off prematurely. Here are some general cure time guidelines per layer:
- Base coat: Cure for 30-60 seconds.
- Color coats: Cure for 30-60 seconds per coat. Most gel polishes require 2 coats.
- Top coat: Cure for 60 seconds.
However, always refer to the specific instructions of your gel nail system, as cure times can vary across brands. Factors like the thickness of the layer and the wavelength of the lamp can impact the time needed as well.
When in doubt, cure each layer for a little longer rather than shorter for a strong, long-lasting manicure.
Avoid Overcuring
While properly curing gel polish is essential, overcuring under the lamp can also cause problems. Exposing the gel layers to UV/LED light for too long can make the polish brittle and inflexible. This leads to chipping, cracking, and peeling.
As a rule of thumb, never cure any single layer for more than 60 seconds at a time. The exception is when doing a full hand cure at the end, which may require up to 120 seconds. Watch the polish as it cures, removing fingers from the lamp once the sticky layer has smoothed out.
Overcuring too frequently can also potentially damage the nail bed over time. Let the natural nails rest between gel manicures by using regular nail polish or going bare periodically.
With the proper cure times, gel manicures should last 2-3 weeks without chipping or lifting. Pay close attention to how the polish looks and feels after curing to get the timing right. With some trial and error, you’ll be an expert at LED/UV gel curing in no time!
Removing Gel Nail Polish
Soaking Cotton Pads in Acetone
The first step in removing gel nail polish is to soak cotton pads in pure acetone. Make sure you use 100% acetone, not nail polish remover which contains other ingredients. Pour enough acetone into a small bowl to thoroughly saturate several cotton balls or pads.
Allow the cotton to soak for a minute before proceeding to the next step.
Gently Scrape Off Gel Polish
After soaking the cotton pads, gently run one over each nail to begin breaking down the gel polish. You should see it start to wrinkle and peel away from the natural nail underneath. Once the polish appears loosened, use an orangewood stick to gently scrape off as much as possible.
Avoid using metal tools as they can damage the natural nail bed. Work slowly and carefully to remove all traces of colorful polish.
File and Buff Away Residue
Odds are there will still be a little residue, a thin layer that feels almost like super glue. To remove, start filing with a 180-220 grit file. Focus on where the residue remains, using gentle downward strokes. Switch to a buffer block and smooth the entire nail to ensure an even, clean surface.
The buffer will also provide light shine and prepare nails for the next step.
Hydrate Your Nails
Once all gel residue has been removed, it’s time to repair and condition nails with some much needed hydration. Apply a thick layer of cuticle oil around each nail bed. Massage it into cuticles and skin as well. Allow to soak in a few minutes before wiping away excess.
Follow with a hydrating lotion, working into nails and skin. Products like Burt’s Bees Almond Milk Hand Cream or Aveeno Skin Relief Hand Cream offer intense moisturization.
If nails feel weak or show excessive peeling and breakage, give them some extra TLC with a treatment like Nail Tek Intense Rx or Sally Hansen Hard As Nails. Brush the formula evenly over nails, allow to dry, then apply a second coat.
Nails should begin to regain strength and luster within a few consistent applications.
| Product | Key Benefits |
|---|---|
| Cuticle oil | Softens and hydrates |
| Intense hand cream | Repairs dryness and irritation |
| Nail treatment | Fortifies weak or damaged nails |
When removing gel polish, patience is key. Rushing through the soaking or scraping stages can result in lingering damage or peeling. Take things slow and let the acetone do the work for that long-lasting manicure.
Once finished, don’t forget your nails need a little pick-me-up too after being hidden under gel for weeks. Consistent buffing, cuticle care and hydrating products will have them looking and feeling healthy between polish changes.
Gel Manicure Tips, Tricks & FAQs
Use Thin Coats for Even Application
When applying gel polish, it’s crucial to use thin, even coats for a smooth finish. Thick globs of gel can create an uneven surface that is prone to chipping and peeling. Aim for 2-3 thin layers, curing each coat for 30 seconds under an LED or 2 minutes under UV light.
Allowing proper dry time between coats prevents tackiness. Let the base and color coats fully cure before applying the top coat. Remember – thin is in!
Cap the Free Edge for Added Durability
Covering the edge of the nail with gel polish helps seal the layers together for extra longevity. After applying your gel color, lightly run the brush across the very tip of each nail. Then cure the gel polish as usual. This creates a strong bond over the entire nail surface.
Capping the free edge prevents moisture from sneaking in and loosening the gel layers underneath. It also helps prevent pesky chips along the tip!
Store Gel Polish Properly to Maximize Longevity
Exposure to light and air can cause gel polish to thicken and expire prematurely. After each use, securely cap gel bottles and store them in a cool, dark place like a drawer or nail polish organizer. Refrigeration can extend the life of gel polish by slowing down the natural thickening process.
Make sure bottles are tightly sealed before chilling. With proper care, most gel polishes stay smooth and usable for 1-2 years. Throw out any bottles that become clumpy or gummy with age. Investing in some gel polish storage tips helps you get the most mileage out of each bottle!
Give Nails a Break In Between Manicures
While long-lasting, gel manicures do put stress on natural nails. Give nails a breather by taking occasional 2 week breaks between appointments. Or try alternating gel manicures with moisturizing nail treatments. Apply cuticle oil daily to condition the nail bed and counteract drying effects.
Every few months, remove gel polish and go au naturale to allow nails to fully recover. Listen to your nails – if they become brittle or show other signs of damage, take a longer rest period. With reasonable gel usage, nails can thrive!
Common Mistakes to Avoid
Gel manicures seem easy, but beginners often stumble. Avoid these common pitfalls for flawless results:
- Skipping prep – Correctly prepping nails is crucial. Lightly buff to remove shine, push back cuticles, and dehydrate nails with alcohol or primer.
- Applying too thick – Resist the urge to glop on gel polish. Multiple thin coats cure evenly.
- Not capping tips – Painting just the nail plate leads to chips. Extend color over the edges.
- Skimping on cure time – Fully curing each layer creates a durable manicure. Don’t rush it!
- Peeling off gel – Soak gel off gently with remover to avoid nail damage.
With practice, you’ll be a gel mani pro. Persevere through the beginner learning curve and you’ll be rewarded with salon-worthy results!
Conclusion
While gel manicures require some specialized supplies and a learning curve, with the right gel polish kit and technique, you can achieve stunning nails that last 2-3 weeks from home. Be patient with yourself as you perfect the application process.
With regular practice, you’ll be giving yourself salon-quality gel manicures tailored to your preferences in no time. Just follow all usage and safety precautions, care properly for your natural nails, and enjoy your glossy new gel polish!