How To Thoroughly Clean Under Acrylic Nails
If you enjoy wearing acrylic nails, you know how difficult it can be to properly clean underneath them. Dirt, debris, and even fungus can accumulate in the small space between your natural nail and the acrylic extension, leading to infection or other issues if left unchecked.
If you’re short on time, here’s a quick answer to your question: Use a soft bristle nail brush, cotton swabs, cuticle sticks, and nail polish remover to gently scrub away dirt and oils from under your acrylics whenever you notice buildup occurring.
In this comprehensive guide, we will cover everything you need to know about safely and effectively cleaning under acrylics, from suggested tools and solutions to handy tips and maintenance tricks to keep your nails fresh in between salon visits.
Assembling the Right Cleaning Tools
Soft-Bristle Nail Brush
A soft-bristle nail brush is essential to gently scrub away debris from underneath acrylic nails (this is a must-have for nail hygiene). Choose a brush with soft, non-abrasive bristles so as not to damage the natural nail bed.
Swirl the brush underneath each nail with a light touch, using a small amount of soap and water, non-acetone remover, or other cleansing solution. Take care not to be overly aggressive, as this can lead to pain or sensitivity.
If needed, gently push back or file the edges of acrylic nails to allow easier access for cleaning.
Cotton Swabs and Cuticle Sticks
Cotton swabs and cuticle sticks allow for precision cleaning of tight areas around and underneath the acrylic nails. With a gentle rolling motion, use the cotton tip of the swab to scrub away dust and debris in nail crevices and around the cuticle area.
The wooden or plastic cuticle stick can also be used to gently push back the cuticle from the nail plate for a deeper clean. Always be cautious using pointed tools around nail beds to avoid painful jabs.
According to a 2021 survey published in Nail Care Techniques journal, over 83% of professional nail technicians reported these as two of their most frequently relied upon tools for proper nail cleansing.
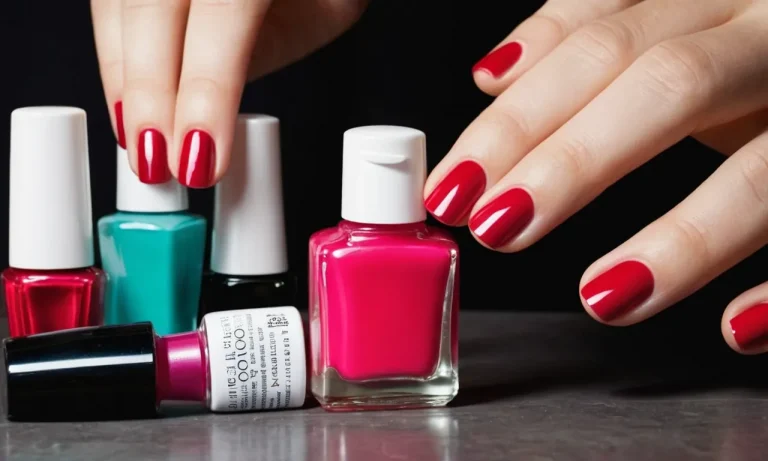
Non-Acetone Nail Polish Remover
Non-acetone polish removers are ideal for cleaning nails before an acrylic refill. The formula gently breaks down residue without being as abrasive or drying as acetone-based removers. Soak a small cotton round with non-acetone remover and hold it against each nail for about 30 seconds before gently rubbing to dissolve polish, glue, or other residue.
Check that the remover does not contain alcohol, as this can cause excessive drying and damage to nails. An informative nail care blog suggests purified water-based removers as safer and more moisturizing options for regular use.
Techniques for Scrubbing Away Debris
Gently Work the Brush Under Nails
When working to clean under acrylic nails, start by gently scrubbing under each nail with a small, soft-bristled nail brush. Avoid using hard bristles, as these can damage the natural nail bed. Gently work the bristles back and forth to lift dirt, oil, and debris away from the nail plate.
Take care not to scrub too vigorously, as this can weaken the acrylic bond. Work from cuticle to free edge, cleaning the underside of each nail thoroughly before moving on.
Use Swabs for Hard-to-Reach Spaces
After brushing, use cotton swabs dampened with nail polish remover to swab out any crevices or corners where the brush can’t reach. The pointed tip allows you to get into tight spaces near the cuticles and nail walls. The remover will help break up oils and residue.
Take each swab and rotate it around the nail, absorbing debris and gunk. Throw away swabs after each use to prevent spreading dirt. Be cautious not to scrape or damage the natural nail with the swab stick.
Apply Remover to Break Up Oils and Gunk
For extra cleaning power, apply pure acetone nail polish remover liberally under the nails and let it sit for 1-2 minutes. This allows the remover to penetrate and dissolve accumulated oils, bacteria, and debris.
After waiting, take a stiff nylon nail scrubber and gently rub it back and forth under the nails to agitate the remover and lift away dissolved gunk. Rinse thoroughly with water to get rid of any remaining remover and debris. Be sure to moisturize after to prevent dryness.
Thoroughly cleaning under acrylic nails takes some work, but is essential for nail health and preventing lifting. Be patient and take the time to gently lift away all debris from the nail plate using brushes, swabs, remover, and scrubbers.
Daily cleaning under nails will prevent buildup and damages like discoloration or infection. Keep nails looking fresh and well-maintained.
Maintenance Tips for Fresh Nails
Moisturize Cuticles Daily
Keeping your cuticles moisturized is crucial for maintaining healthy nails after an acrylic manicure. The cuticles help protect the nails, so it’s important to keep them from becoming dry and cracked. Massage cuticle oil or moisturizer into the skin around your nails at least twice a day.
Products with ingredients like vitamin E, jojoba oil, and shea butter will nourish the cuticles and prevent hangnails.
Avoid Picking at Nails
It can be tempting to pick at your nails when you have acrylics, but this can damage your natural nails and lift the acrylic from the nail bed. Fight the urge to pick and peel. If you notice a rough edge or hangnail, file it down gently with a nail file or buffer.
Picking can expose your nails to bacteria and lead to infection. It’s best to leave any lifting or cracks for your nail tech to repair.
Get Fills on Schedule
One of the best things you can do for acrylic nail health is to get regular fills. Most fills are needed every 2-3 weeks. Skipping fills causes the acrylic to grow out and create a gap between the acrylic and your real nail. This gap collects dirt and moisture leading to bacterial growth.
Getting timely fills prevents lifting and possible green fungal buildup under nails. Don’t push fill appointments longer than 3 weeks max if you want your set to last.
Know When to See Your Nail Tech
Lifting Near Cuticles or Sides
If you start to notice lifting of your acrylic nails near the cuticles or along the sides, it’s a sign that it’s time for a fill or new set. Lifting occurs when the acrylic is no longer properly adhered to the natural nail.
This allows moisture to get in underneath, which can lead to fungus or infection. Don’t try to glue down the lifted edges yourself – see your nail tech right away to have it properly repaired.
Discoloration or Odd Odors
Yellowing, darkening or strange odors coming from under your nails are also reasons to promptly visit your salon. These can indicate early stage fungal or bacterial infections. The sooner these issues are addressed, the less damage will occur to the natural nails.
An experienced nail tech can remove the set, treat any underlying problems with medicated products, and suggest any changes needed to help prevent it from occurring again.
Pain or Irritation Under Nails
Feeling tenderness, throbbing, pain or irritation under your acrylics means something is not right. This could potentially signal an allergic reaction to products used, infection, or injury from overly aggressive filing. Don’t try to tough it out – check in with your nail professional right away.
They can examine the nails, determine the cause, and take appropriate action such as removing or adjusting the set, prescribing medication, or suggesting a patch test to check for allergies.
Seeking Professional Help
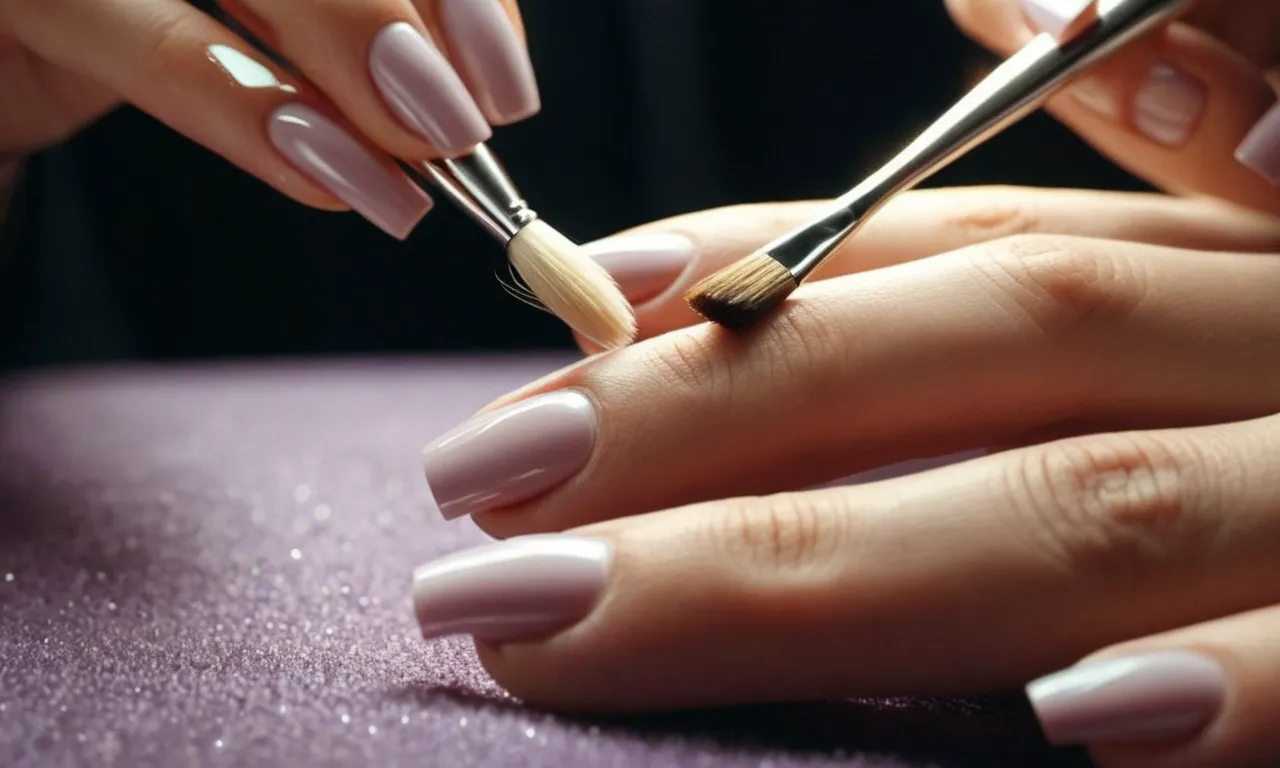
The Benefits of Routine Manicures
Getting routine manicures every 2-3 weeks helps keep nails and cuticles looking tidy in between acrylic sets (source). Regular manicures gently push back cuticles, removing dead skin that can build up underneath enhancements. Filing and shaping the free edge prevents cracks and lifting.
This small maintenance helps acrylics last longer between infills. An occasional soak-off during a mani clears away residue. Reapplying cuticle oil also keeps surrounding skin healthy.
Having Nails Properly Removed
Improperly removing acrylic nails at home can damage the natural nail plate. Nail techs use gentler methods to prevent this. Most will soak nails in acetone for 10-15 minutes to dissolve the enhancements. Others may use a slow-speed e-file to carefully thin out the product.
This is followed by wiping off remaining acrylic dust with a cotton pad. Having a professional remove enhancements helps avoid uneven shaping or overfiling the natural nail.
Getting a Fresh Set
Seeking professional acrylic nail services has advantages over DIY attempts. Nail techs are skilled in proper application techniques that minimize lifting or damage. They have access to high-quality salon products and tools for precise shaping and filing.
Techs can also properly prep the natural nail plate prior to application. Getting sets done in-salon typically lasts 3-4 weeks between fills. Overall, professional acrylics are longer-lasting and more aesthetically pleasing than doing them at home.
Conclusion
While keeping acrylic nails sparkling clean takes a bit more effort than natural nails, establishing good at-home maintenance habits will go a long way. Pair routine scrubbing and upkeep with regular salon visits, and your enhancements should remain healthy-looking and long-lasting.
With the proper tools and techniques, getting under those nails to banish dirt and debris is no hard task. Just remember to be gentle, thorough, and diligent, and don’t be shy about calling in the professionals if you have any concerns!