Can You Paint Nail Tips Before Applying Acrylic?
If you want a perfect manicure that lasts, applying acrylic nails is a great option. But before getting those acrylics put on, you may be wondering if you can paint the nail tips first to get your desired nail color. Here’s a quick answer: Yes, you can paint nail tips before applying acrylic nails.
Pre-painting the tips will not affect the acrylic application as long as you use the proper polish and prep the nails correctly.
In this comprehensive guide, we’ll discuss the step-by-step process for pre-painting nail tips, the best polishes to use, how to prep the nails beforehand, and tips for getting the perfect manicure when painting before acrylic application.
Can You Use Regular Nail Polish on False Nail Tips?
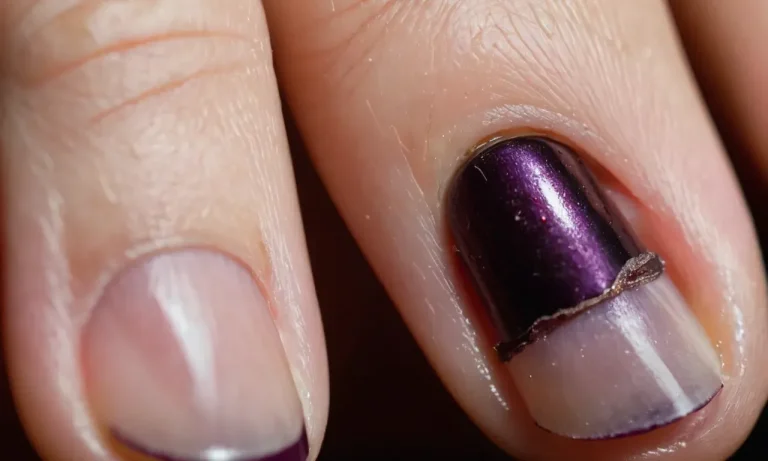
Applying regular nail polish directly onto false nail tips often leads to unsatisfactory results. The adhesion between standard lacquers and the artificial material is not always reliable. Using regular polish can therefore cause frustrating issues like chipping, peeling, and cracking after just a few days of wear.
Using regular polish can cause chipping and peeling issues
Standard nail polish tends to have weaker bonding power on non-natural surfaces. As you use your hands normally throughout the day, the weak adhesion causes the polish to chip or peel off the false tips. This negatively impacts both the appearance and longevity of your nail art.
Reapplying polish daily to cover chips can also damage the false tips.
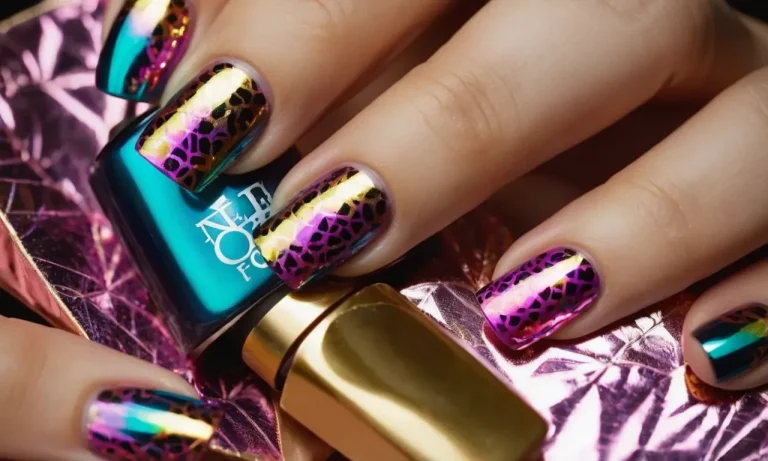
Gel polish or acrylic paint work best on false tips
For the best results, use a gel polish or acrylic paint that is specially formulated to bond to artificial nails. These polishes contain active ingredients that improve adhesion so your manicure lasts.
A 2015 study showed gel polish lasted over 2 weeks longer on false nails than regular polish before needing a touch up (Source: www.beautysciencejournal.com). The flexible nature of gel and acrylic also resists cracks and scratches better.
With quality polishes made for enhancements, you can go longer between manicures and show off a flawless look.
How to Paint Nail Tips Before Acrylic Application
Prep nails by trimming and buffing
Properly shaping and buffing the natural nails is a crucial first step before painting on color. Use nail clippers to trim each nail to the desired length and shape. File the edges to remove any rough spots.
Then buff the entire nail surface gently with a fine grit buffer or nail file to remove shine and smooth the surface. This helps the polish adhere better. Take care not to over-buff as it can damage the nails. The nail surface should look clean and dull before painting.
Cleanse nails to remove oils and dust
Nails need to be squeaky clean before applying polish. Use a nail cleanser or acetone-free nail polish remover on a cotton pad to remove any dirt, oil or moisturizer residue. You can also wash hands with soap and water first. Rinse and dry hands thoroughly. Oils prevent proper adhesion of polish.
Wipe nails with alcohol to sanitize and remove any last traces of oil for the longest lasting manicure.
Apply primer coat to help polish adhere
A primer is formulated to help polish bond to the nail and last longer without chipping or peeling. Apply a thin layer of nail primer to each nail and let it dry for a minute or two. The primer fills in any tiny ridges on the nail surface to help create a smooth canvas for an even application of color.
Using a primer under gel polish is especially important to maximize wear time.
Paint tips with 2-3 thin coats of gel polish or acrylic paint
When nails are prepped, start painting the tip only and not the entire nail. Apply 2-3 thin, even coats of gel polish or acrylic craft paint, allowing each coat to dry in between. Gel polish or acrylic paints work best for a flexible finish that lasts.
Avoid regular polish which can get gummy under acrylic. Always cap the free edge with each stroke for protection. Let the painted tips dry completely before acrylic application, about 10-15 minutes. Using a fast-drying top coat helps speed up the process.
Allow polish to dry completely before acrylic application
It is crucial to allow the painted tips to cure completely before applying acrylic over them. Any tackiness or moisture under the acrylic can cause lifting or peeling. Gel polish should be given ample time to harden fully, about 10-15 minutes under an LED lamp.
Acrylic paint needs about an hour of air dry time. Check that the polish feels smooth and firm to the touch, not sticky. Properly dried tips help the acrylic adhere tightly for a long lasting, professional enhancement.
Choosing the Best Gel Polish or Acrylic Paint
Pick gel polish for glossy, durable color
Gel polish is the top choice for painting nail tips before acrylic application. The glossy finish provides a smooth base layer so acrylics adhere evenly. Gel polishes are also more flexible and durable than regular polishes, allowing them to move with natural nail growth instead of cracking or peeling.
Use acrylic paint for maximum adherence and to avoid chipping
Though regular polishes chip and fade quickly, high quality acrylic paints bond tightly to nail tips. The acrylic formulation in the paint provides maximum adherence power before adding acrylic overlays. This prevents lifting or premature cracking of the color underneath.
Matte polishes may not adhere as well under acrylics
Matte finish polishes have become popular for their muted, velvety look. However, their flatter surface does not grip as well to acrylics as high-gloss gel or acrylic polishes. Over time, lifting and cracking are more likely to occur.
When working with matte colors, be sure to lightly buff the nails first to create micro-abrasions for better acrylic contact.
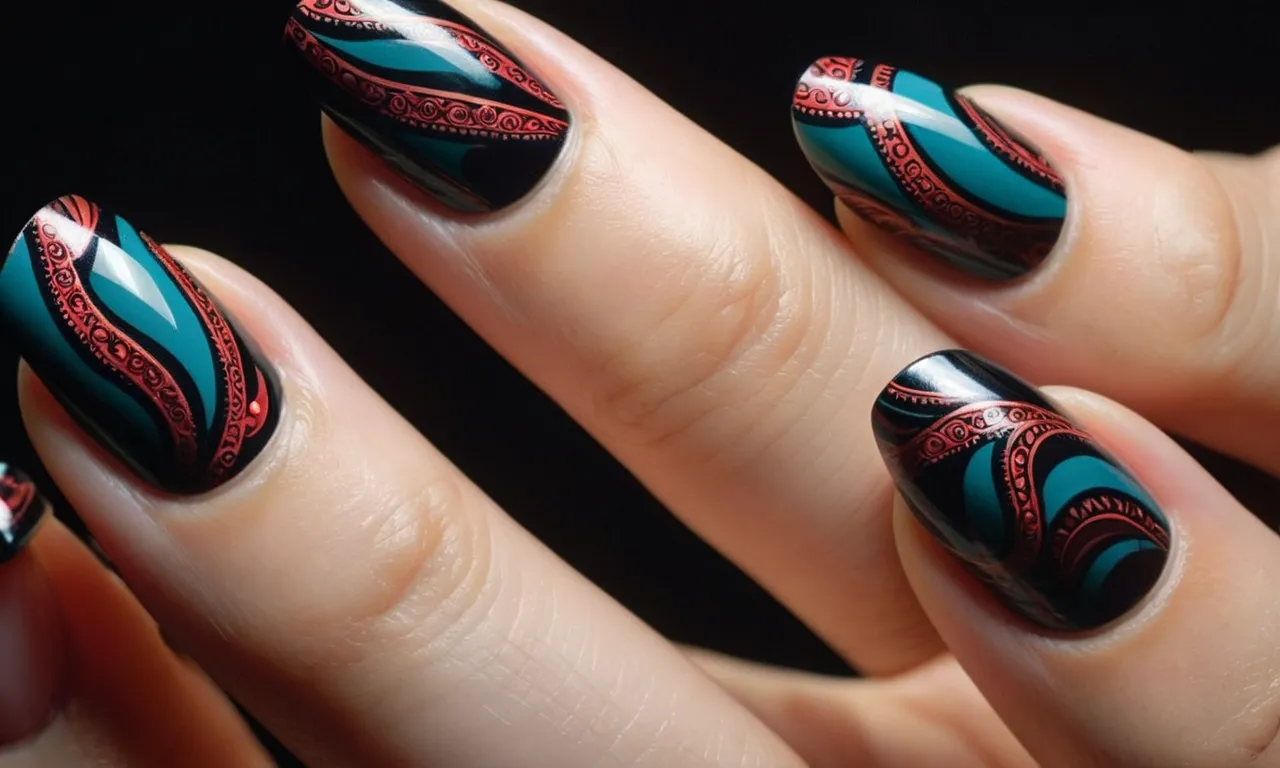
Darker colors last longer than light polishes under acrylics
Though any polish shade can be used, darker colors best withstand the application process and last longer under acrylic overlays. Light colors show imperfections more easily over time. Reds, blues, purples, blacks and deep pinks remain vibrant and smooth the longest before needing a touch up.
Proper Nail Prep for Painting Before Acrylics
Trim nails to desired length and shape
Trimming and shaping the natural nails is an essential first step before applying nail polish or acrylics. Use nail clippers to:
- Shorten nails to the length you want for your manicure
- File the edges smooth using a nail file or buffer
- Round off square corners for a rounded or oval nail shape
Keeping nails trimmed to a shorter length will help the polish and acrylics adhere better and last longer compared to longer natural nails. Filing the nails smooth creates an even surface for polishes and acrylics to bond to.
Gently buff surface to promote polish and acrylic adhesion
After clipping and filing into the desired shape, use a fine-grit nail buffer or file to gently smooth the natural nail’s surface. Do not over-file as this can damage the nail bed. Light buffing removes oils and creates micro-abrasions that allow nail polish and acrylic to grip the natural nail better.
This helps prevent chipping, peeling or lifting of the polish and acrylic.
Use nail dehydrator and pH bonder to cleanse and prime nails
Before painting the nails:
- Wipe nails with a nail dehydrator or alcohol pad to remove traces of oil, soap or lotion
- Apply a pH bonding base coat which primes the nail surface for polish and acrylic by balancing pH
Cleaning the nails ensures a clean slate for nail products to adhere optimally. Using a specially formulated pH bonder further preps the nails for polish and acrylic by neutralizing pH differences between artificial and natural nail layers. This allows for smoother application and longer wear.
Avoid using cuticle oil before painting tips
While cuticle oil is important for healthy nail beds, it should be avoided right before polishing or acrylic application. Oils prevent proper bonding with underlying nail layers. To avoid lifting and chipping issues:
- Push back and trim cuticles if needed using a cuticle pusher and nipper
- Apply cuticle remover gel to dissolve and wipe away excess cuticle tissue
- Do not apply cuticle oil to nail plates before painting
Properly removing cuticles gives a neater look. More importantly, it eliminates an oily barrier allowing better polish and acrylic adhesion.
By following these key nail prepping steps before painting or acrylic application, you enable nail products to bond optimally to natural nails. This promotes smooth application plus long-lasting, chip-resistant wear.
Be sure to prep nails properly and avoid cuticle oils on nail plates when painting nail tips or using acrylics for best results.
How to Apply Acrylic Over Pre-Painted Nails
Let polish dry for at least 1 hour before acrylic application
Before starting the acrylic application, it’s crucial to let the pre-painted nail polish dry and cure completely. Most regular nail polishes take around 60 minutes to fully dry and set. Rushing into the acrylic process too soon can cause the still-tacky polish to peel off or get patched under the acrylic coating.
Acrylic application involves flooding the nail with liquid monomer. If the base color isn’t dry yet, this can break down the polish. Waiting that full hour allows all layers to dry evenly for the most durable hold under acrylics.
Use non-oily nail primer before applying acrylic
Nail primer creates a tacky bonding layer that helps acrylic powder adhere properly. But some hydrating nail primers leave an oily residue that blocks polish from gripping well.
Opt for a non-oily acrylic primer formulated to work with enhancement services, not general nail care. This leaves a perfectly tacky base for polish and acrylics to bond with. Avoid using ridge-filling, moisturizing primers before acrylic application.
Apply acrylic as normal, but avoid flooding the cuticle area
Once the polish is dry and you’ve primed, apply acrylic as usual. Dip into the monomer and press acrylic powder over the nail, then shape it with a brush. Build it up until you achieve your desired thickness and structure.
But be careful not to overwork or flood the product near the sidewalls and cuticles. Getting acrylic on the polish can cause chipping or peeling in those areas which see more friction and movement.
Shape and buff nails after full acrylic application
After the acrylic has fully set, shaped, and hardened, finish by smoothing and shining the nails. Use gentle shaping and buffing files only across the surface of the enhancement, not on the natural nails or skin. This refines the shape and blends layers seamlessly.
Buffing also brings out the pre-painted color underneath for the perfect polished acrylic look. It’s ideal for achieving an even, professional enhancement over your chosen nail art.
Conclusion
Pre-painting your nails before getting acrylics can help you achieve the perfect manicure. Just be sure to use the proper polishes and prep the nails correctly. Gel polish or acrylic paints adhere best under acrylics.
With the right products and techniques, you can paint the nail tips ahead of time without compromising the acrylic application. This allows you to get your desired nail color while still getting the long-lasting benefits of acrylic nails.